Introduction
This was a talk presented to the Manitoba Camera Club, February 3, 2015 and The Winnipeg South Photo Club, March 18, 2015.
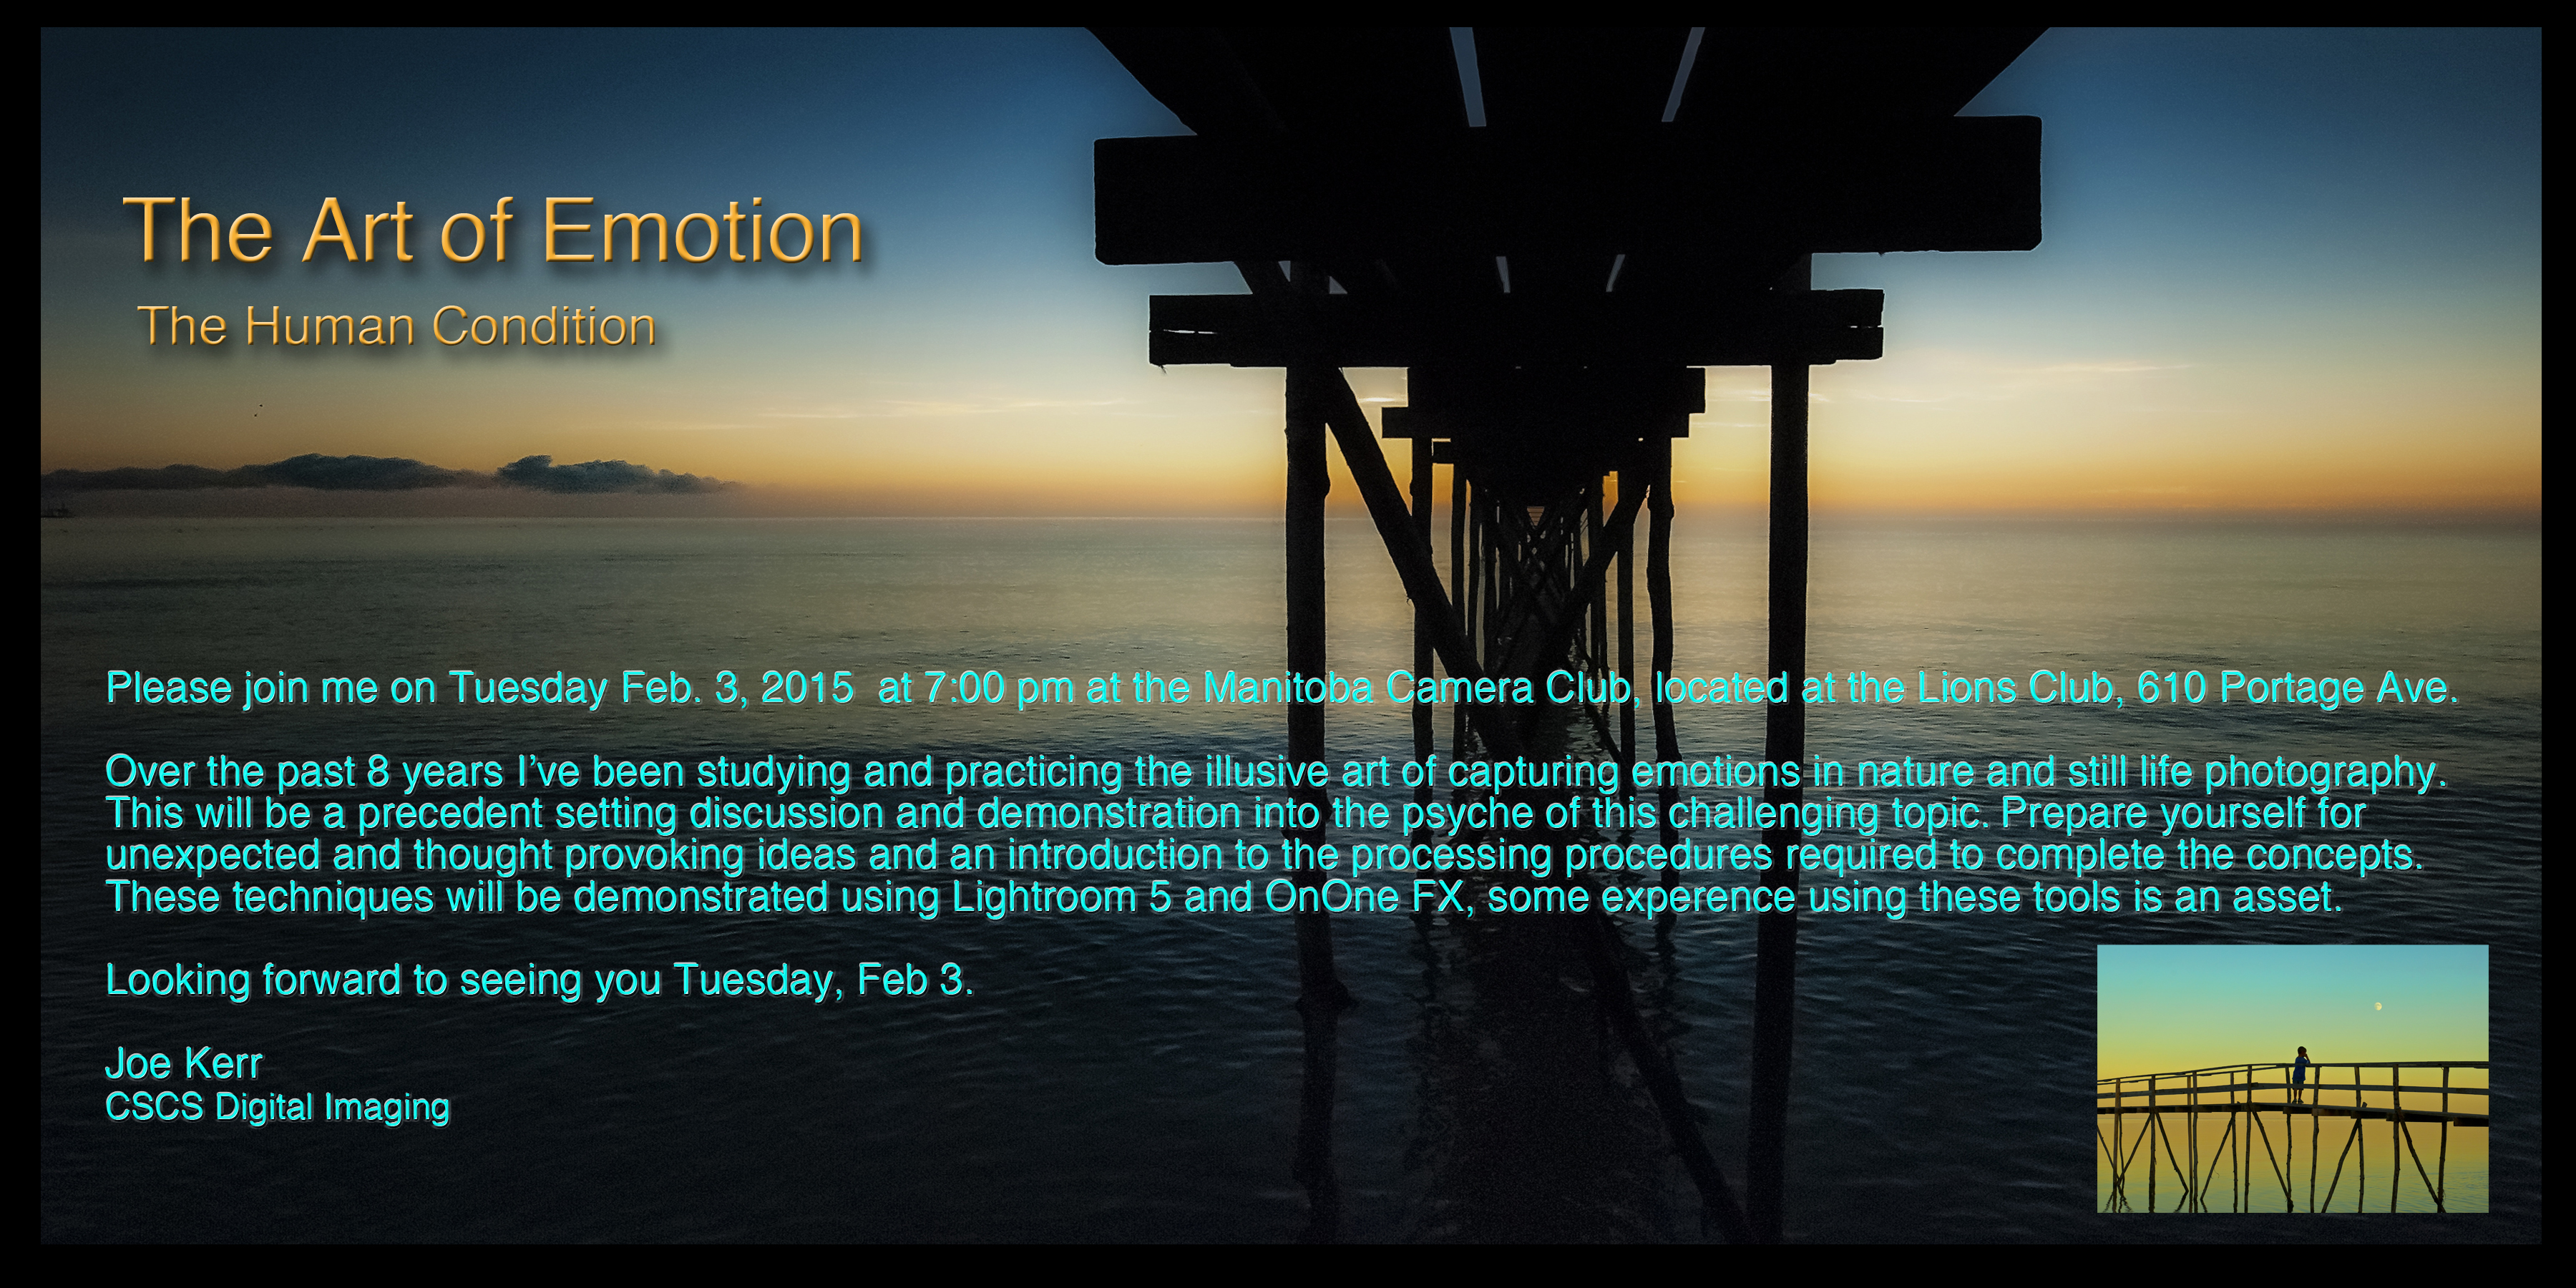
Tonight we are about to embark on a journey to try and gain a deeper understanding of photography. We are going to delve into the mysteries of capturing emotions and feelings in two dimensional digital images. Can a photograph depict and evoke feelings that are deeper than say a raw journalistic capture of a shooting, accident or riot. We know how those make us feel. My hope is we’ll have some understand of these subtle dynamics by evenings end and how you can apply it to your images.
One of the gallery experiences I enjoyed over the past 5 years allowed me to interact with photographers both local and from around the world. These conversations allowed for the sharing of ideas and concepts, combined with my continued work and studies in processing images, I began to formulate a theory on the understanding of how emotions can be comprehended and applied. Within this presentation I will try to explain some of these intricacies which I have applied to my work.
So sit back and enjoy this journey to your inner emotions.
Creative Photography.
The Human Condition
This is the first in a series of articles that will be posted on my bog Joe Kerr Photography under the subject titled “Creative Photography”.
I would like you to close your eyes and listen to these sound bits and see if you can visualize the scenes you are about to hear. So relax and open your minds eye.
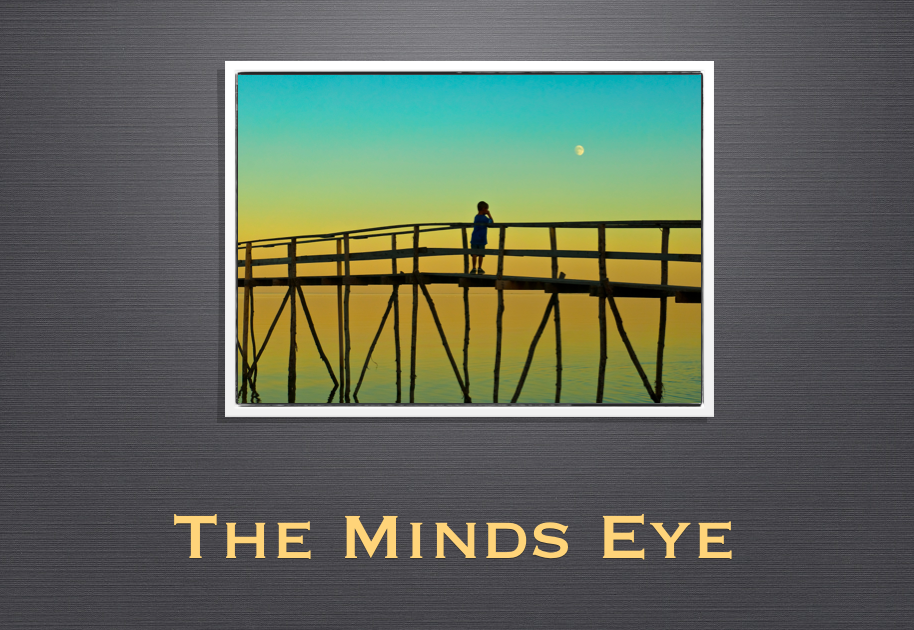
Here are a couple of questions to help open your minds eye:
Did your visions easily flow from one sound bit to the other ?
Do you have a favorite ?
Were your thoughts in B&W or Colour ?
How did each sound bit make you feel ?

Great images all begin at the capture, so here are some critical issues and influences when going out to capture amazing images: Remember this is about the human condition and gaining an understanding of capturing emotion in images.
Lets start from the very beginning.
How did your day start out ?
Are you looking forward to your shoot ?
Do you have a plan on what your shooting ?
Is weather or sunlight a factor in you deciding to shoot today ?
Is today an optimum day to capture that subject ?
These and many more questions all influence how well your shoot will go but ultimately how you will feel about it. It is my opinion that how you feel is the most important key to capturing great emotional images.
Putting yourself in a mindful space that is relative to what you are shooting is inherently difficult. This is one of the most important and influential characteristics of great photography and that is to actually feel your potential images before you even hit the shutter.
Here is a situation that may help you understand this. Do you remember the most amazing sunrise opportunity you’ve ever had and how you felt when it presented itself. Can you also remember another morning that was equally beautiful but for some reason it just didn’t pan out. You see the differences in your images but do you remember how each of those days started out and how you felt.
This is not a contemporary thought process lets take a step back in history for a minute and learn from two masters.
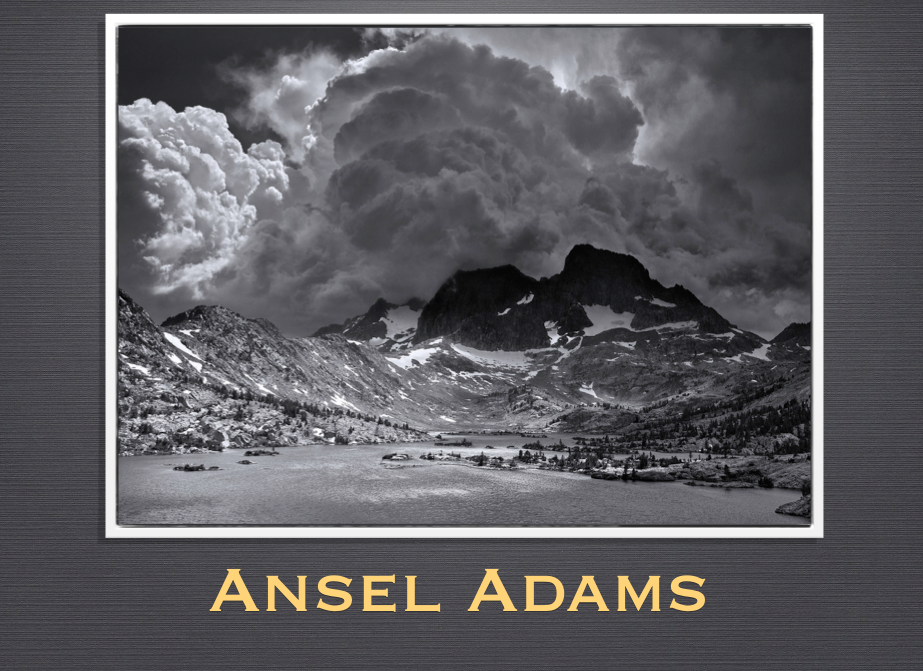
Ansel Adams immersed himself in his environments and became so in-tuned he even named trees and rocks in around his cabin near Yosemite. He followed and created trails that became his home under the sky, yet, he understood that nature only allowed him a moment of opportunity, they weren’t his, but his photographs were, and he could share them. He became much more philosophical about what he was feeling while capturing images and constantly wrote in his journals his thoughts. He clearly understood how his images could and would effect his viewers and how his emotions would influence each capture. Because the print was what everyone would see, Ansel spent enormous amounts of time perfecting his prints in the darkroom so that they were perfect portrayals of what was in his minds eye not just a capture of a scene. He wrote about having a vision of his print before capturing them, and though these images were very personal to him, as a viewer you can see and feel that.

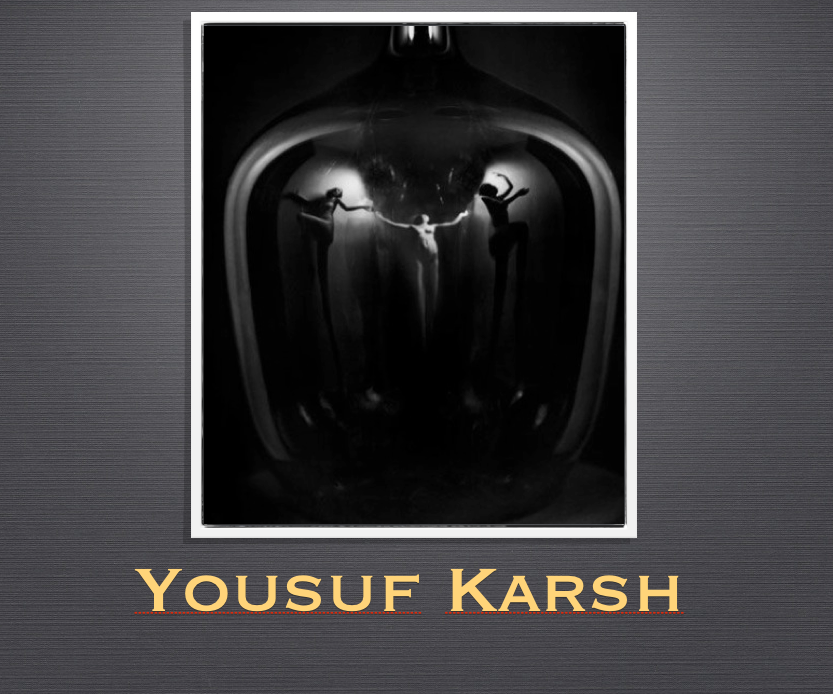
In a completely different photographic genre there’s Yousuf Karsh. He was another artists that lived through his photography. As a portrait photographer he didn’t have the lighting sophistication that we enjoy today. Still, he enjoyed shooting on location, the most challenging portraits of the time. His innate sense and feel of natural light combined with his in camera skills he created images that are astonishing even today. With those simple techniques he created outstanding portraits that brought his subjects to life. Yet, I think most importantly, he took time to study and understand his subject first. He then visualized and executed sitting techniques that both relaxed them and yet brought out their personalities knowing something of who they were. Upon studying his work you can actually feel their personalities come out of the prints. His compassion to execute what was in his minds eye made him a world renowned photographer during that era and even today?

I referenced these two artists because most of you know of them, and, they are masters whom we can relate to through their images but also as human beings. Although uniquely different they shared an inner bond of an innate sense of a divine intervention that helped to create their art. I certainly don’t profess to be in the same league of either of these famous photographers, yet, I do understand what they were trying to convey in their memoirs. Theirs and other similar concepts have been my inspiration for years and I will try to convey to you tonight what that means. No this is not a religious intervention but it is a deeper understanding of what made them tick and create amazing images.
The Capture:
On that note let me express to you what I’ve learned and have adopted as my usual or unusual process in capturing.
How I shoot varies greatly. example: If I’m with a group or with another person I rarely do what I truly like to because the dynamics will not allow. If the moment feels right though, I may disappear from the group to find my own space knowing that time will allow me to explore what is being presented to me.
Here is what I like to do as a solo shooter and I think the difference will be self explanatory. During solo shoots I take a lot of time, I’m not a run and gun type of photographer. Again, I’m going to talk about the human process behind the camera.
Nature or Scenic Shooting:
I chose this genre of photography because its one that most of you can relate to. Here is a list of things I do in preparation to taking that first shot.
- Clearly pack all that is need for that day, the night before. One bag and a tripod.
- Pack snacks for me and the creatures.
- Look up some creative websites that inspire you.
- Leave early with plenty of time to spare so your not feeling rushed.
- Listen to music or other inspiration audio bits en-route.
- Once I arrive I will find a trail off the beaten track, people are everywhere these days and personally I don’t want a shot that everyone else has.
- Arrive and chill. Stop, look and listen. This is how I begin the process of interacting.
- Until I’m feeling what I’m about to interact with I will not begin, take deep breaths and relax and survey my surroundings.
- I like to feel a sense of perspective of who I am in this environment and how I could be perceived by those who live in this environment.
- Feel the time of day, maybe its the warmth of the sun as it begins to lighten the morning skies, get a feeling of the trees wakening as the winds begin to blow, listen as the birds begin to sing and as life begins to stir in the forest.
- Listening I can hear and feel life all around me and by being still, for sometime now, the forest will begin to reveal itself.
- Over time you will learn the rhythm of nature and understand how it will react to the foreign sounds you create, remember you are the intruder.
- Remaining quiet and still is exhilarating to me, I can be here for hours and not think anything of it.
- Always be aware of the light, watch its glow illuminate the trees and the meadows, be aware of where it is and isn’t, light is the key to all great shots.
- When nature presents itself go slowly, take time to try to understand the creatures in their habitat, see how they react to sounds around it, watch and learn every move, ears, eyes, neck and over-all body language.
- Watch every detail, the direction it appears to be going, is there better light coming up, can you time the optimum reaction to the camera, take it in and feel it, until it becomes a part of you.
- I can get so involved that I can feel their heart beating and I’ll watch their breathing, a relaxed sigh, a sudden and alert gasp and hold.
- Patients and more patients think before you hit the shutter, timing is everything. No paparazzi shooting here.
- Given the optimum opportunity I’ll take my shot, stop, silence, then shoot again if possible.
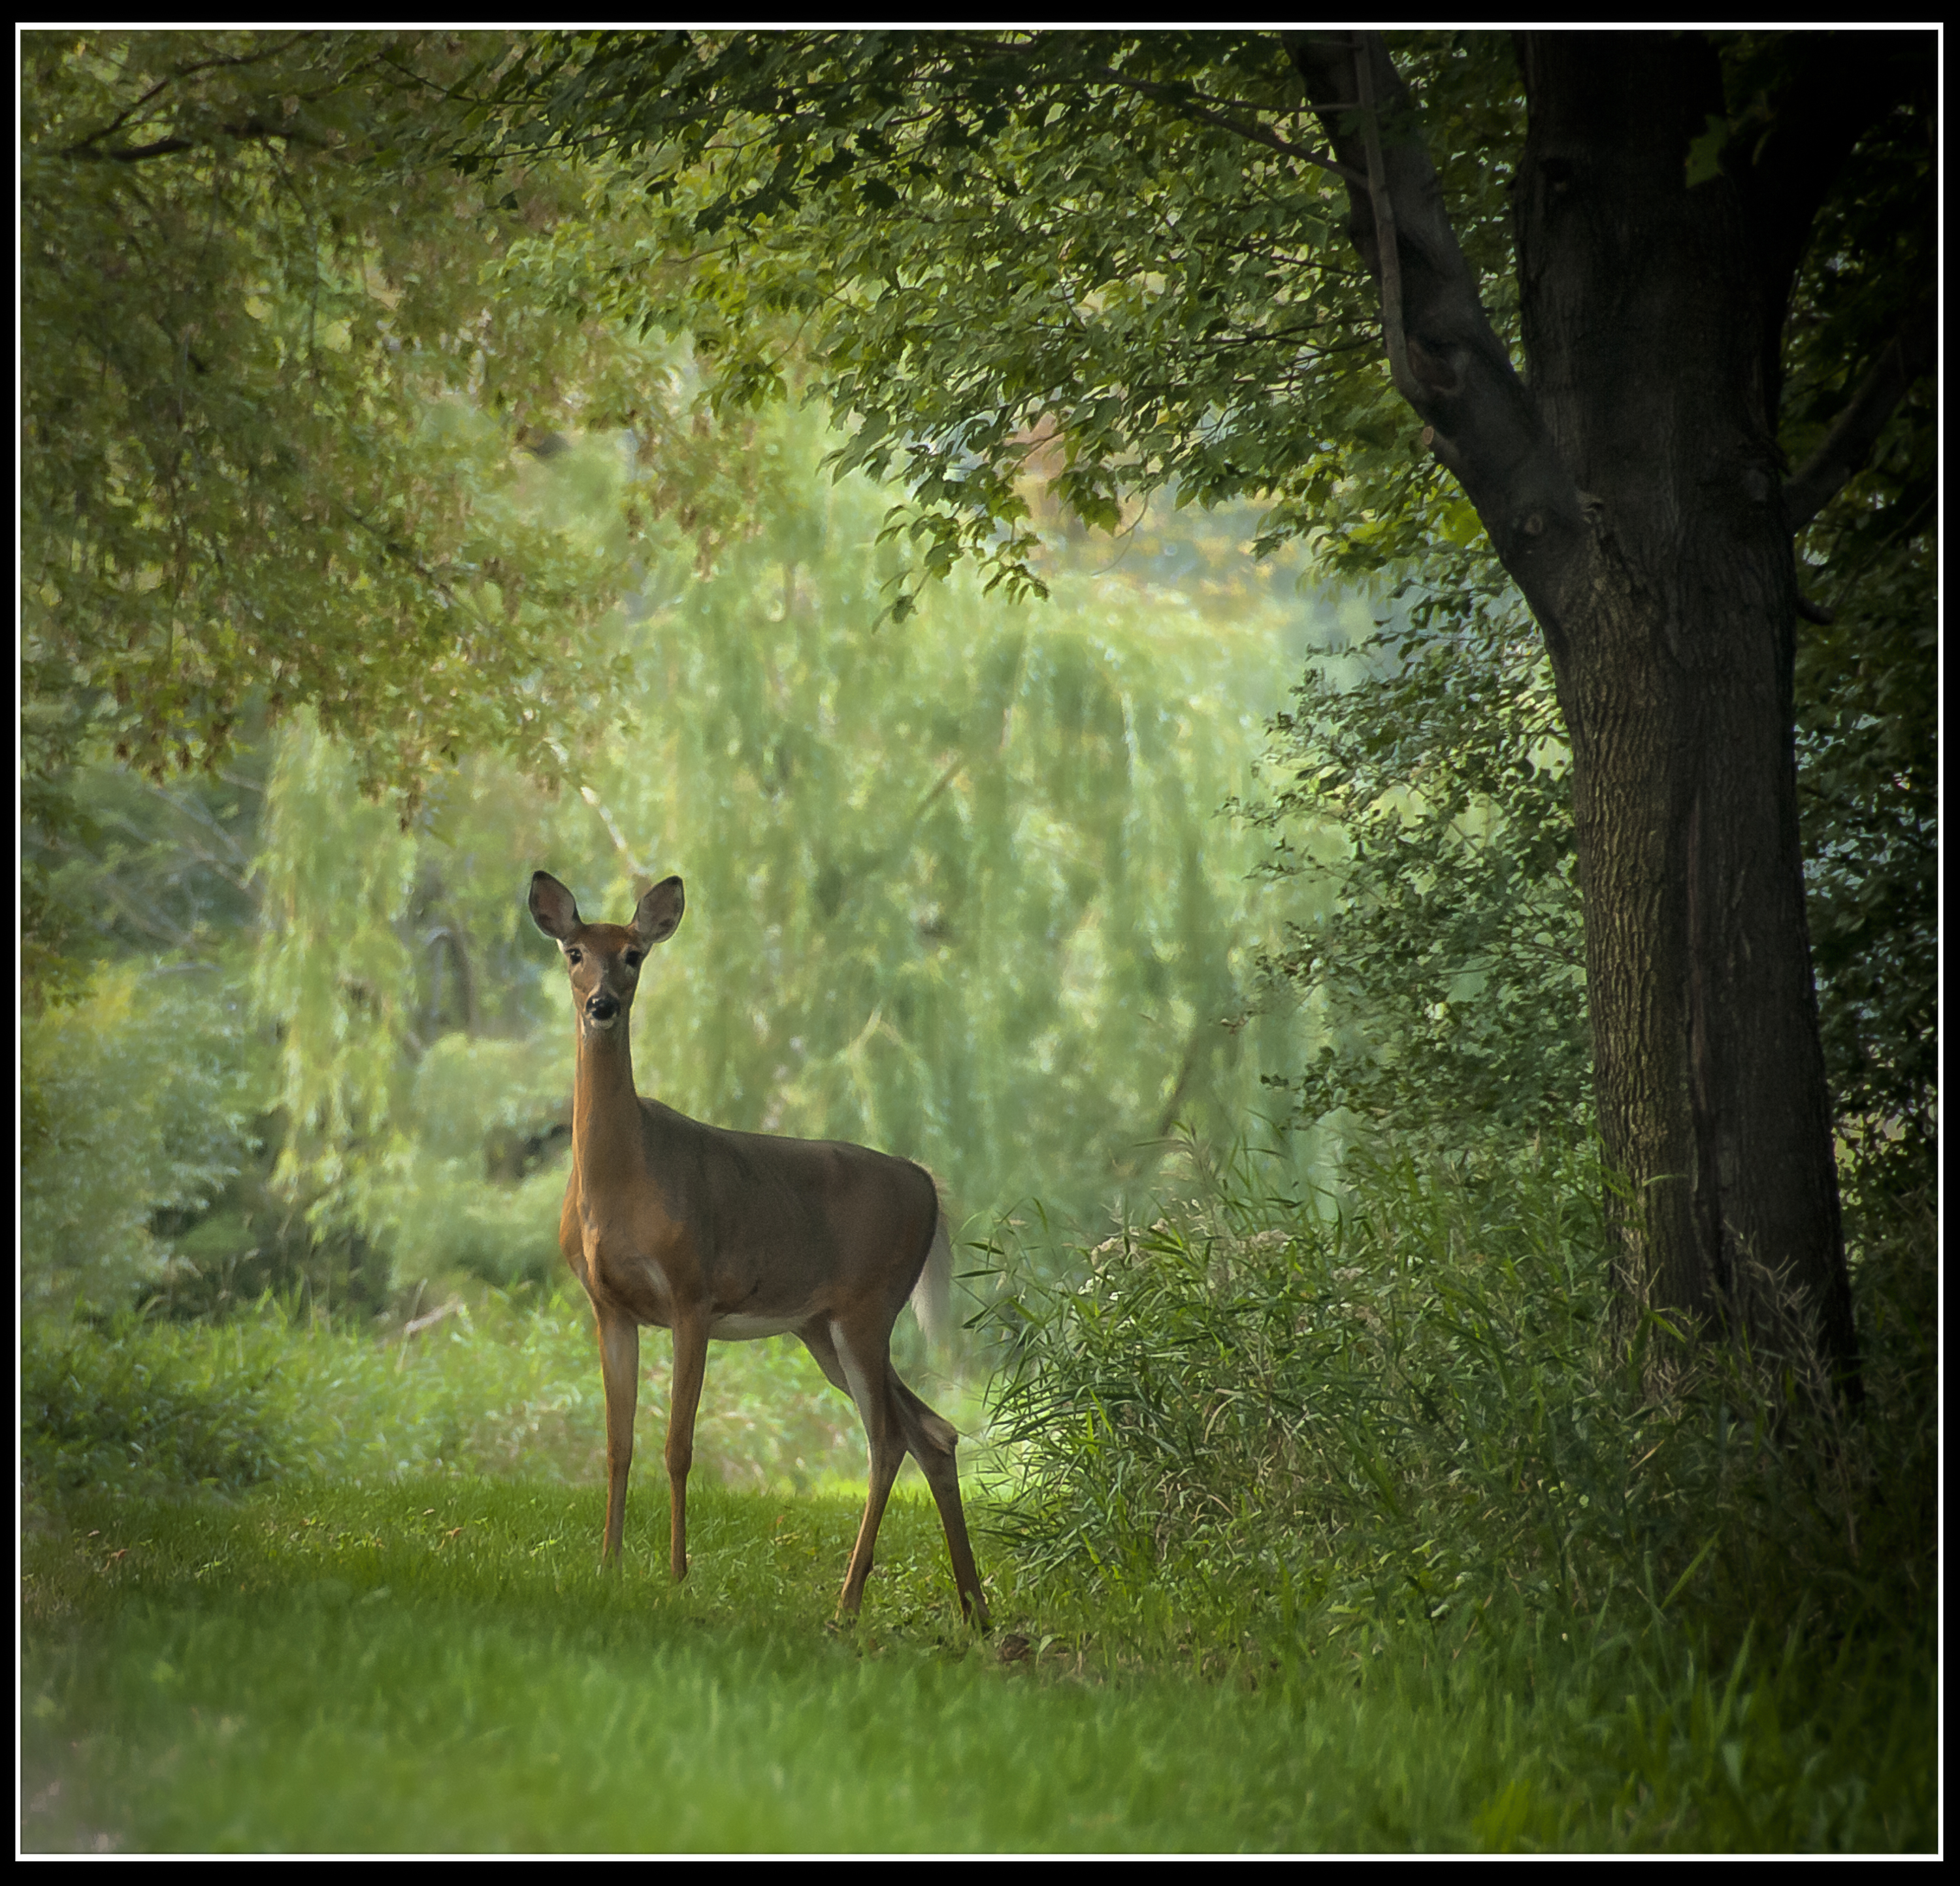
- Depending on the creature the timing is different. Deer, first shot, is a waist, its the second and third that count.
- Watch in wonder and learn. Can you learn, feel and understand how they are feeling? I think I can. When the creature is relaxed and calm, is that the shot you want, or, maybe its when they are alert with attentive ears perked. What ever the looking your waiting for, watch and learn and anticipate.
- Now when I say “Don’t shoot what it looks like. Shoot what it feels like.” can you begin to understand ?

Post Production:
With everyone’s lives full of hustle and bustle I’m sure some of you are thinking this is mambo jumbo by now. As I was preparing my talk I was thinking the same thing maybe I should just do a standard show and tell. Well that’s not me, so lets move on to the next step.
Now let me show you how this continues to relate and what it looks like in the end. I apologize that I don’t have a 14 step action set to sell you that will create amazing results for your images, its not that simple and nor should it be, this is creative art.
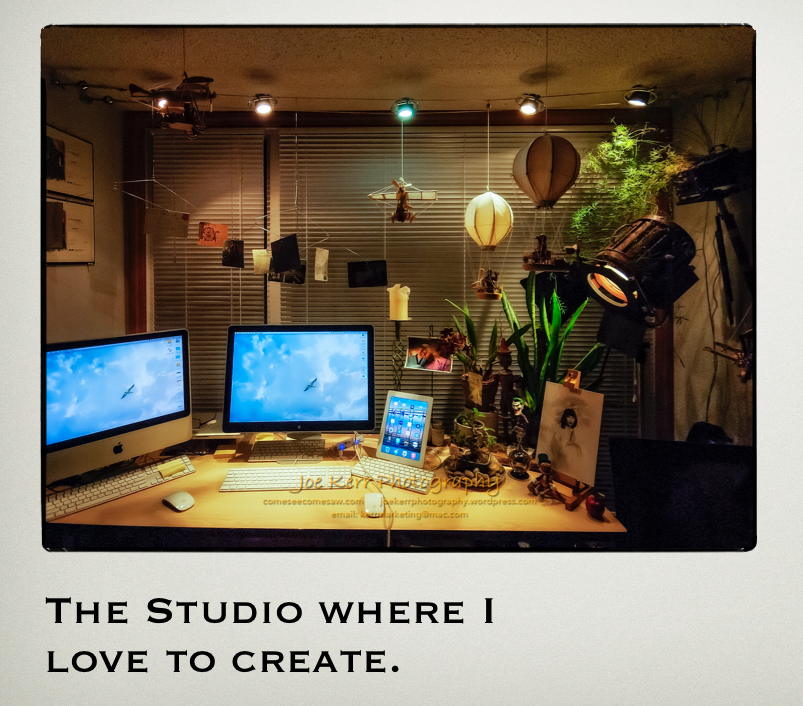
Lets start with your studio. Have you created a special place to create your art. Is your studio a place you enjoy going to and does it provide inspiration for you, or have you even thought about creating a special environment. Does music play a roll in your life and studio ? All this plays a part in how you feel about your photography. I’ve had the privilege of visiting numerous studio’s and the cream of the crop do have a special place to create their work so its fact, not fiction.
Let me walk you through a couple of my photographic opportunities and how I perceived and processed them. My processing actually begins when I’m capturing the image in the field. My mind is already thinking about how these will likely be processed, I’m also not close minded but this is my starting point.
Each photographic concept has a different starting point in the camera settings. Each subject has its own unique feel and needs to be processed that way. There are no single one action fool proof buttons here, this is art and needs that individualistic attention to detail. Here on the blog I’ve attached links to each set of images and the details in capture and processing follow the link to learn more. Each set was a study on its own.
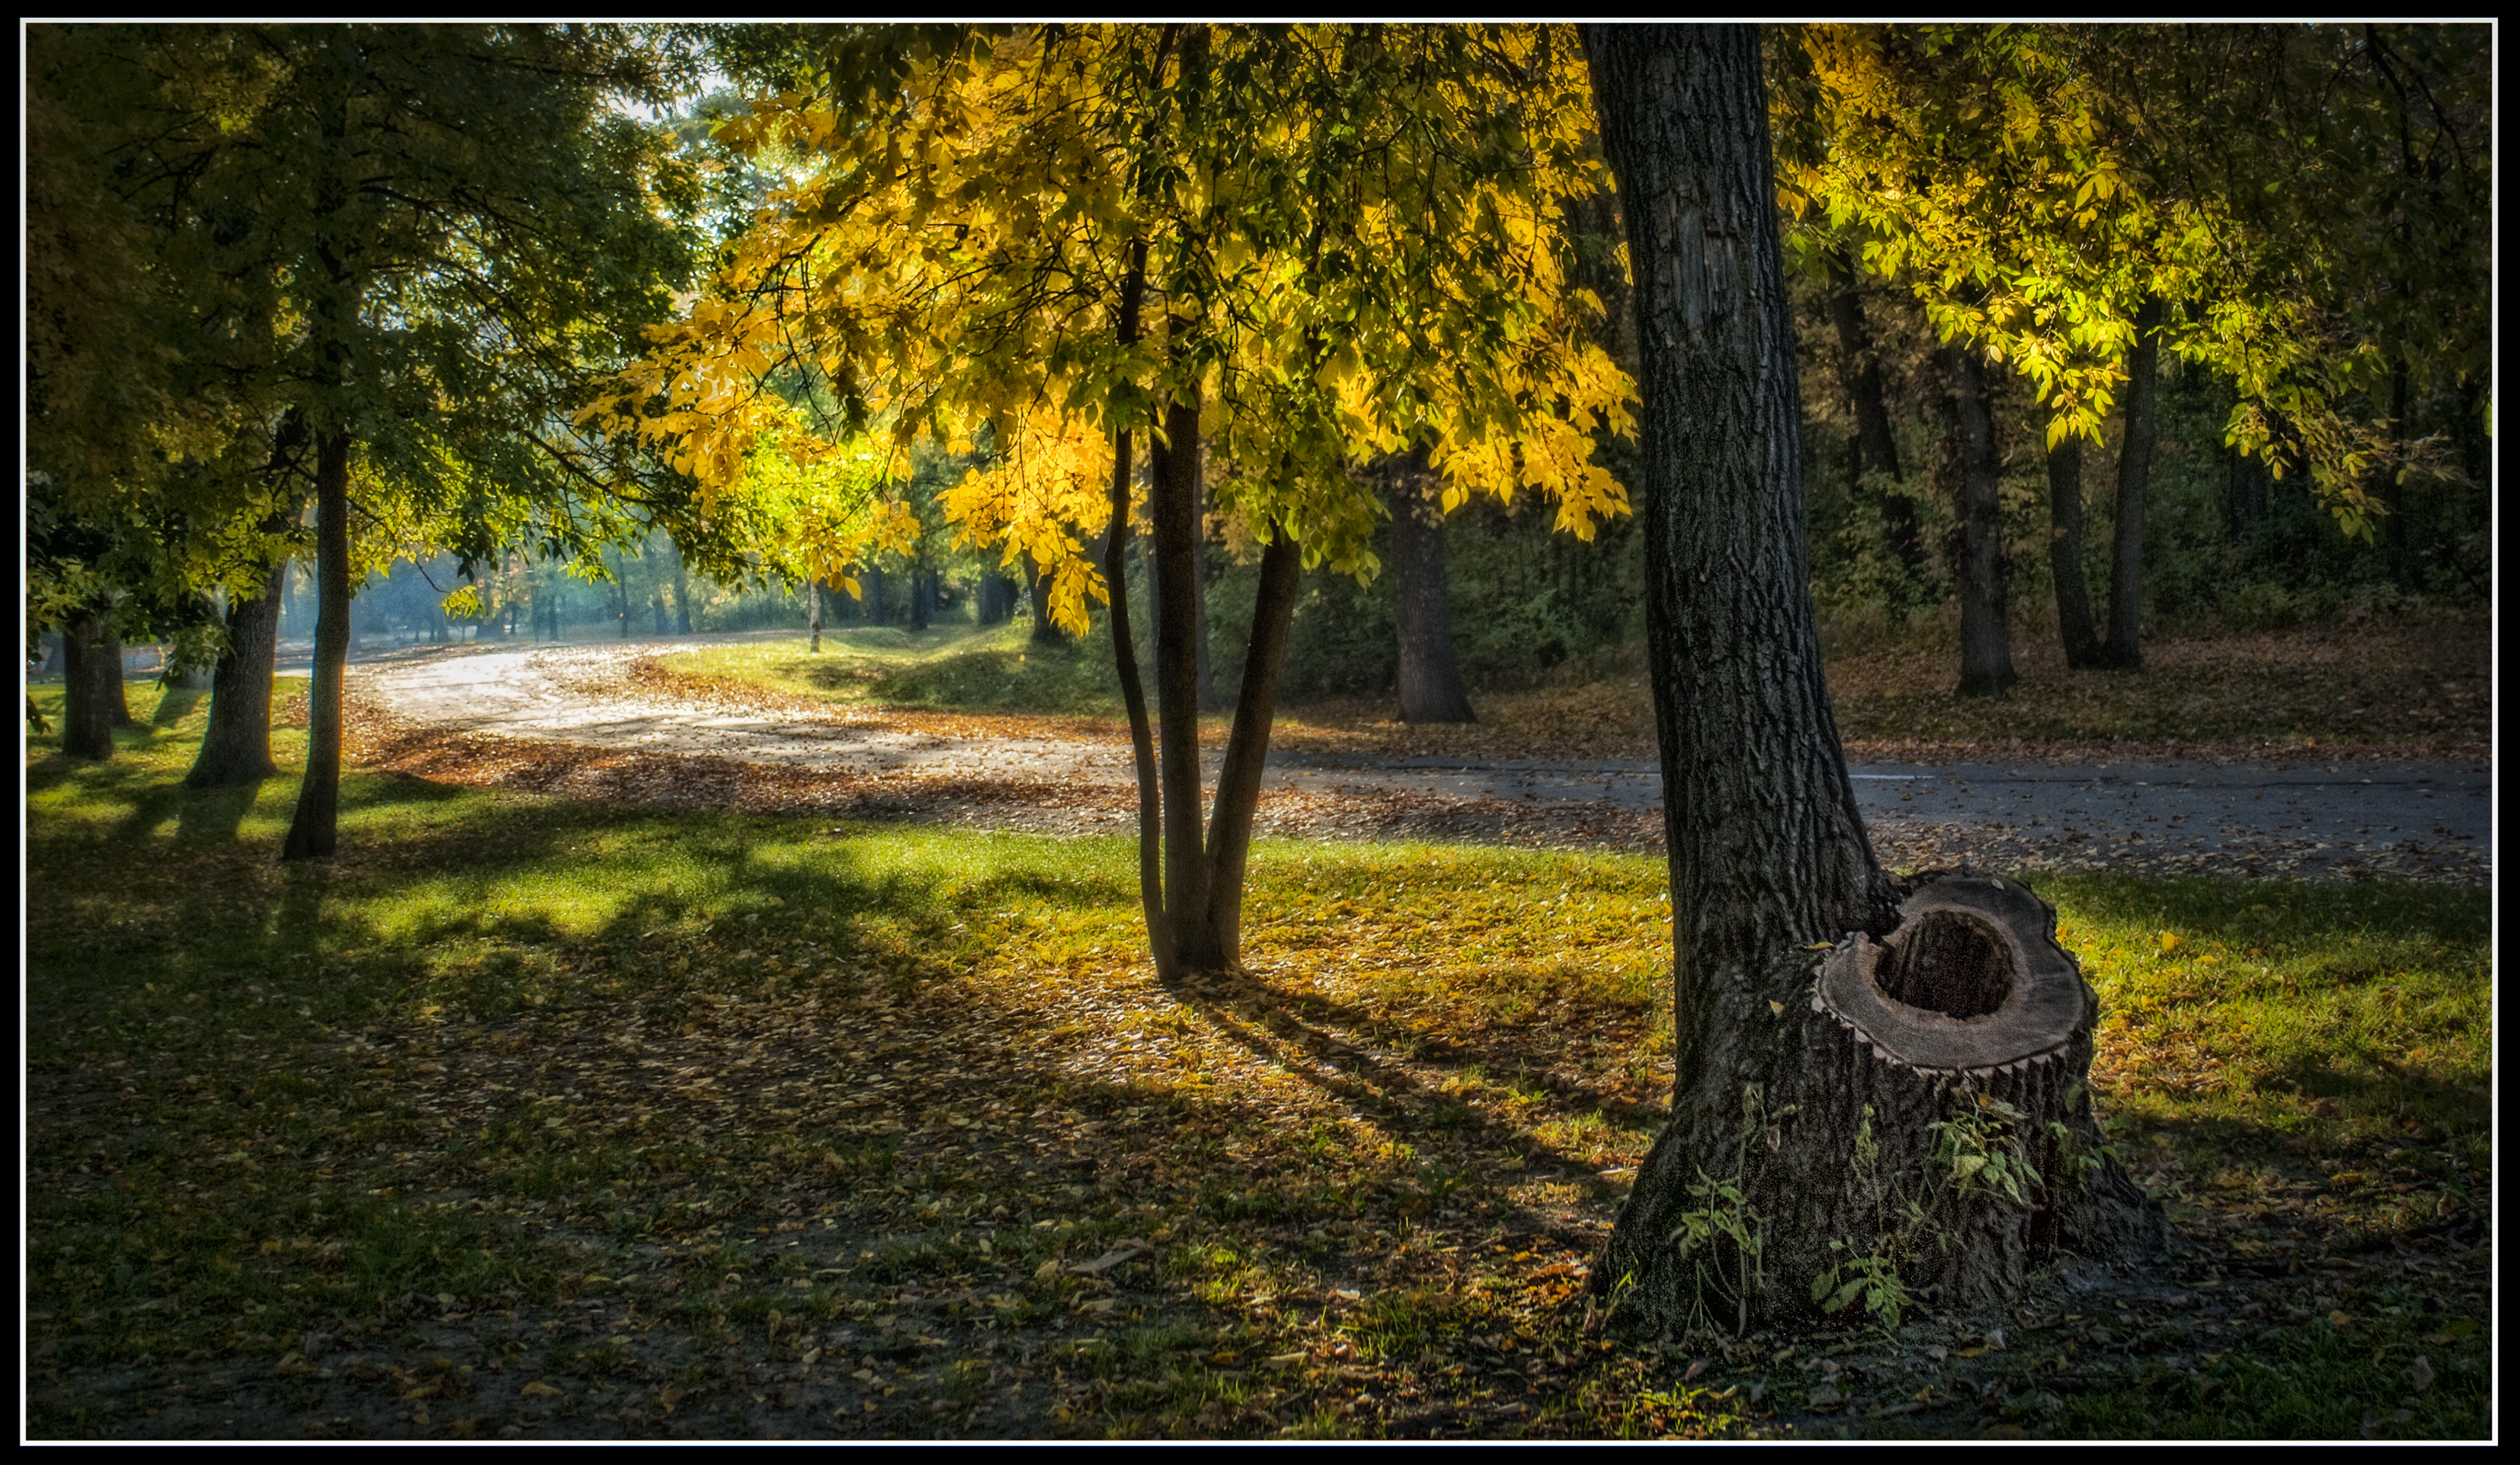
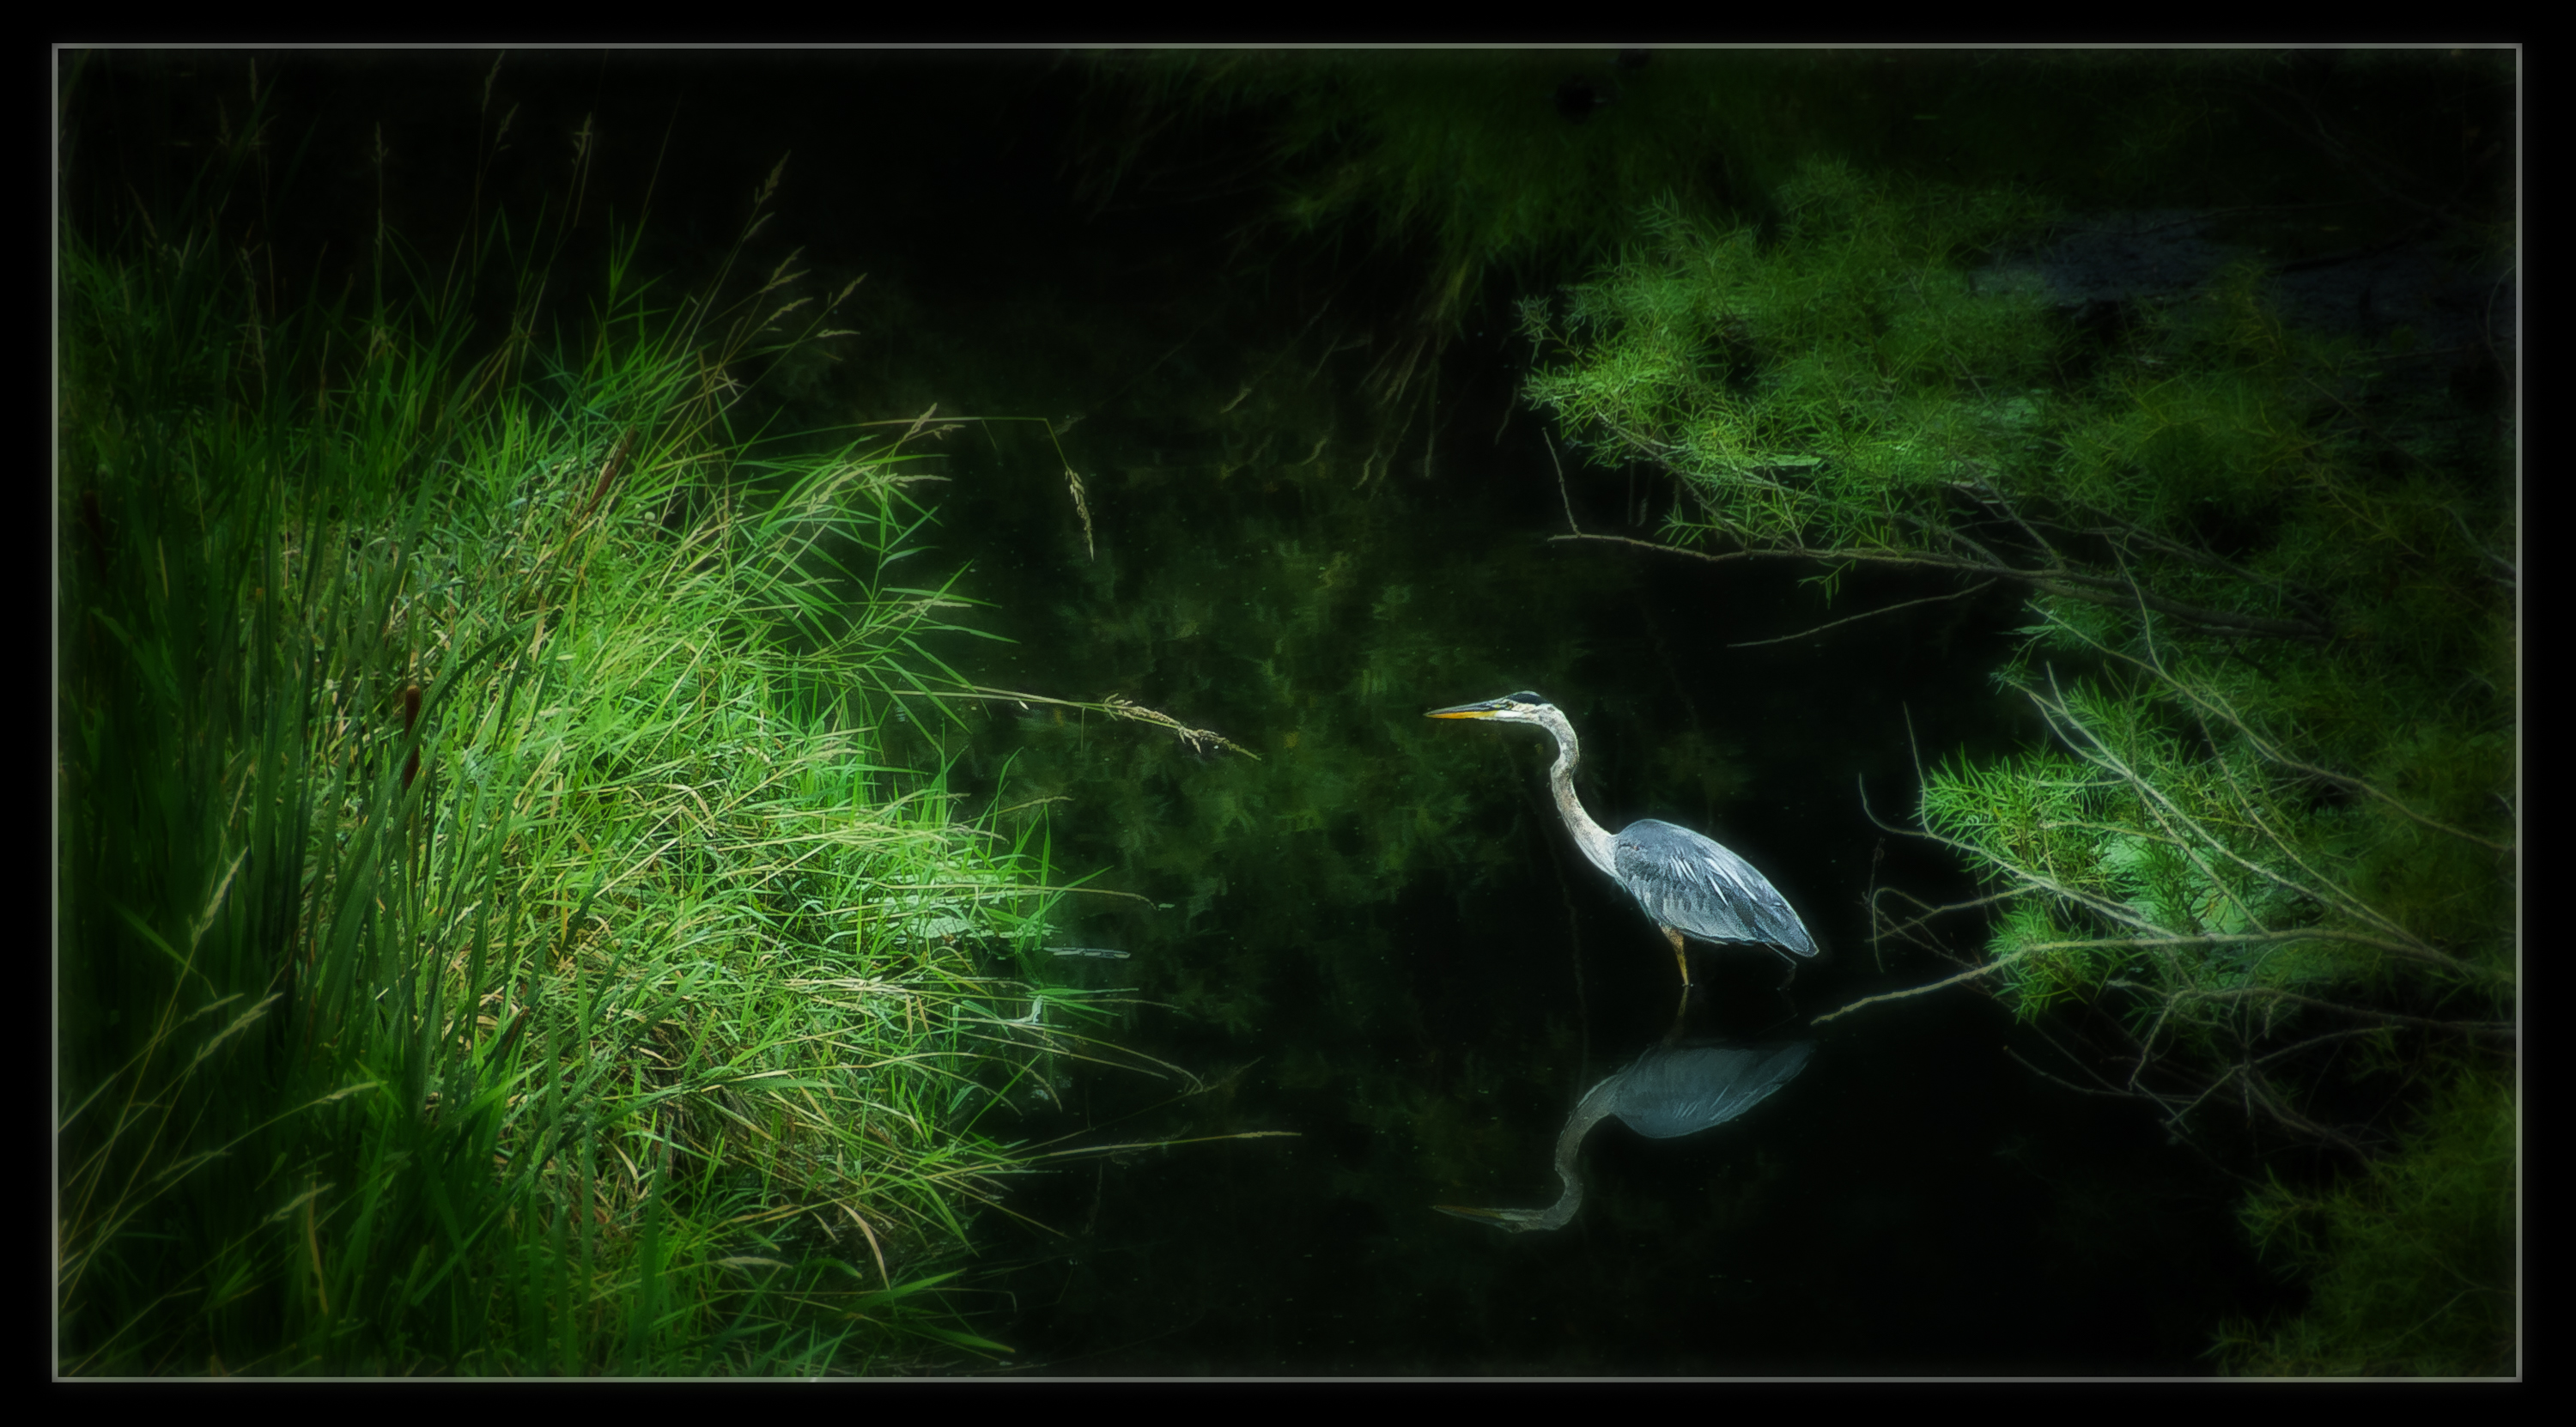
Deer & Heron in Minnesota

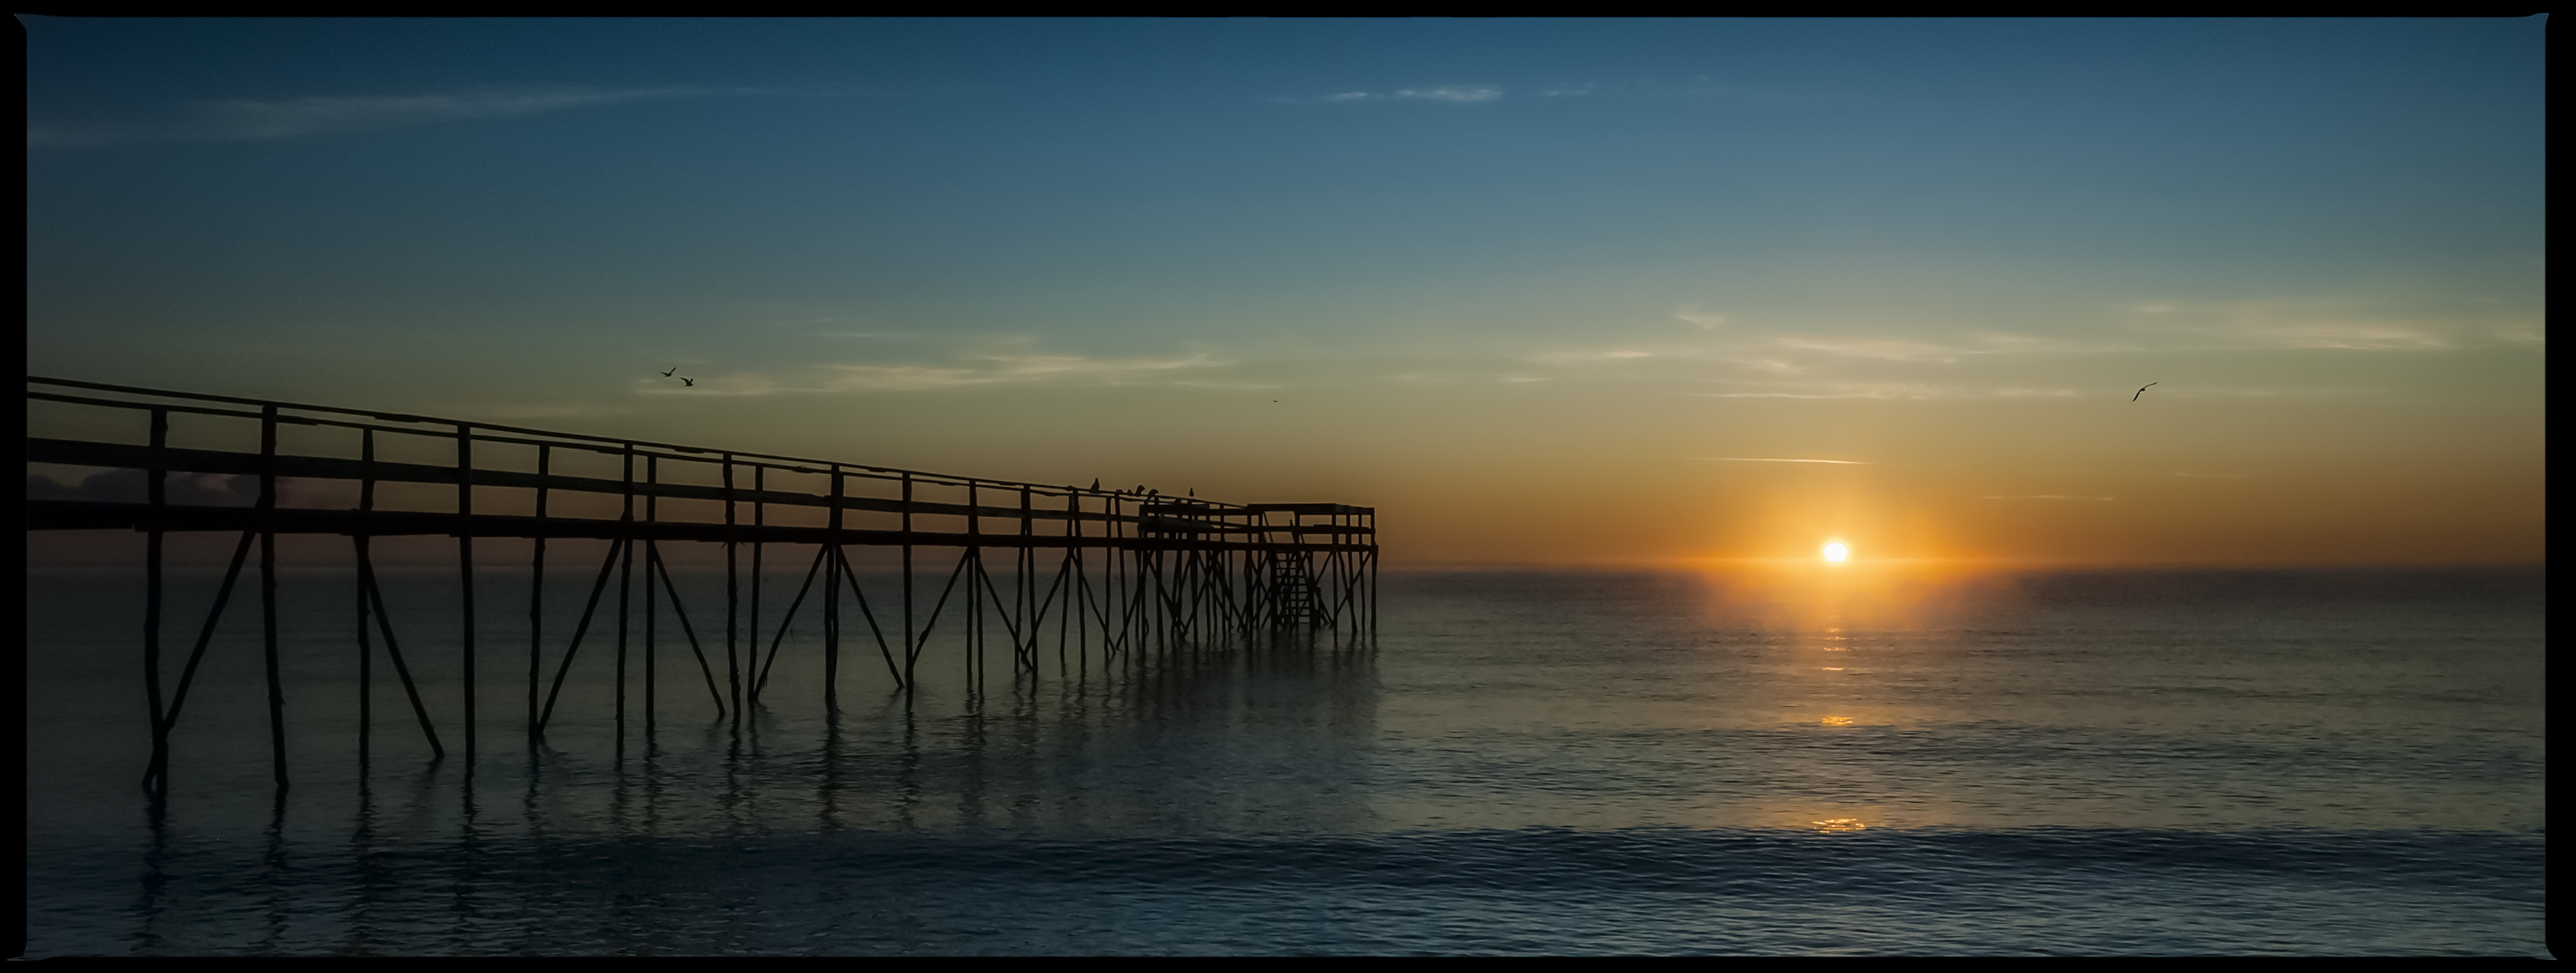
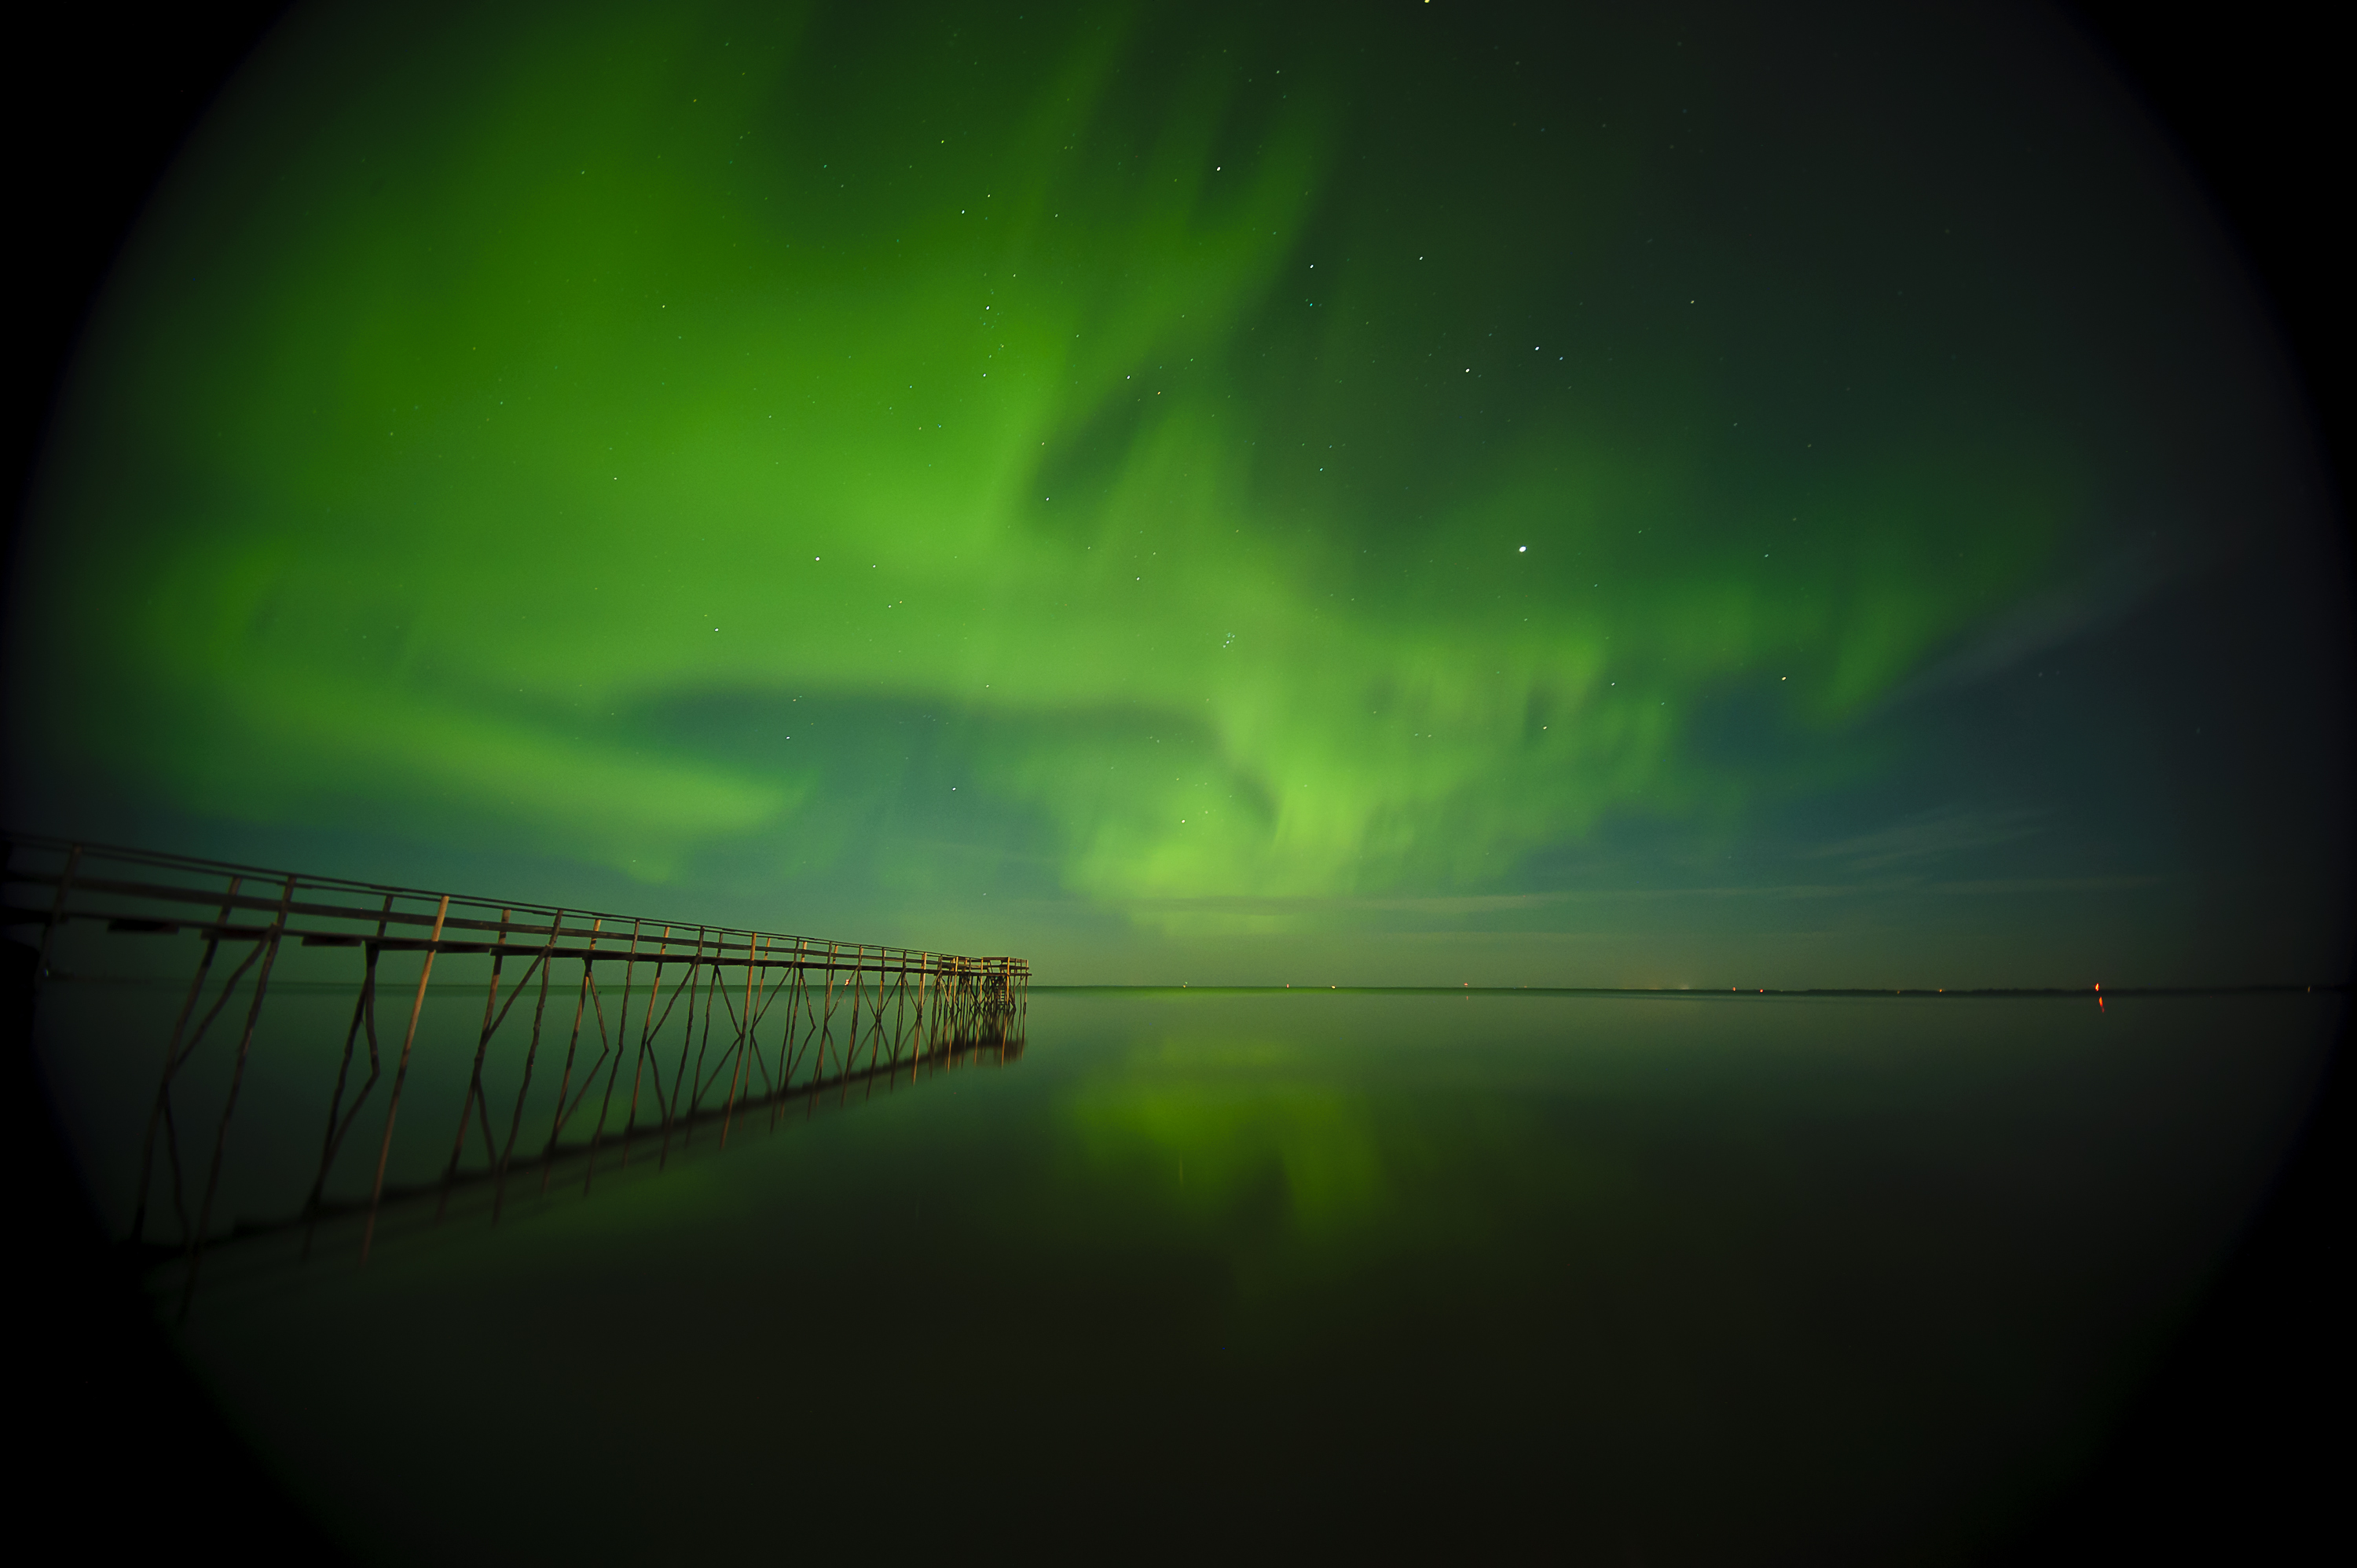
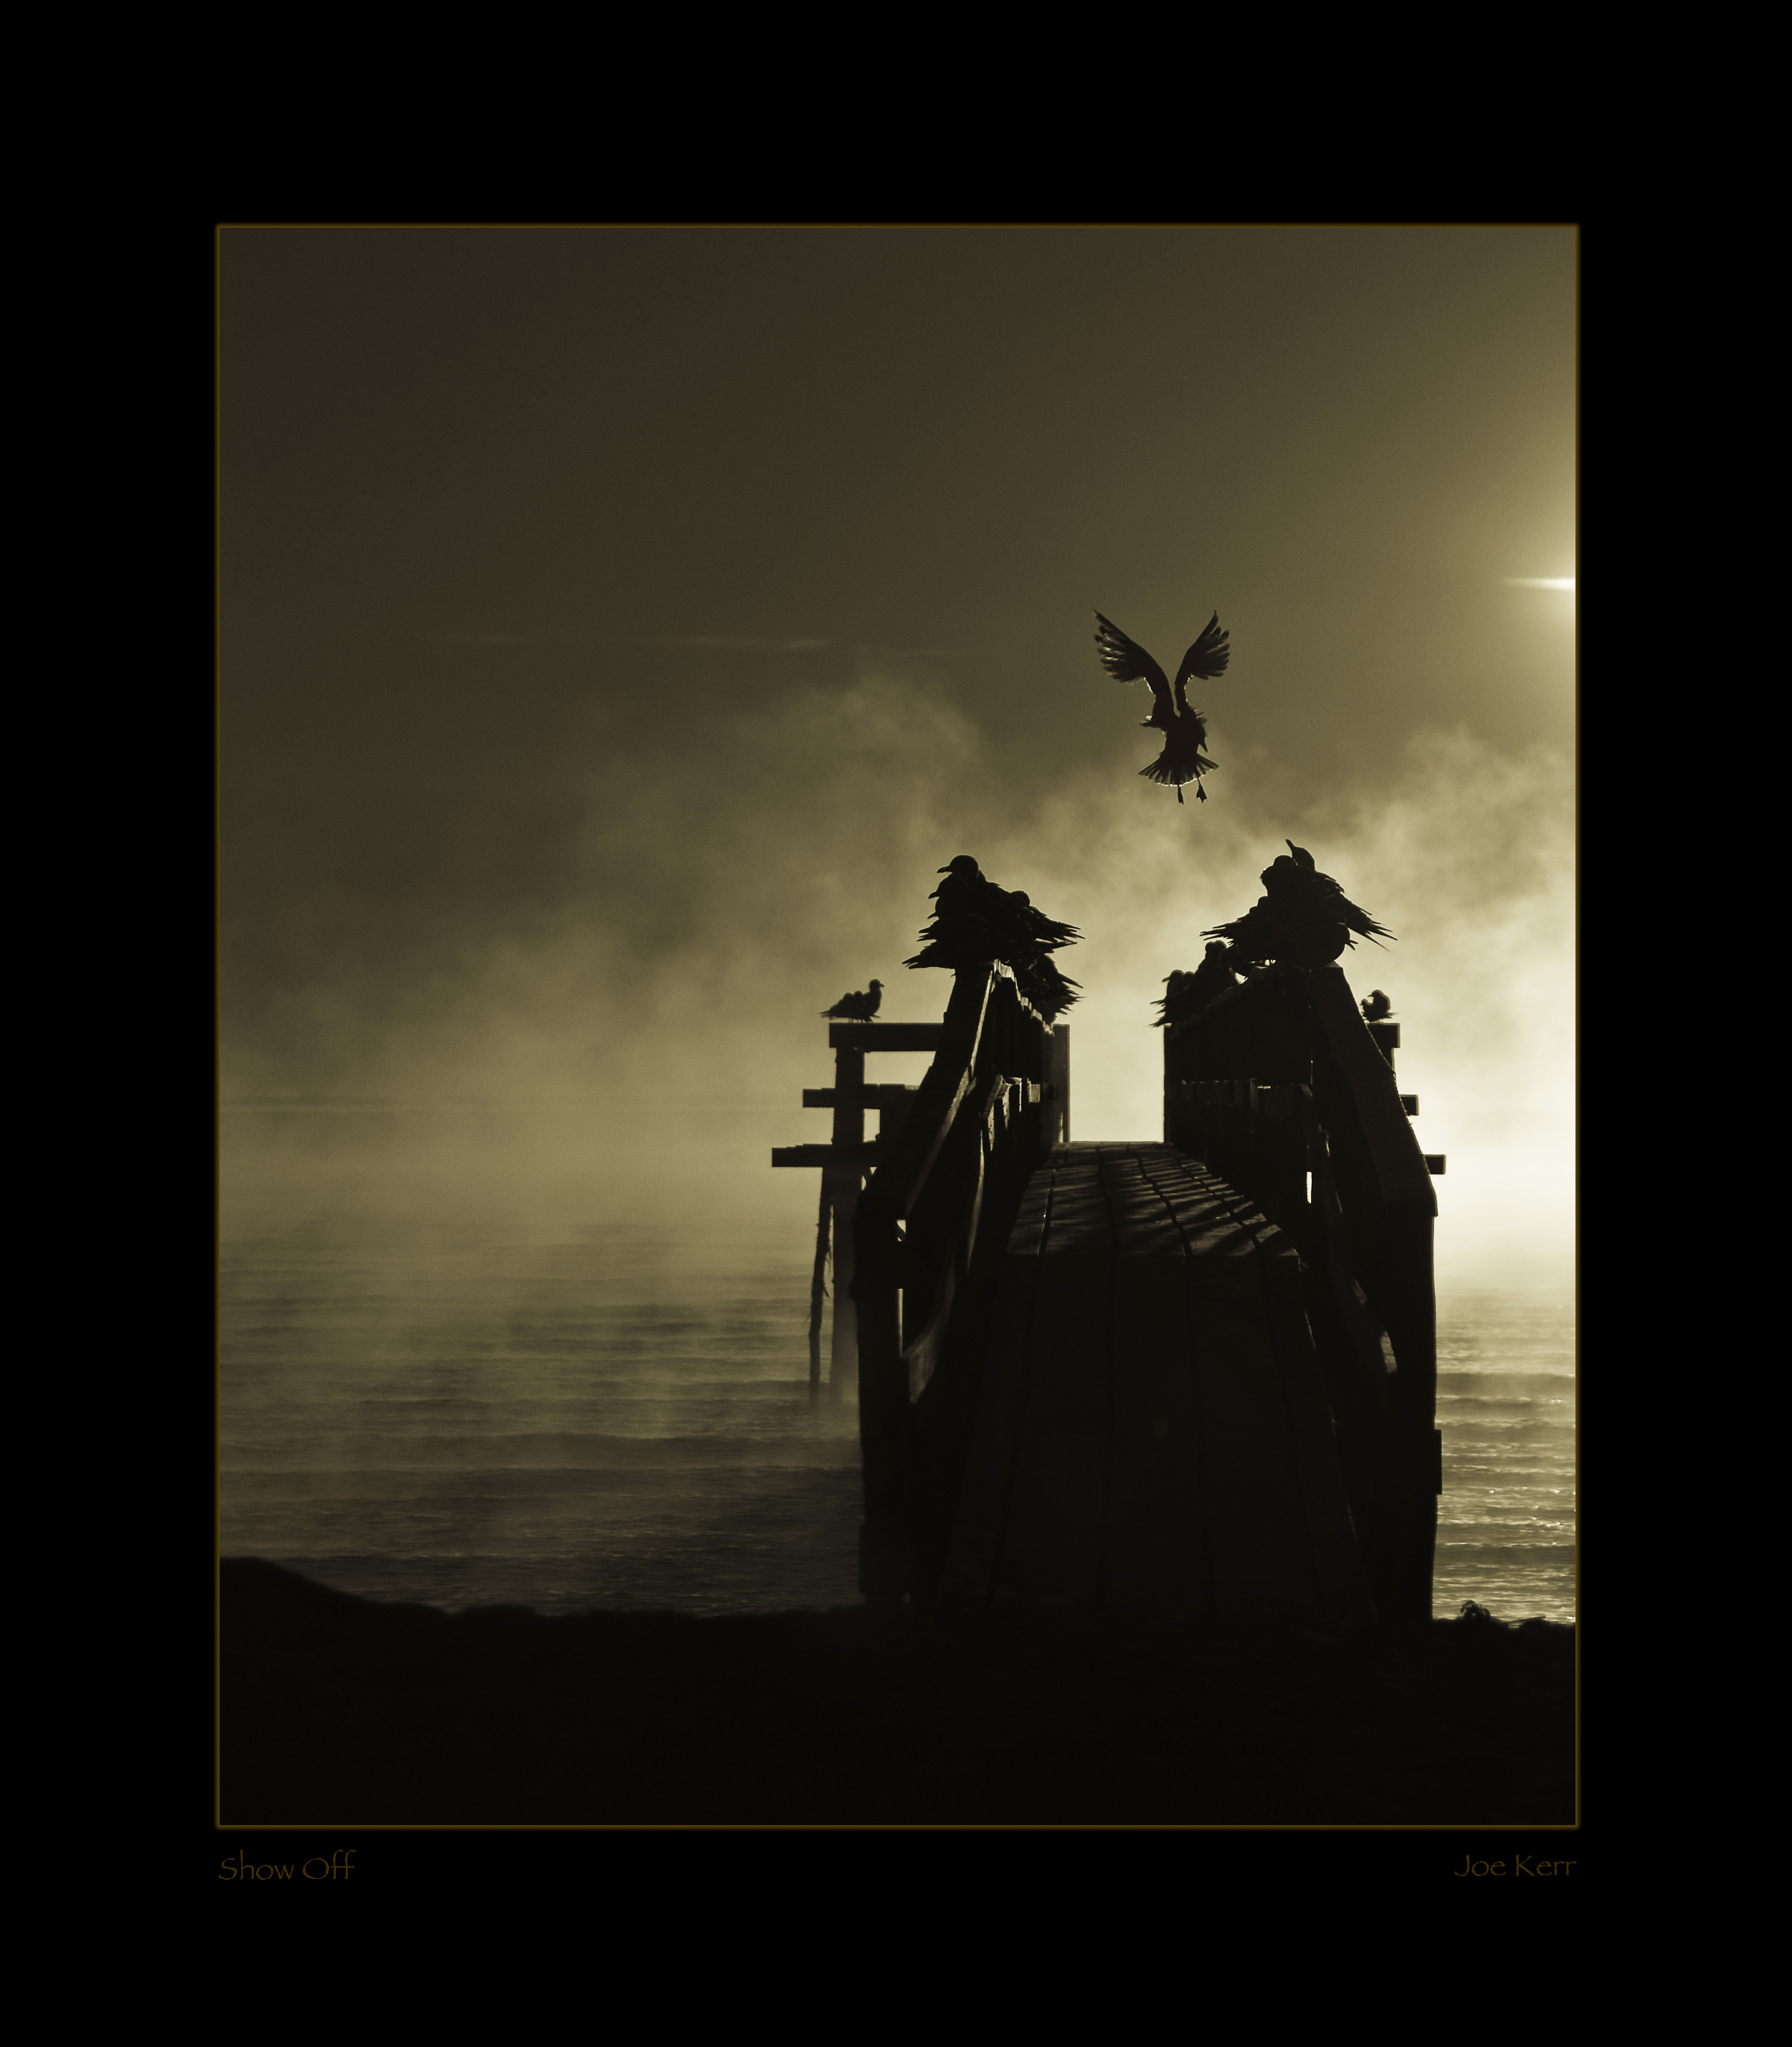
Matlock Piers
Click here for more details (coming soon)
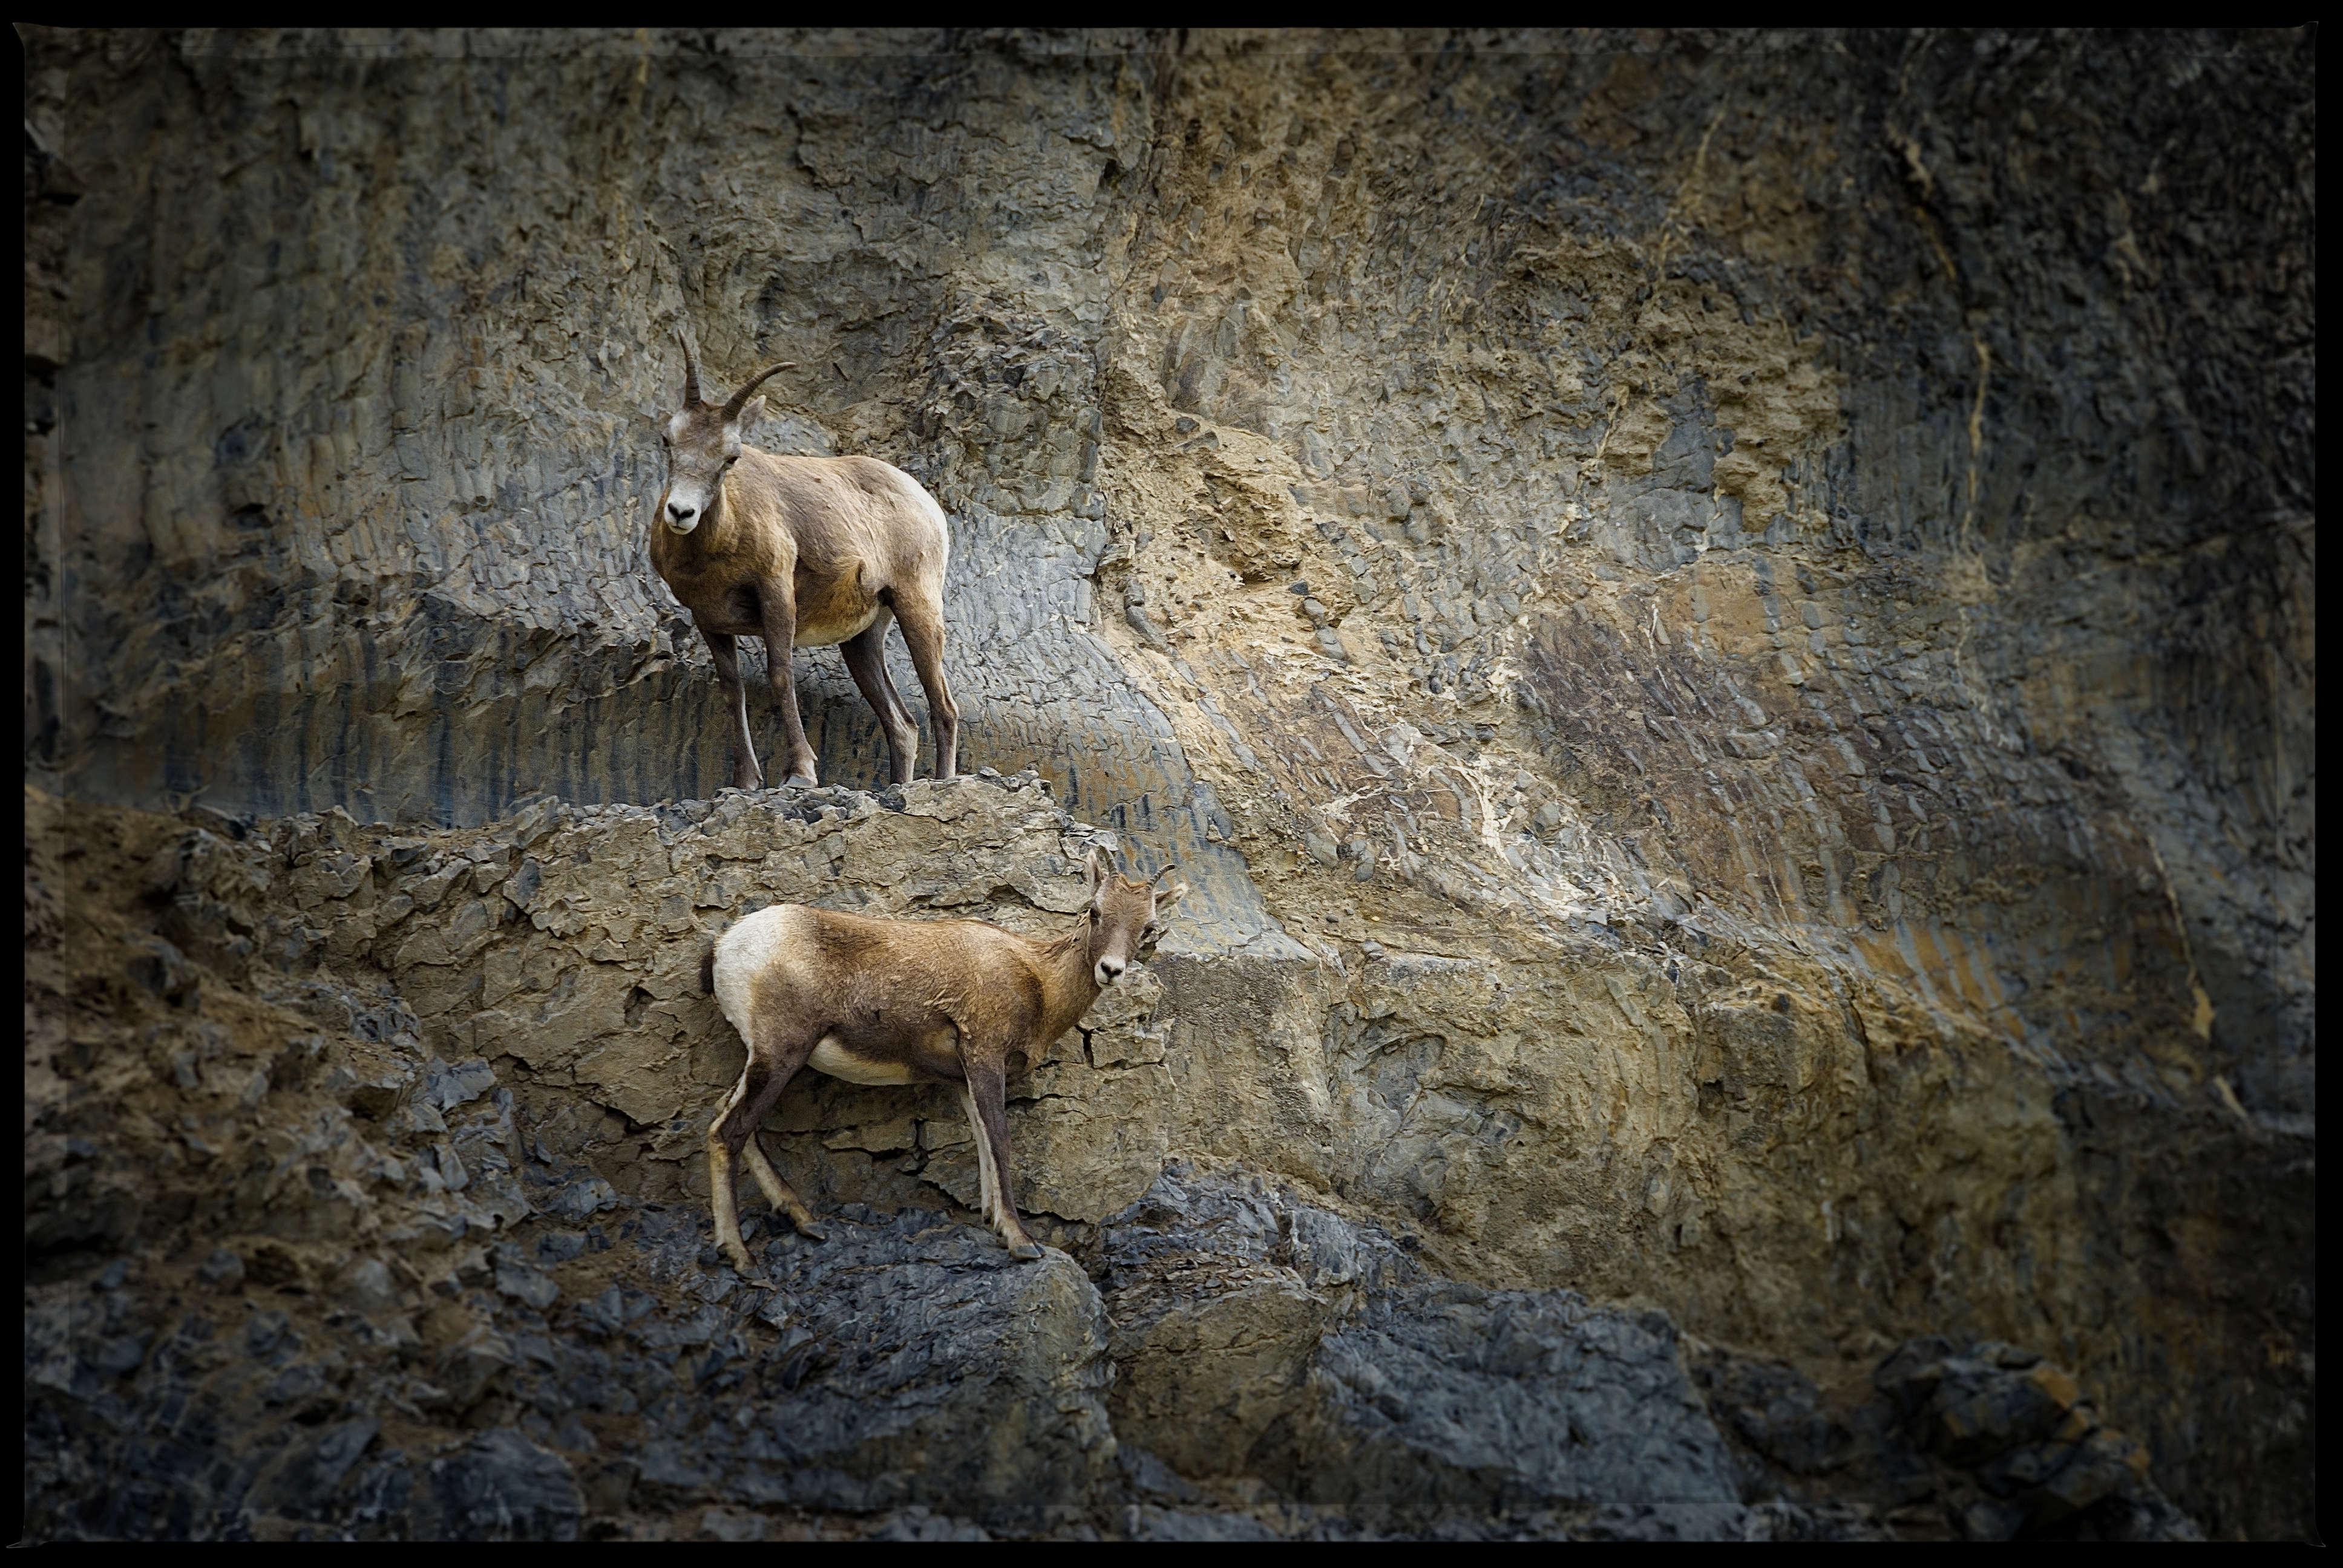
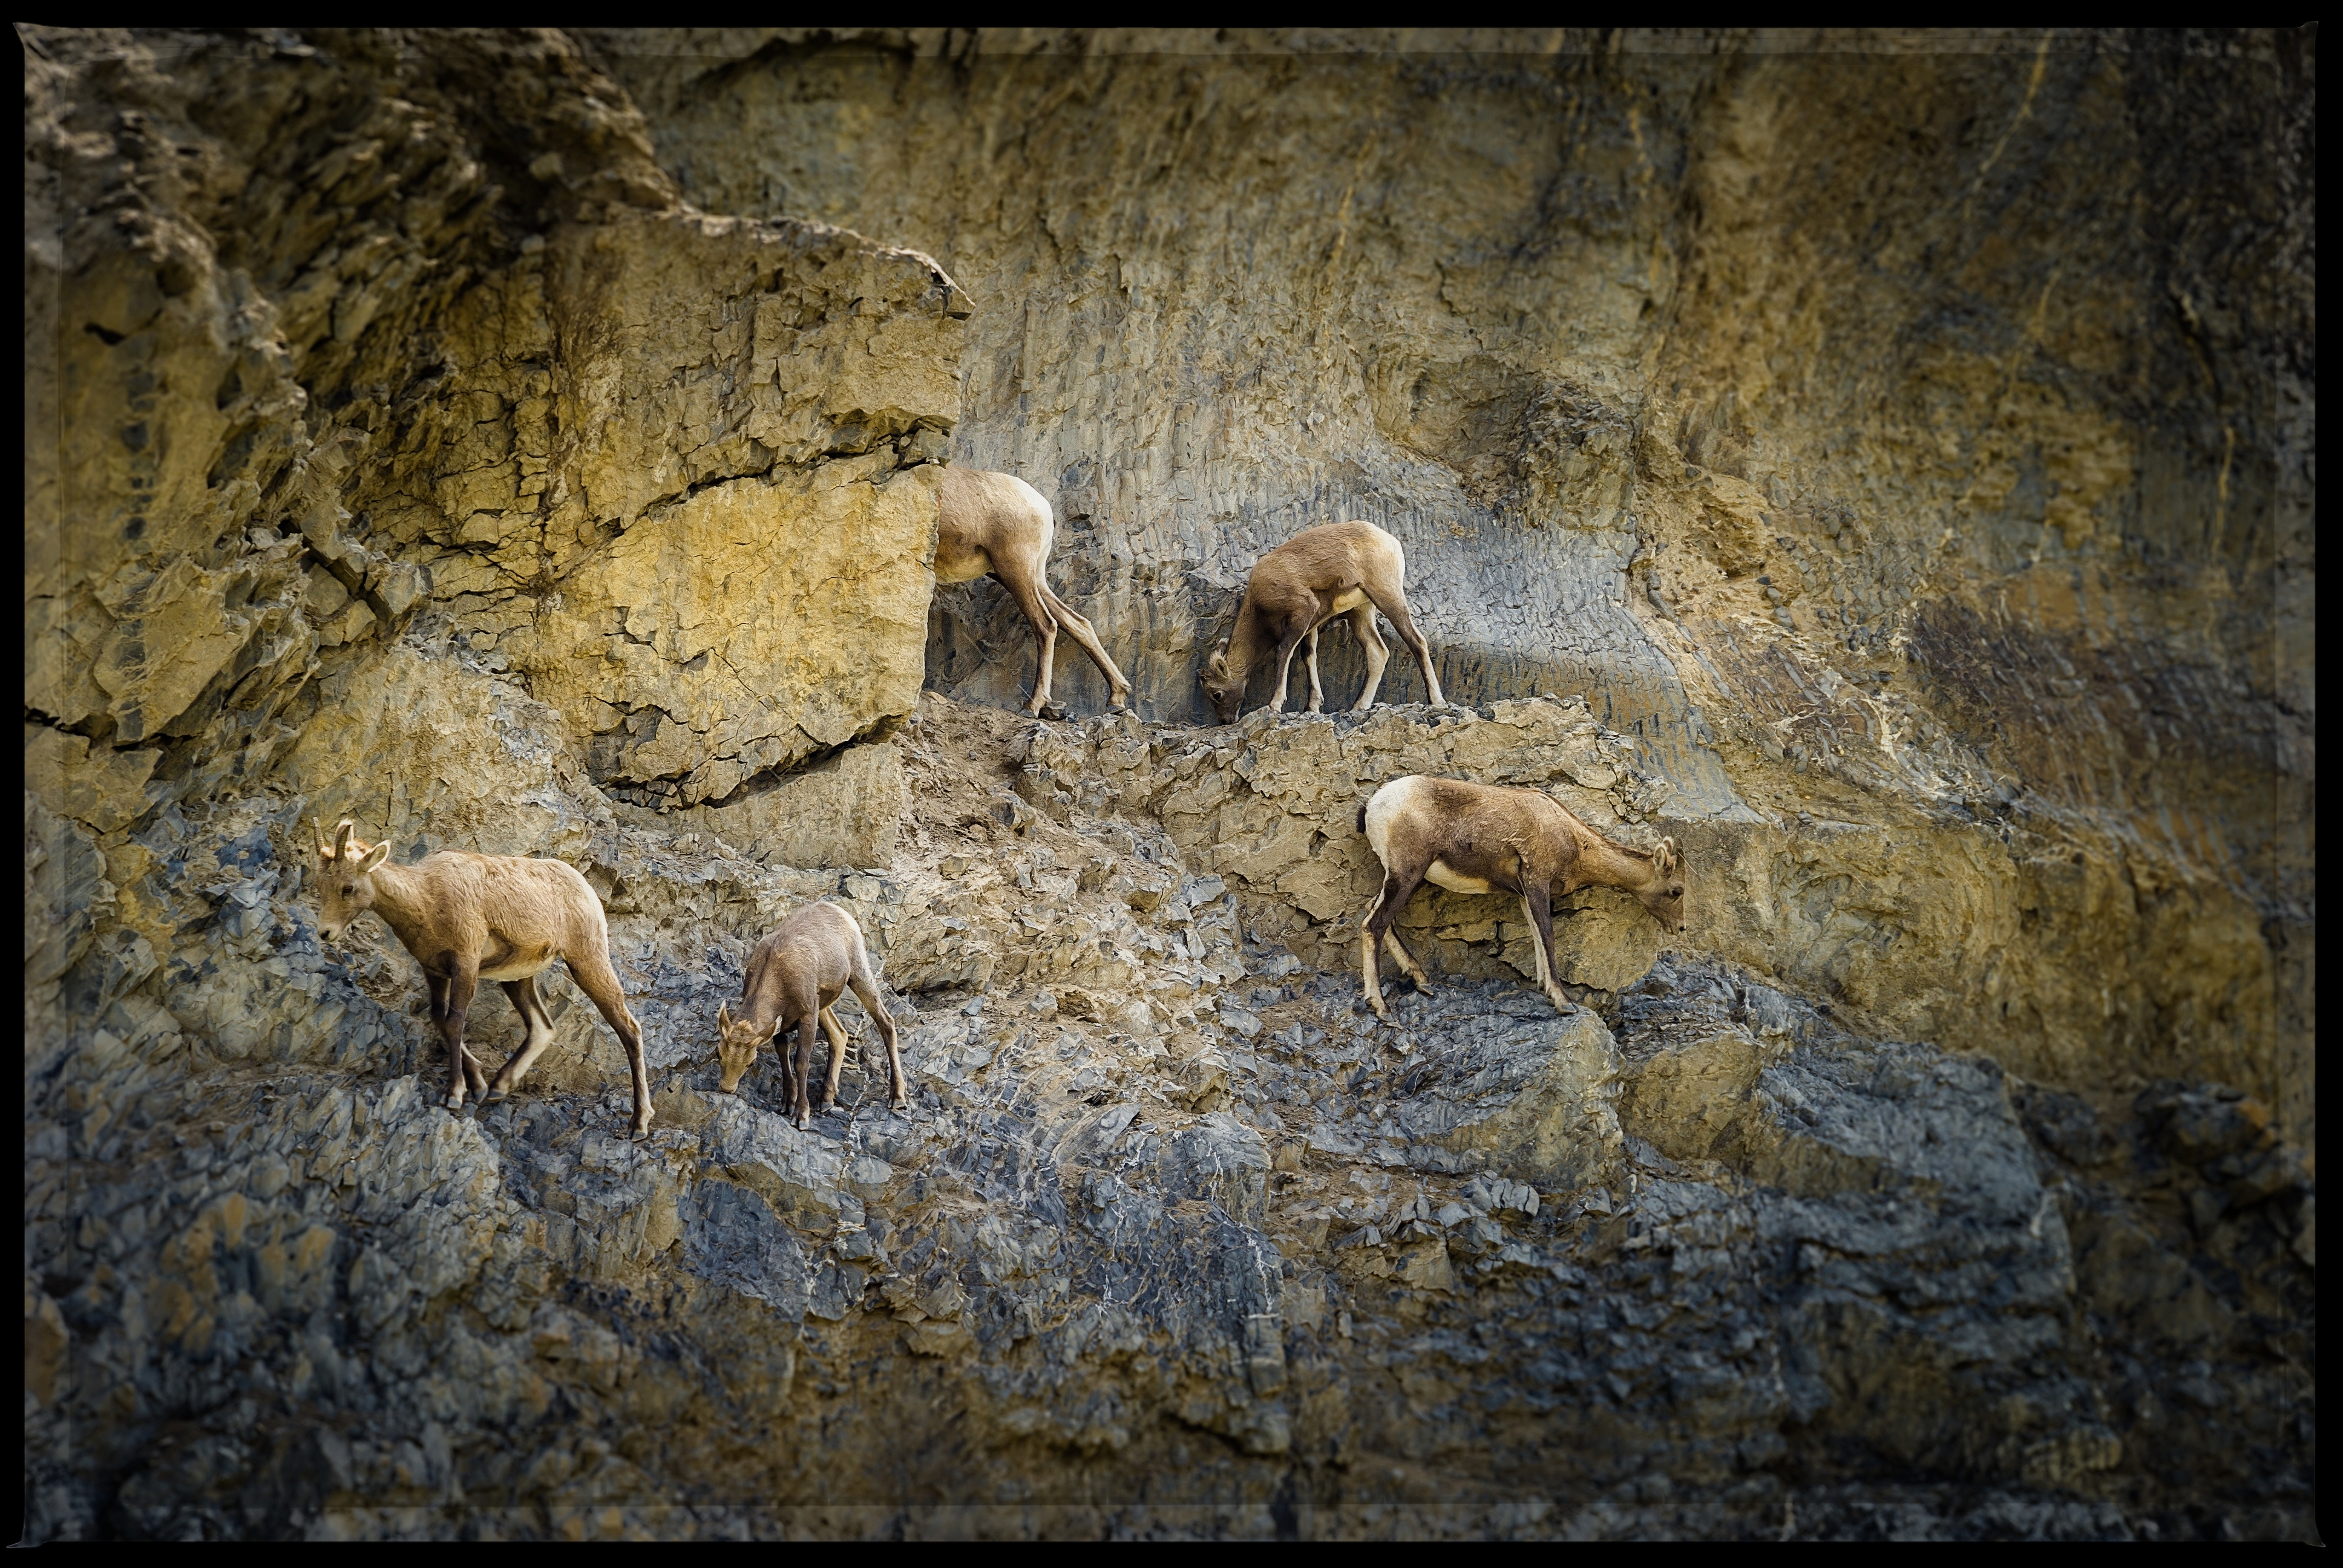
Mountain Sheep


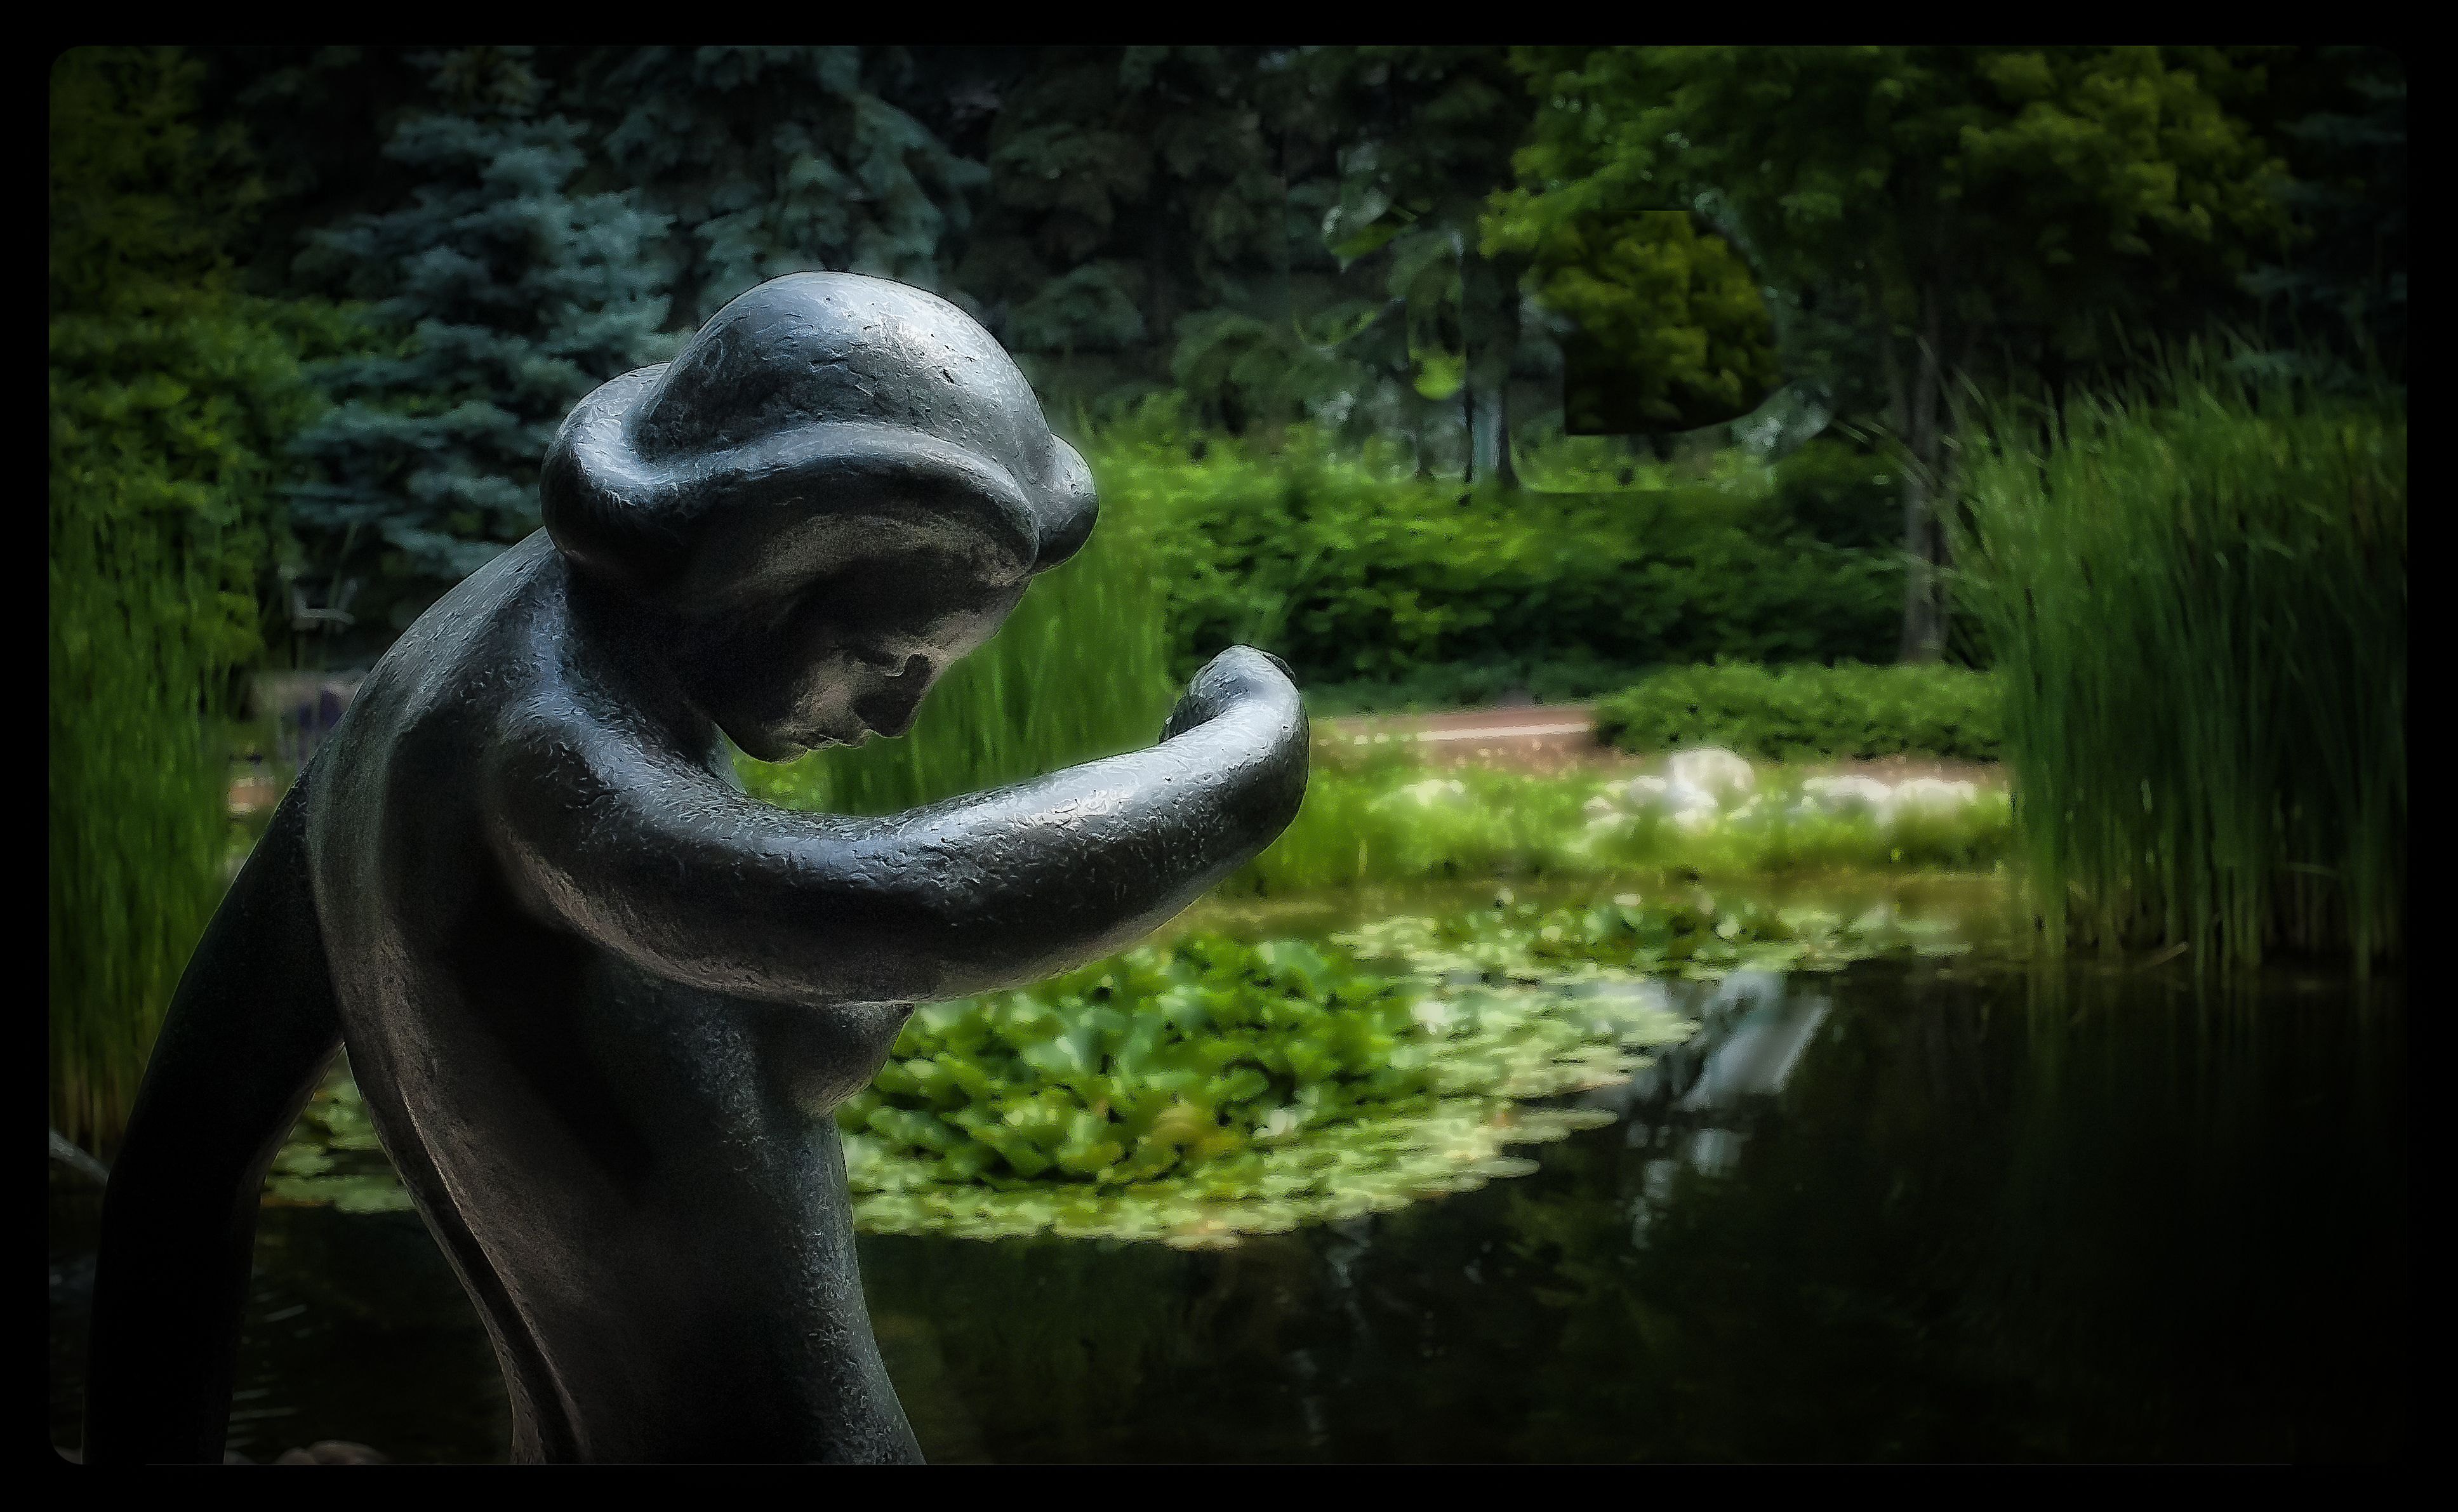
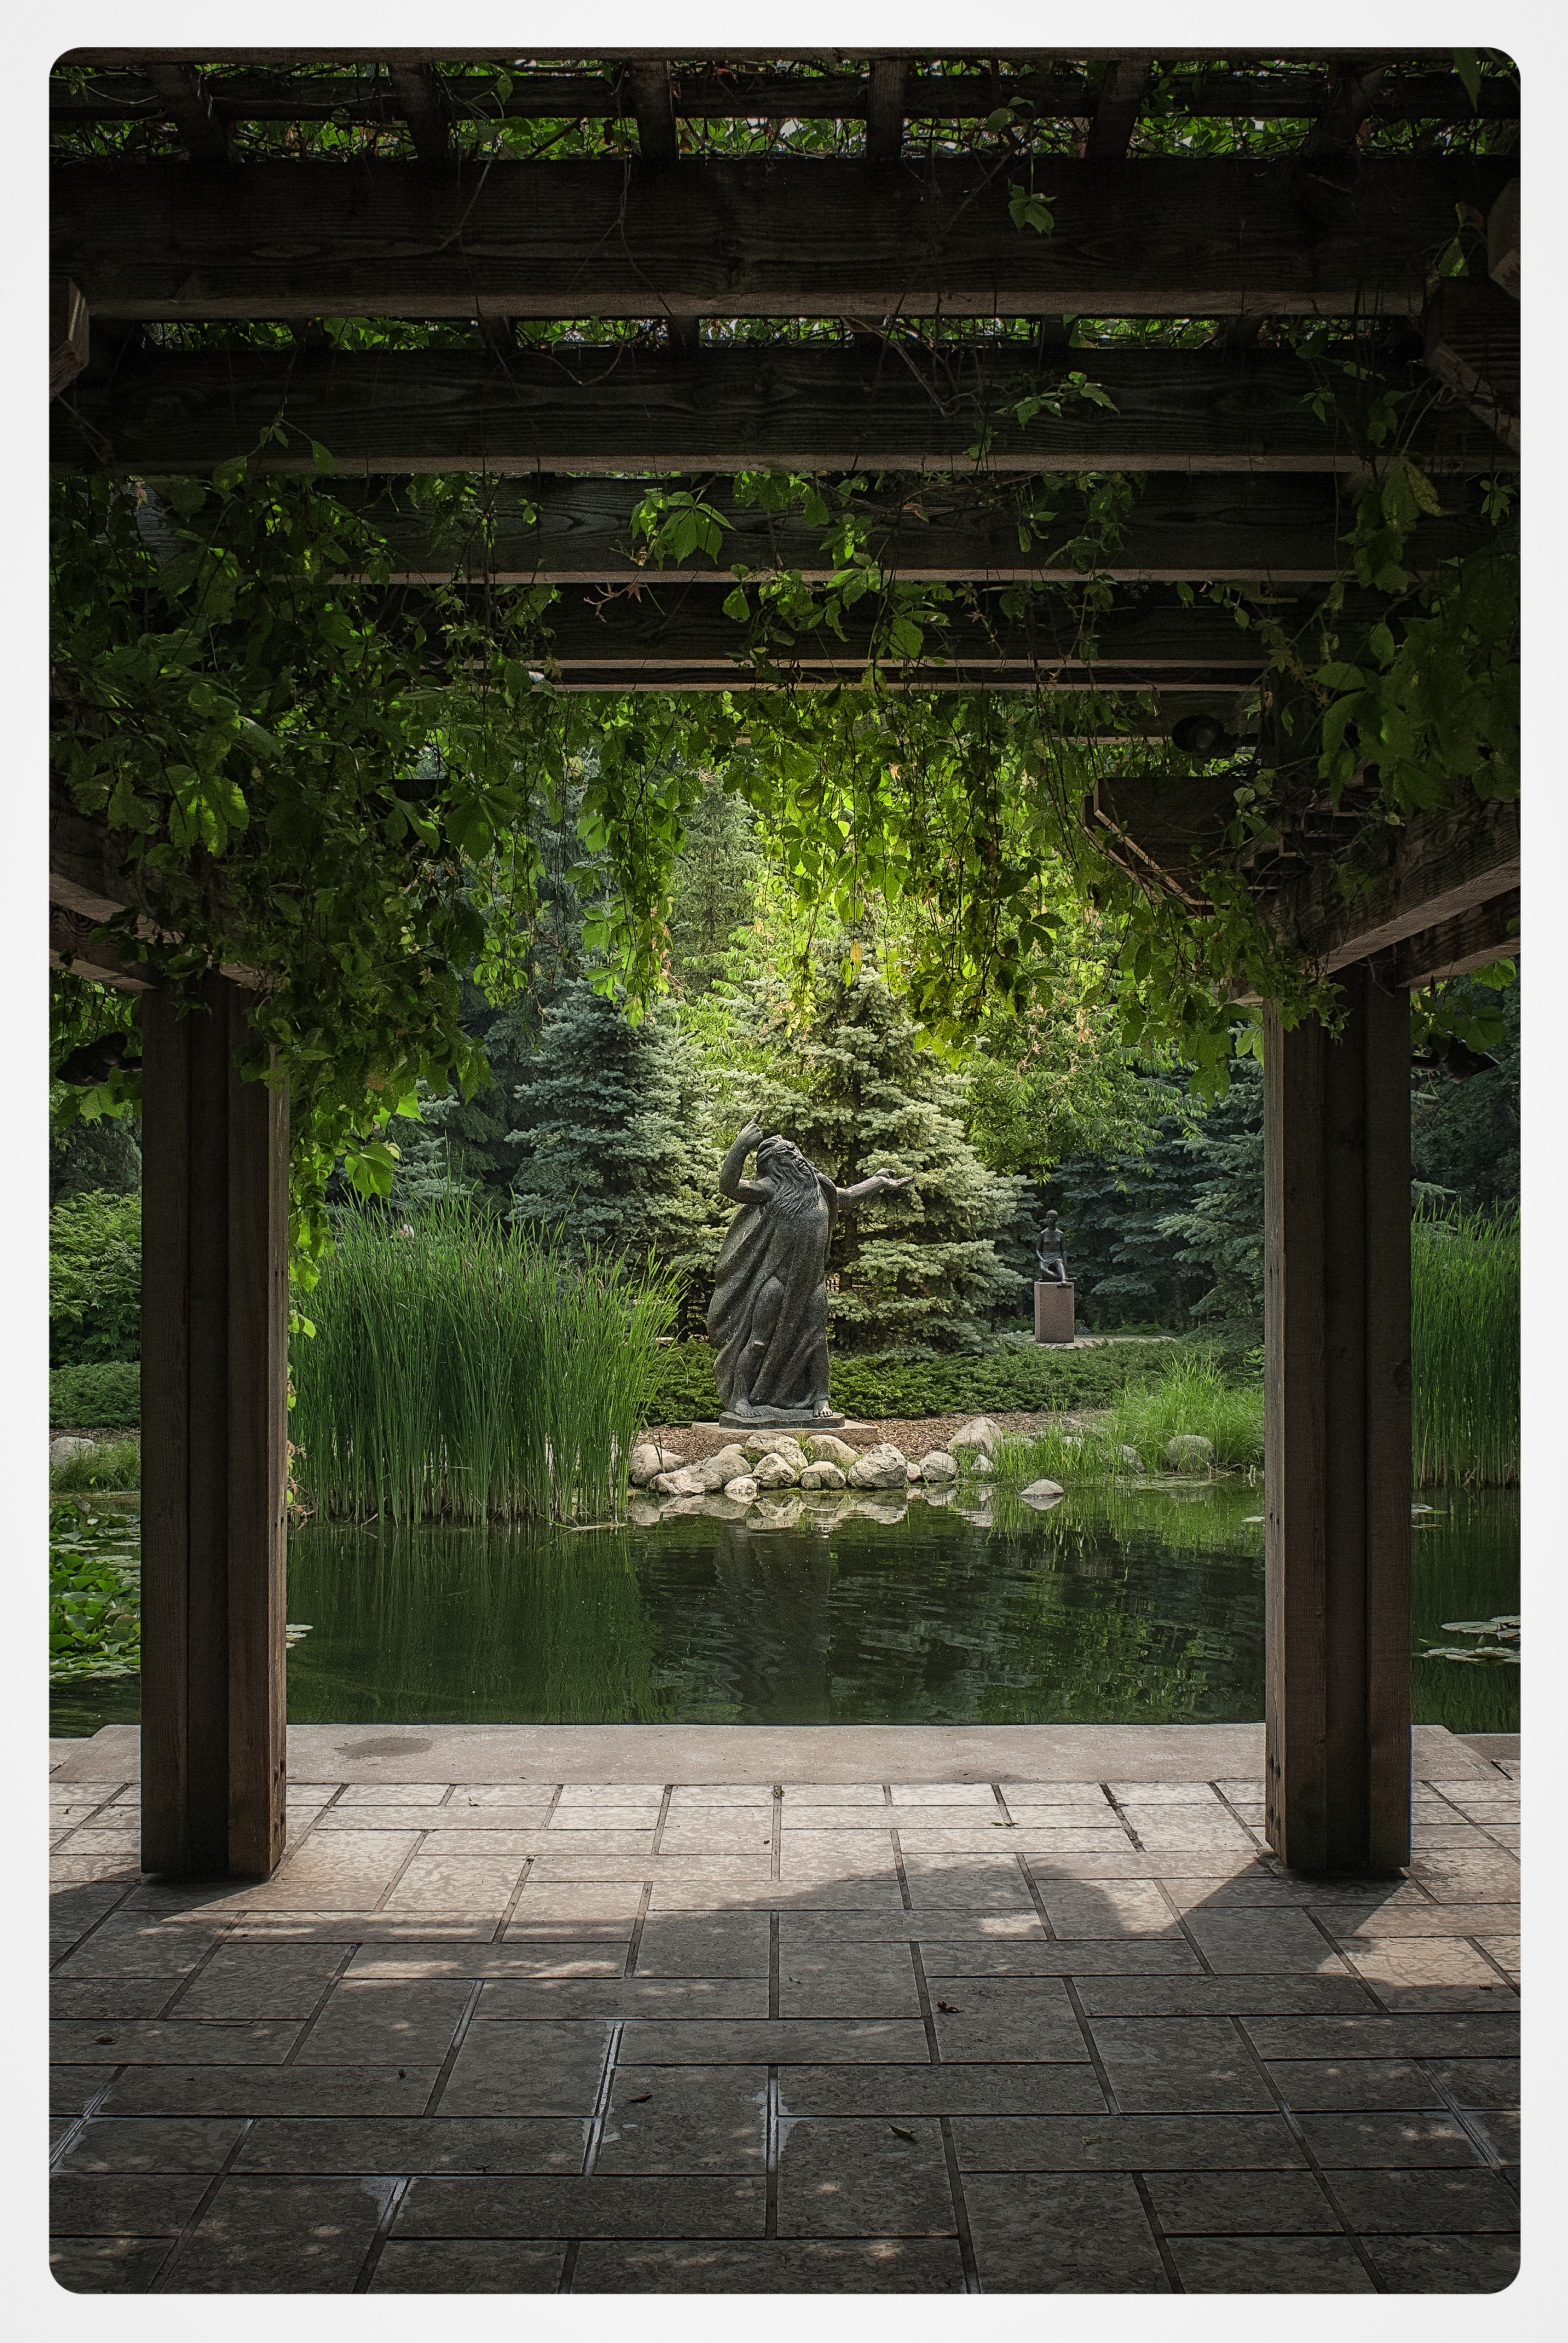
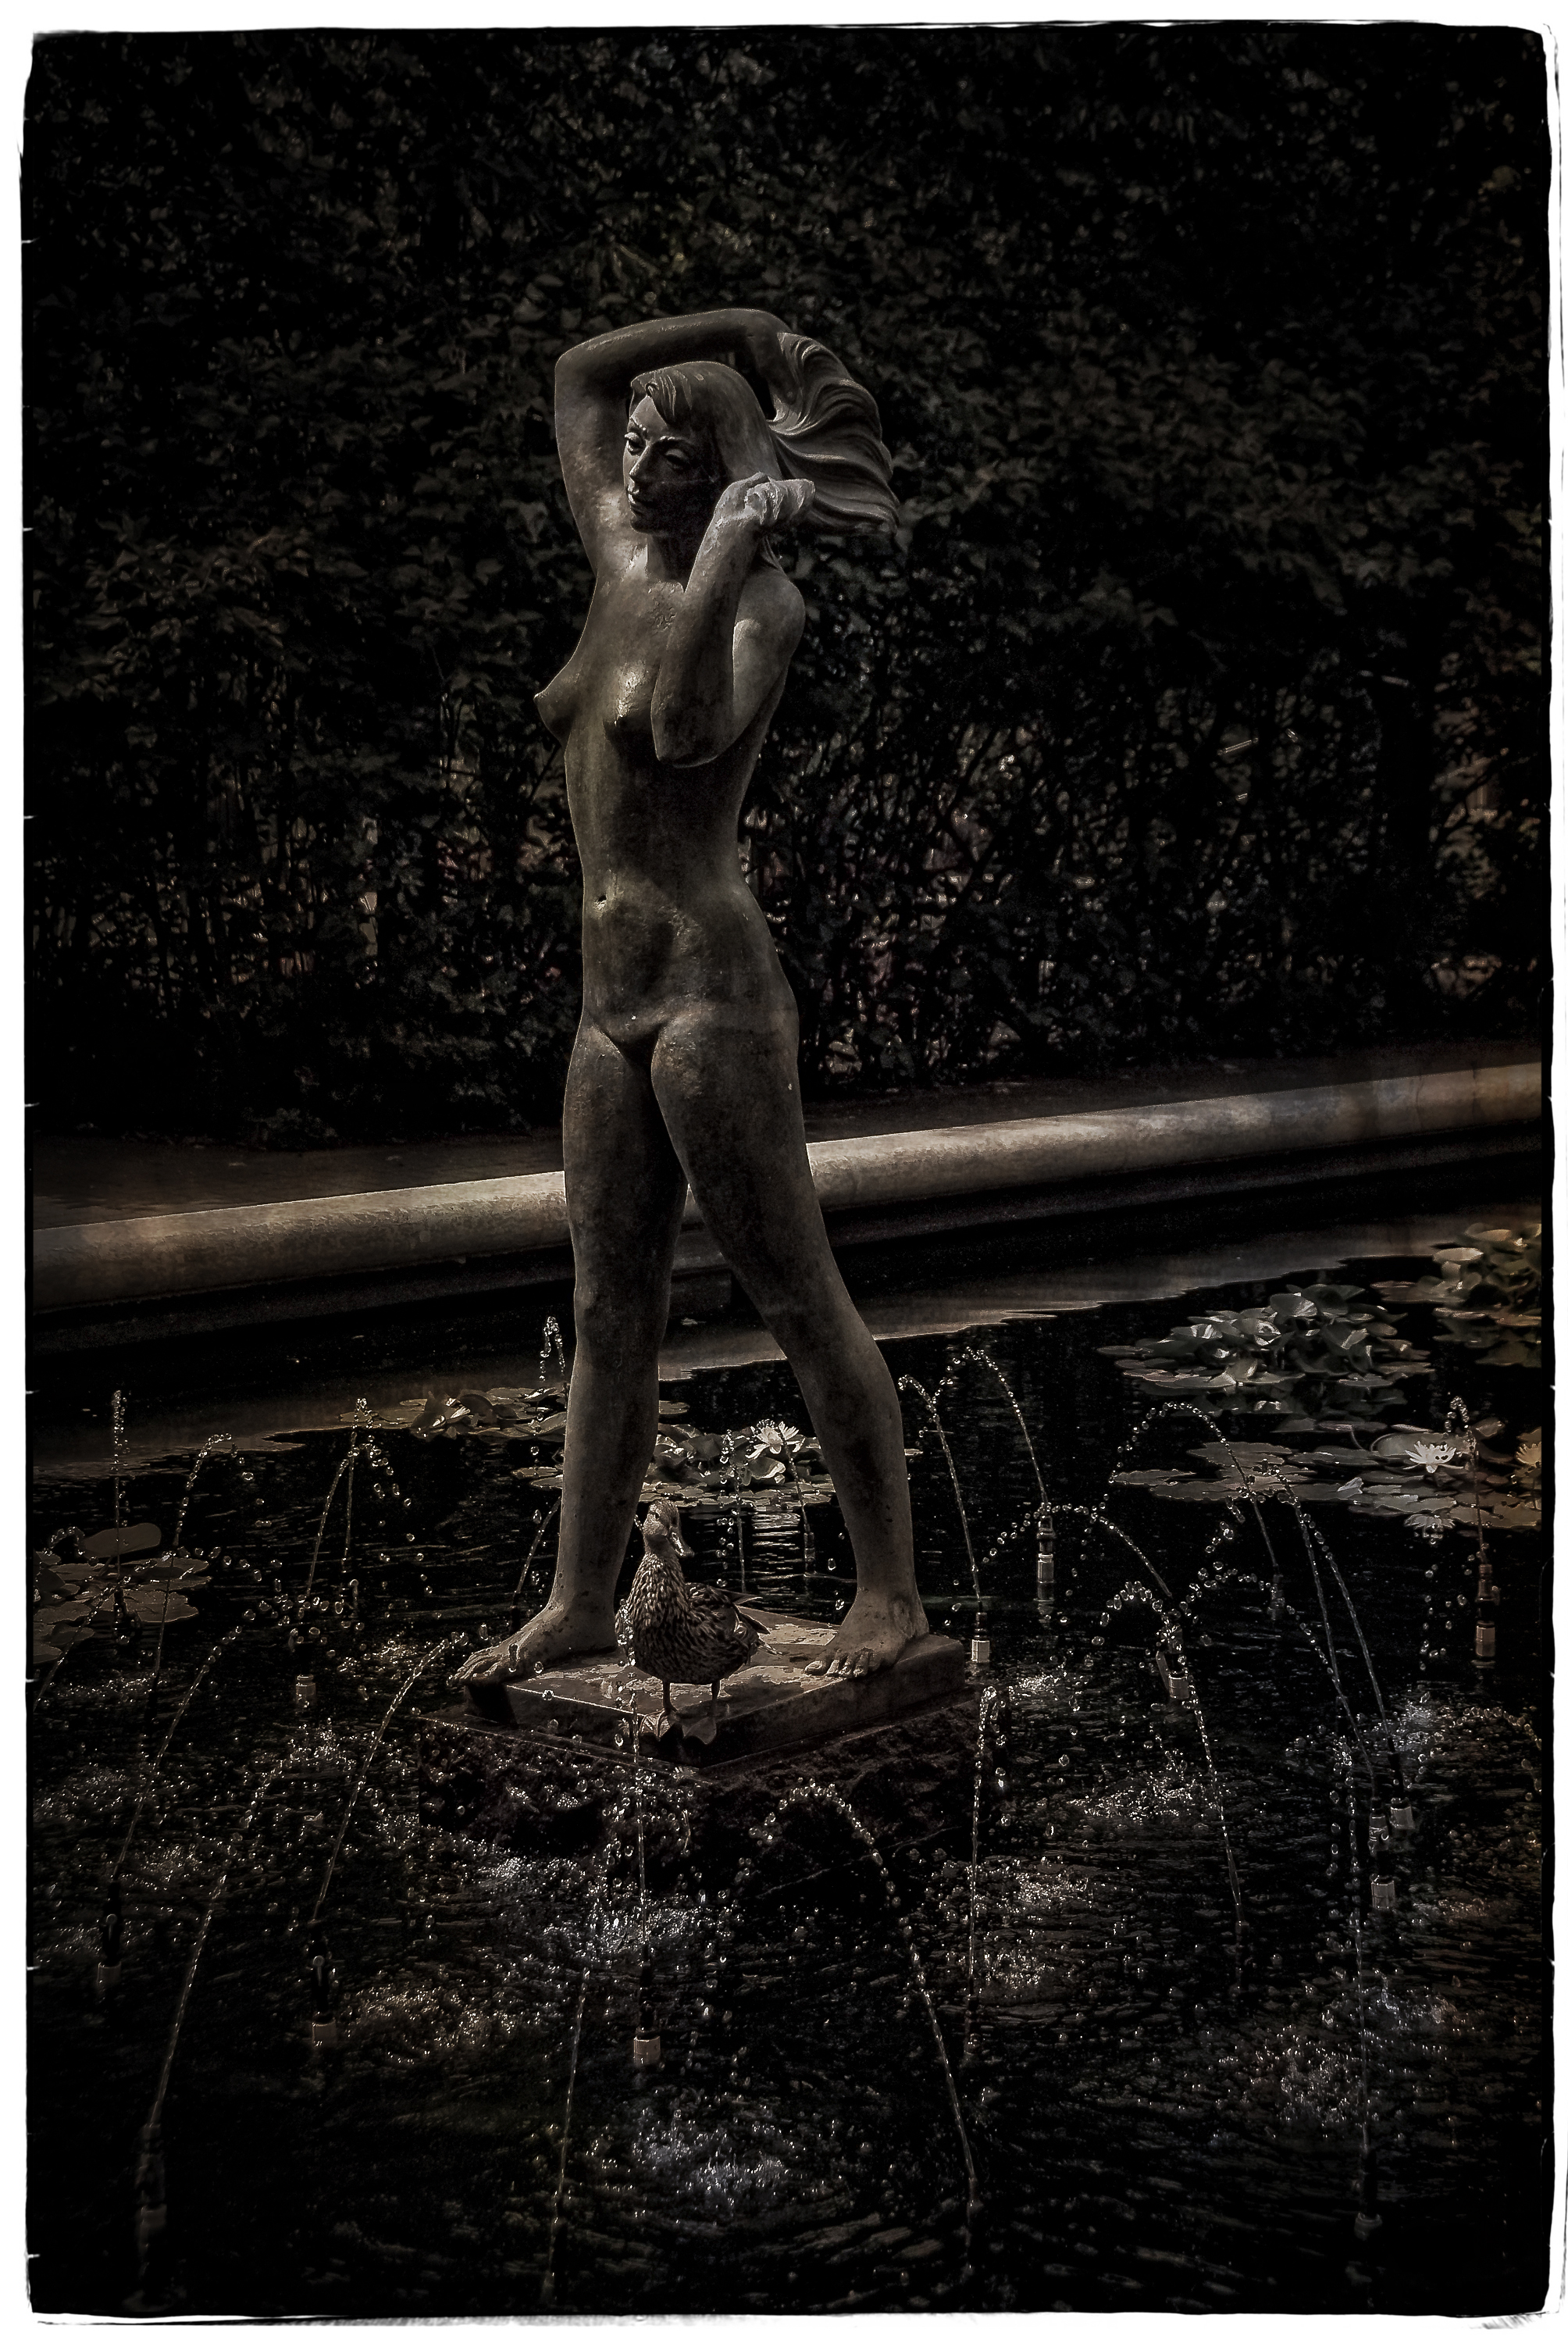
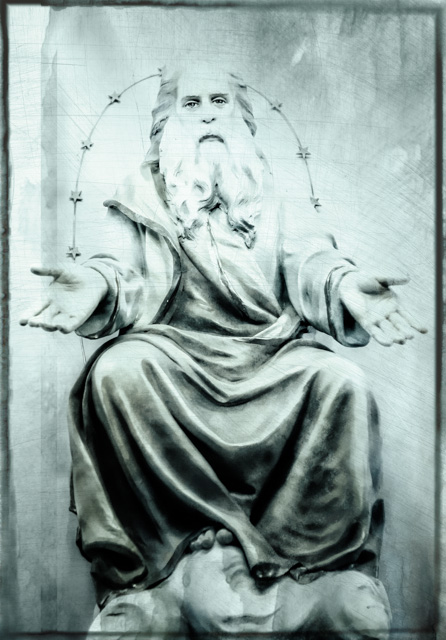
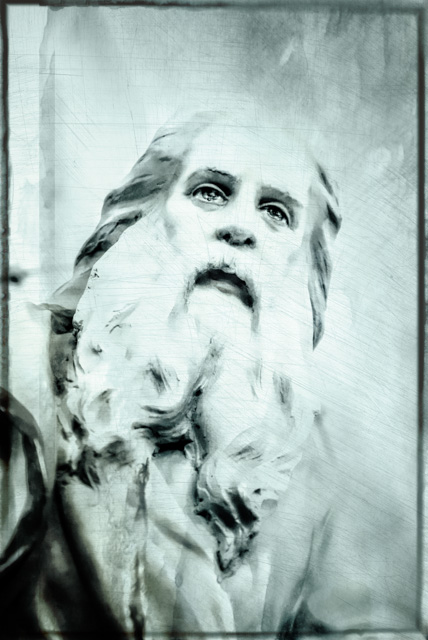
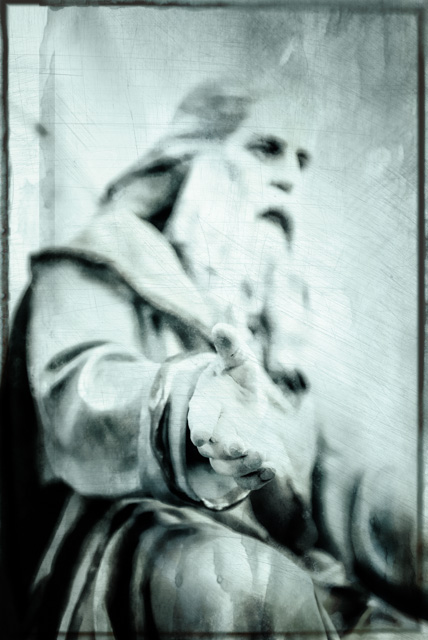
Leo Mole Statues


As you work through your processing procedures and begin experiencing the joy of creating a wonderful image, you will find a persona emerge, were the hardware and software actually mean less, it becomes more important to know how the image feels. You will begin to find a style that reflects an inner you, one that is comfortable, intuitive but is understood. You must trust it when it happens, let it flow through you and learn to get out of the way, don’t clutter it with techno mumbo jumbo let it shine clearly.
Inspirations:

So where do your inspirations come from. I think its very important to find outside stimulants that help to fertilize your imagination and keep your creative neurons flashing.
Here are some places I go to find what I need to keep me creative:
Cirque du Soleil – the artistic sets but more so the costumes that amaze me
Theatre Productions – take a blank stage and transport me to another place and time is crazy how its created with forms and lighting.
Movies Productions – special effects and CG environments astound me
Attend art shows – art today is an unlimited canvas, explore everything you can
Inspirational websites – In the digital realms of the web the world is your oyster
Quotes – I look for quotes that inspire me.
Google an image topic – This is simply magic at your finger tips at any moment
Join and share in different communities. – The more the merrier, share and you will be rewarded 10 fold
There is no wright or wrong places to find inspiration, its what makes most sense to you and what inspires you to create your art.
Keys to Remember
Your eyes need to learn to listen before they look.
Patients pays off.
Don’t shoot what it looks like, shoot how it feels.
Be mindful of the event and while shooting be aware of how you might work it in post production.
Create a studio space that is both inviting and inspirational to you.
Be yourself !
What I’ve just expressed to you is my own personal formula on what I’ve learned over the years. To some it will appear goofy, some may like a part of it and others may find this inspirational. For those that found it amazing there are some doctors just outside the room in white jackets that want to talk to you, please have your medical cards ready.

Thank you for your time.
Joe Kerr
Links to Reference Materials
Alan Ross Photography Here is a link to a blog by Alan Ross who was one of Ansel Adams lab assistant. He reveals some amazing insights into Ansel Adam’s daily routines and how he perceived his art. Its a very interesting read.