A Christmas Photoshoot Project

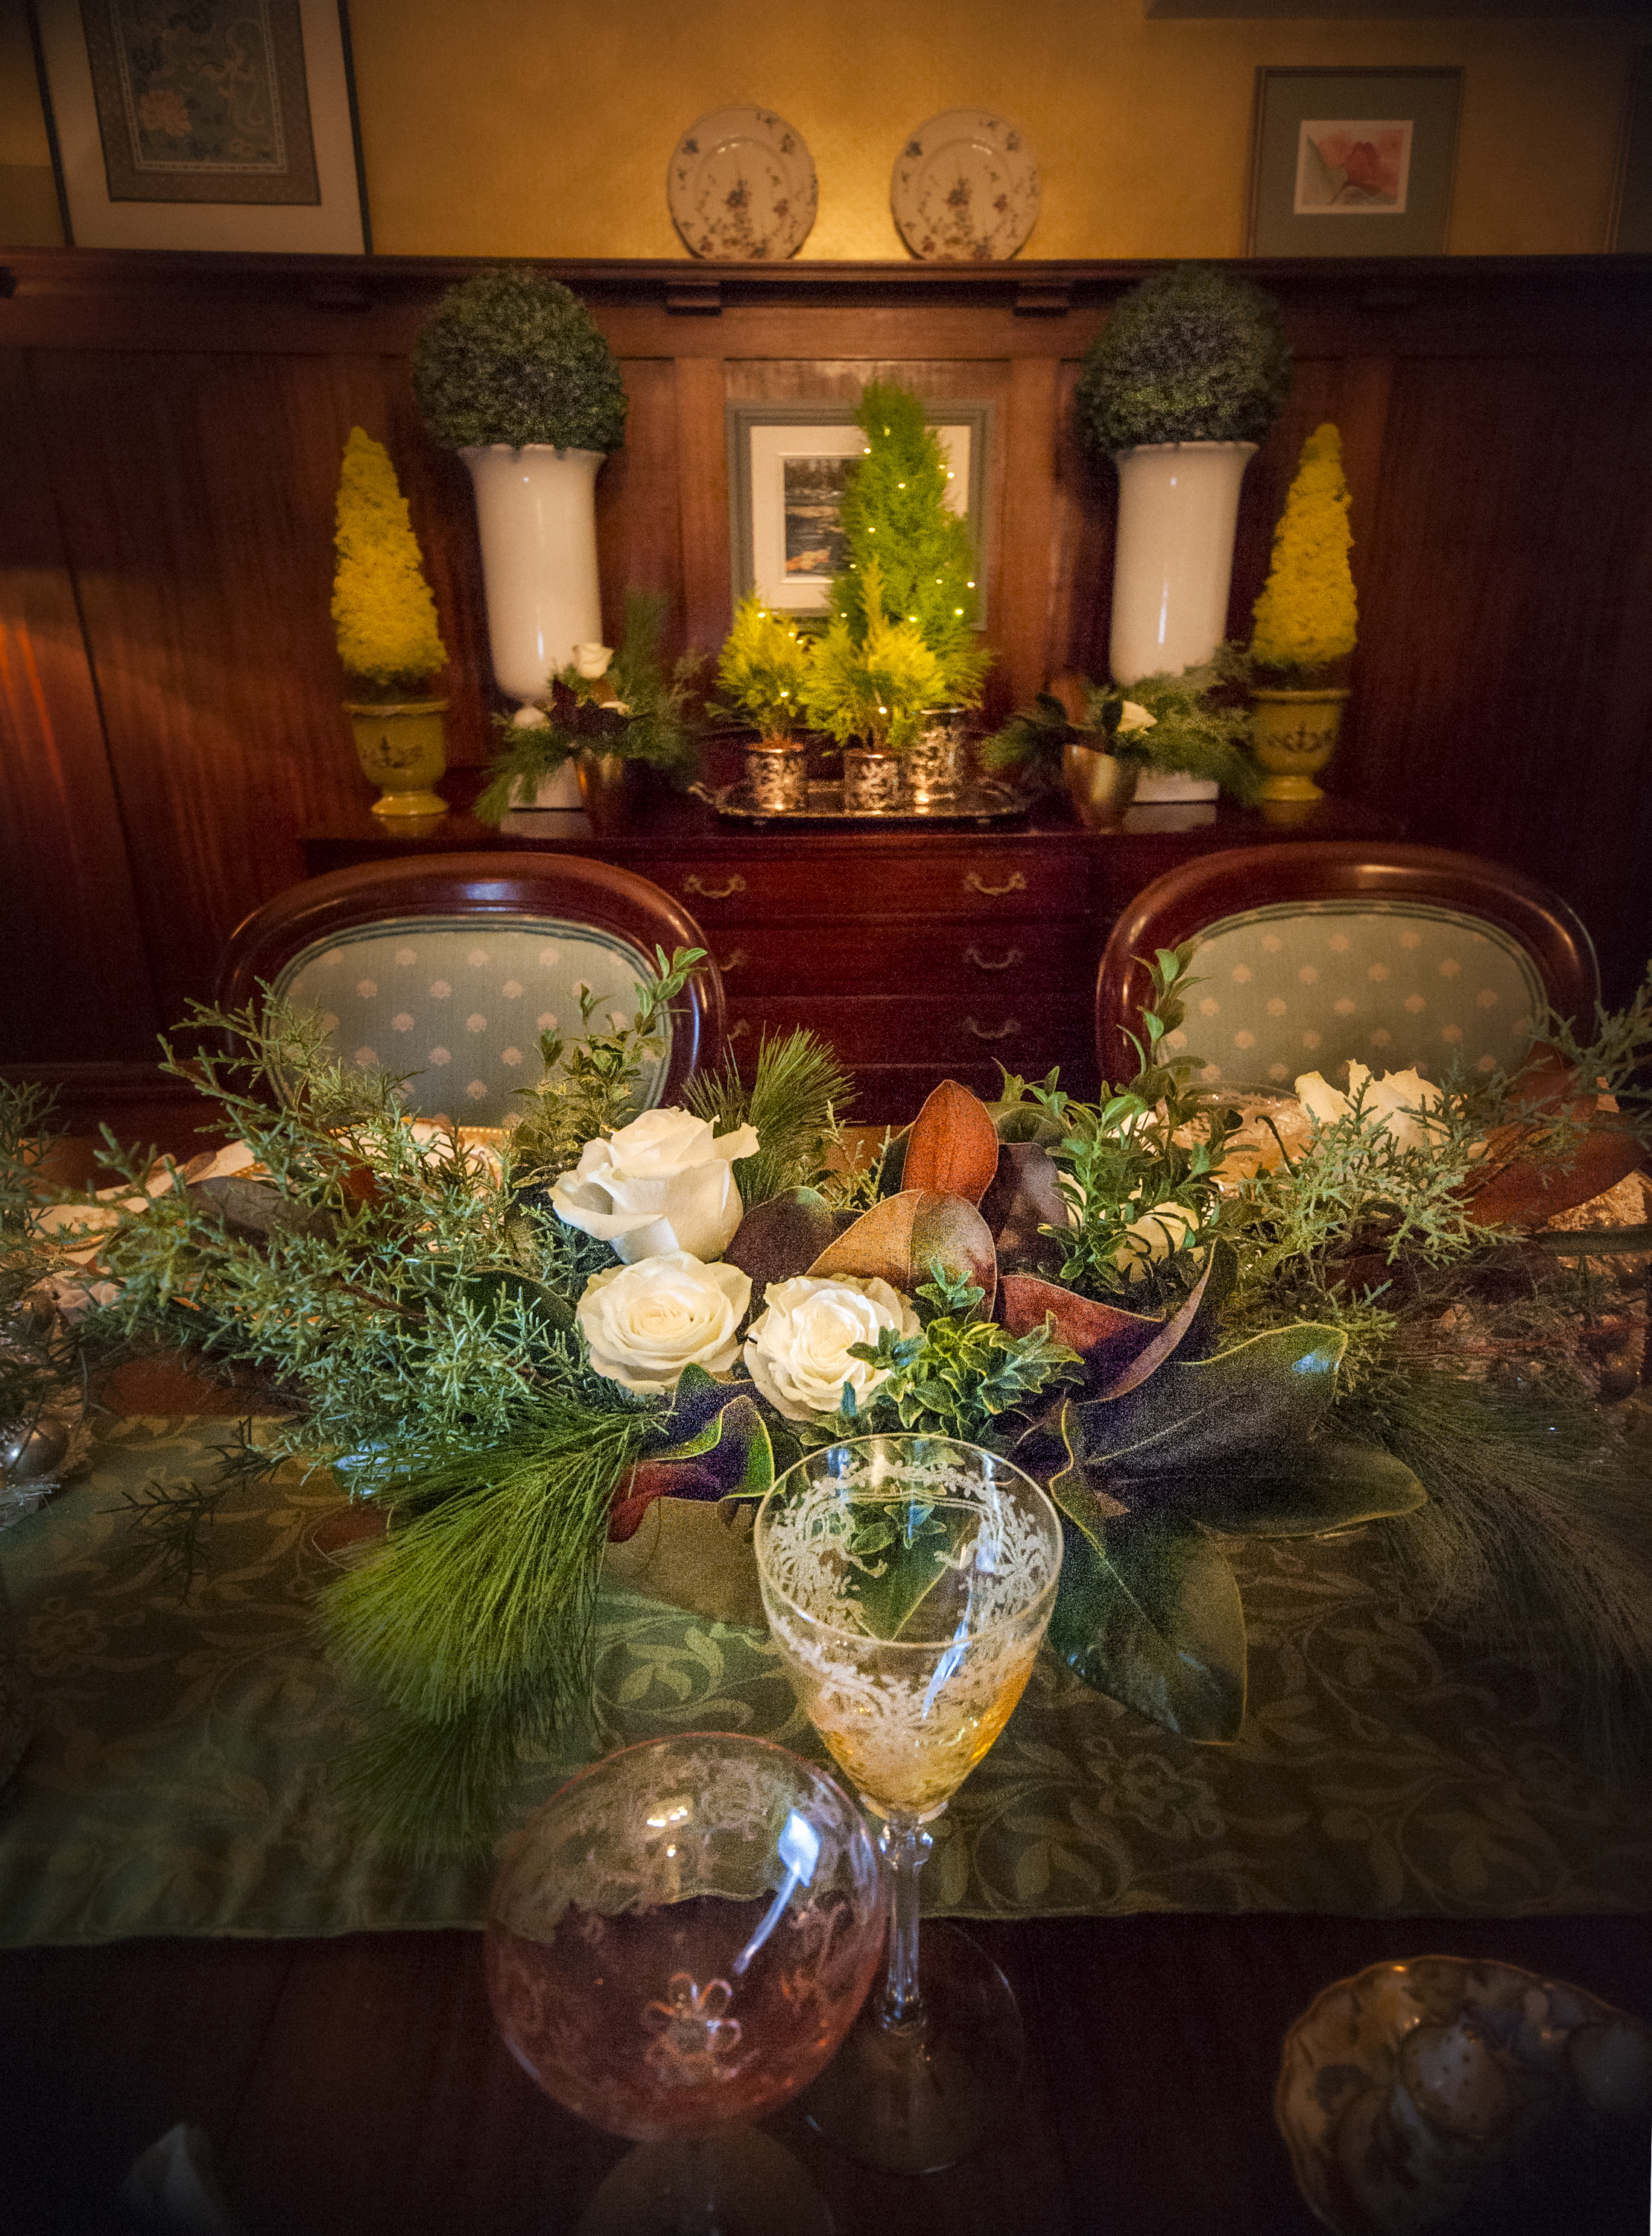
A beautiful centre stair case display.

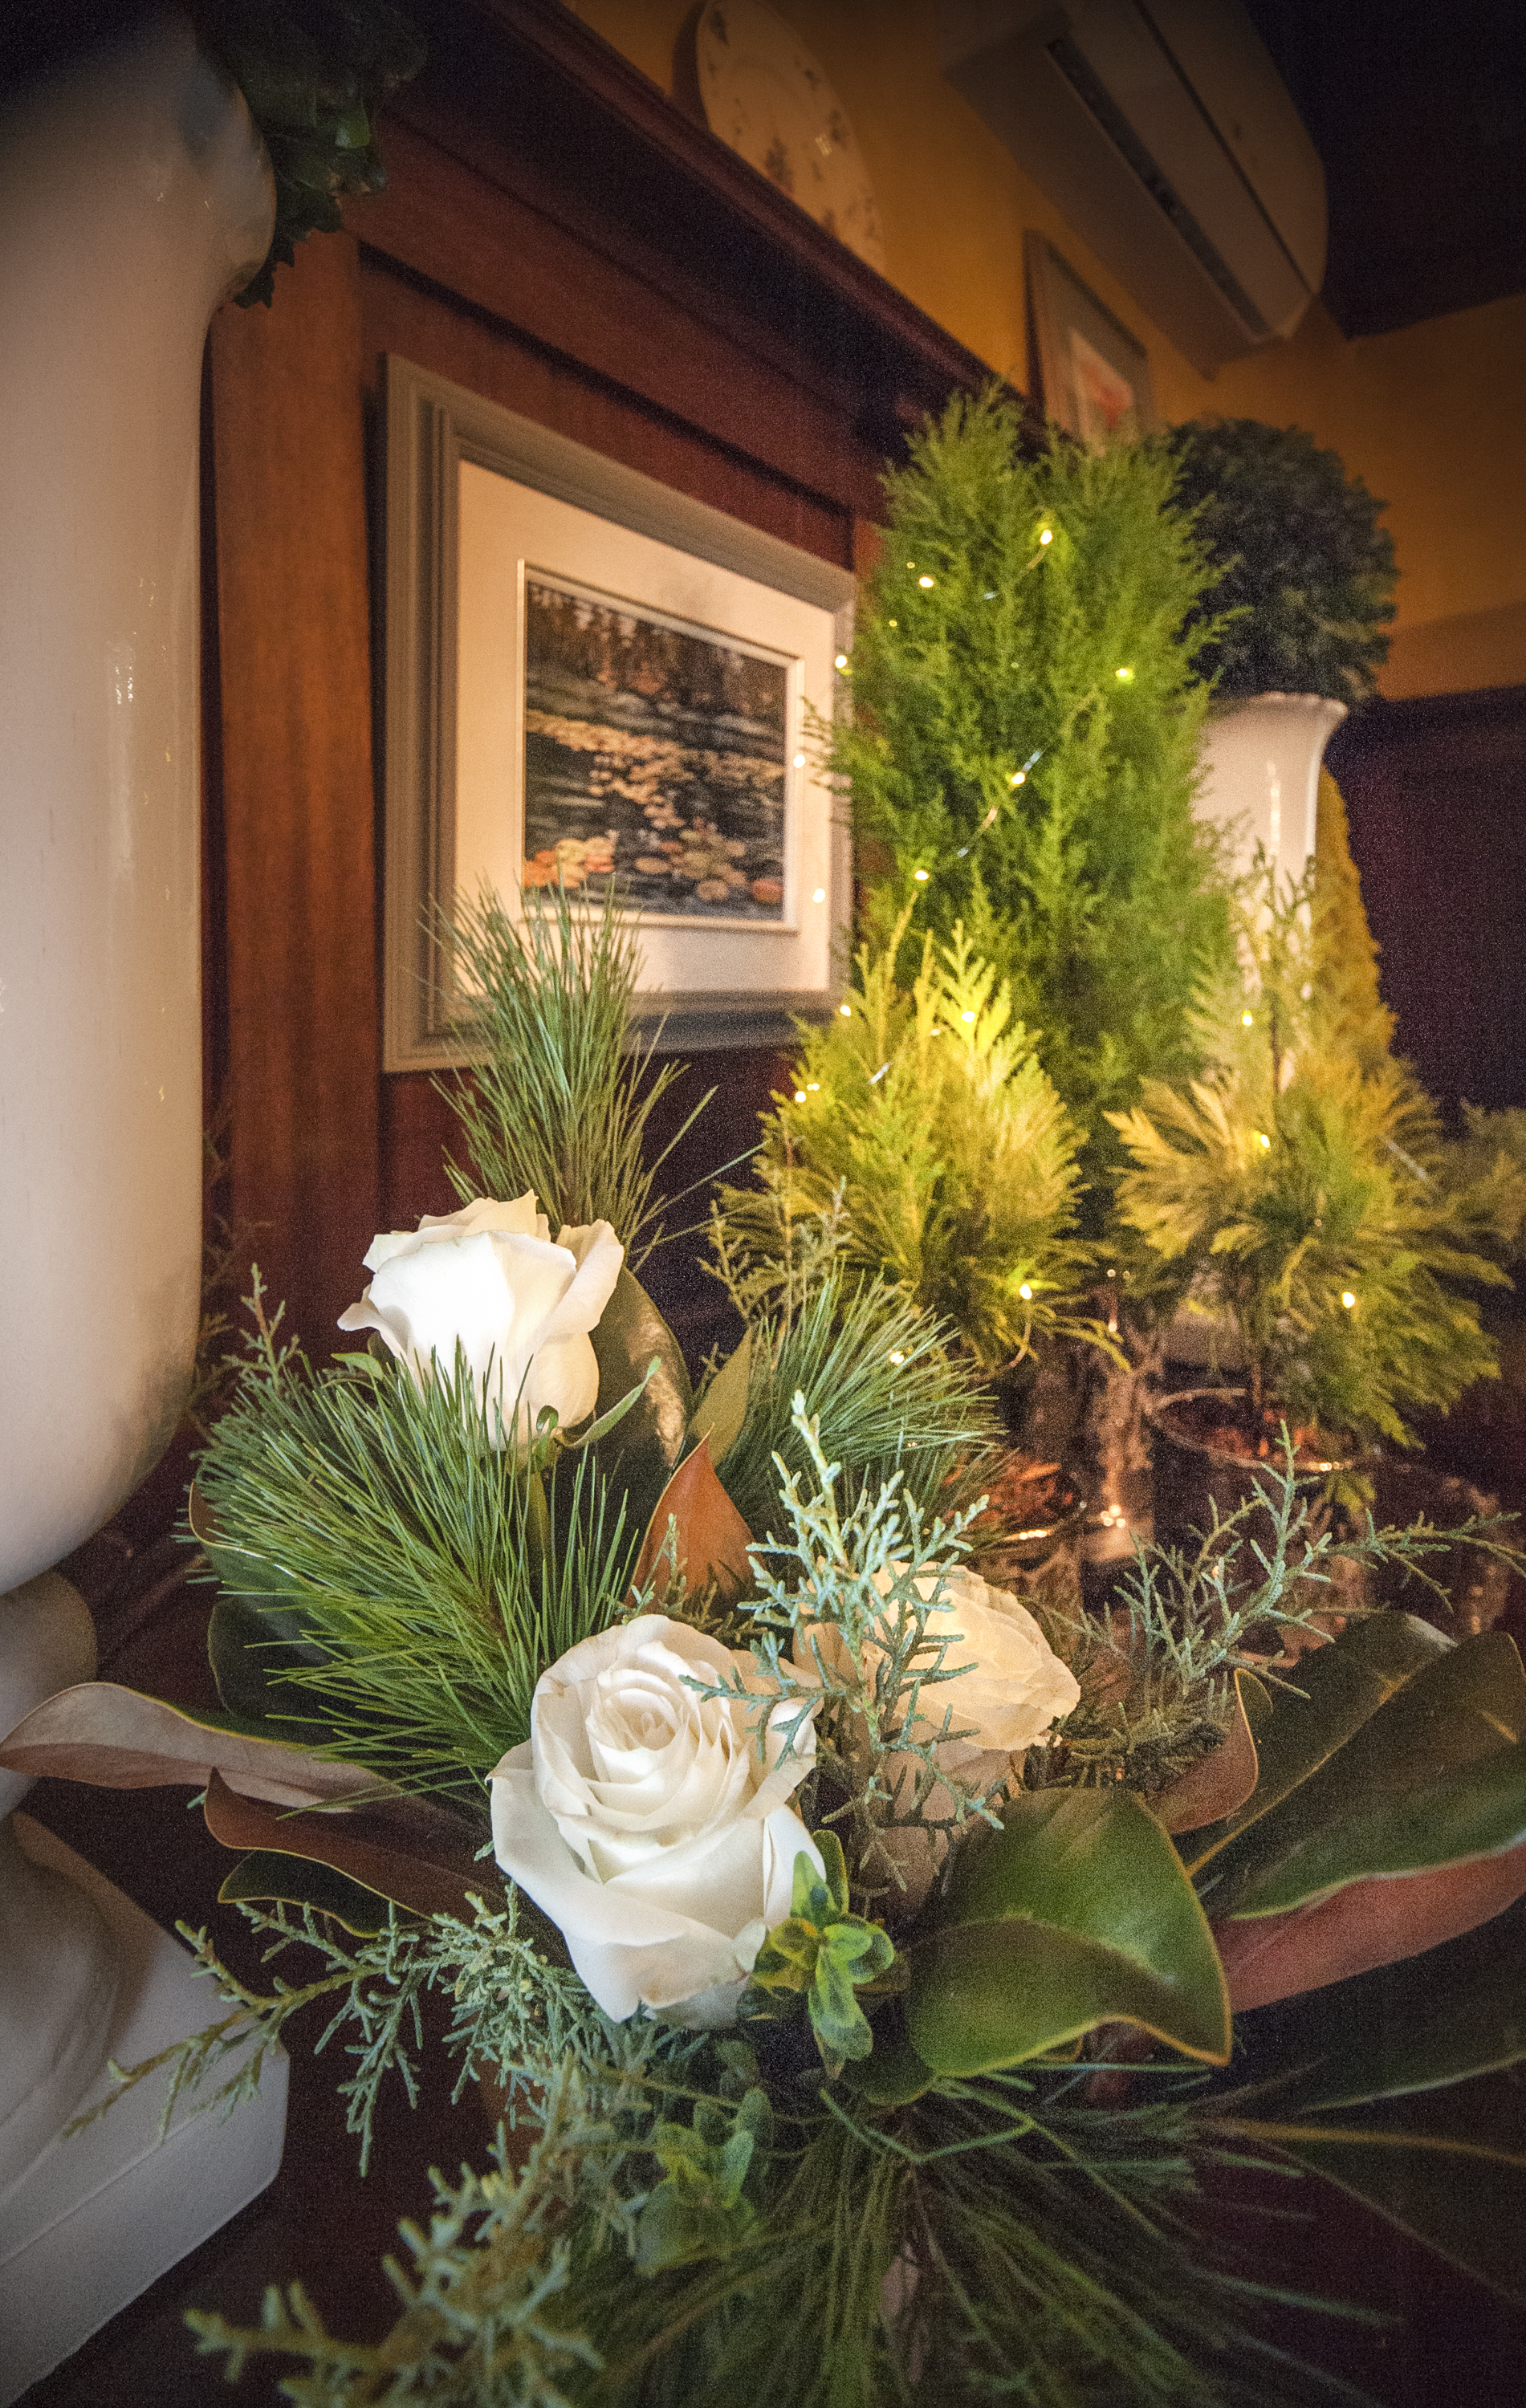
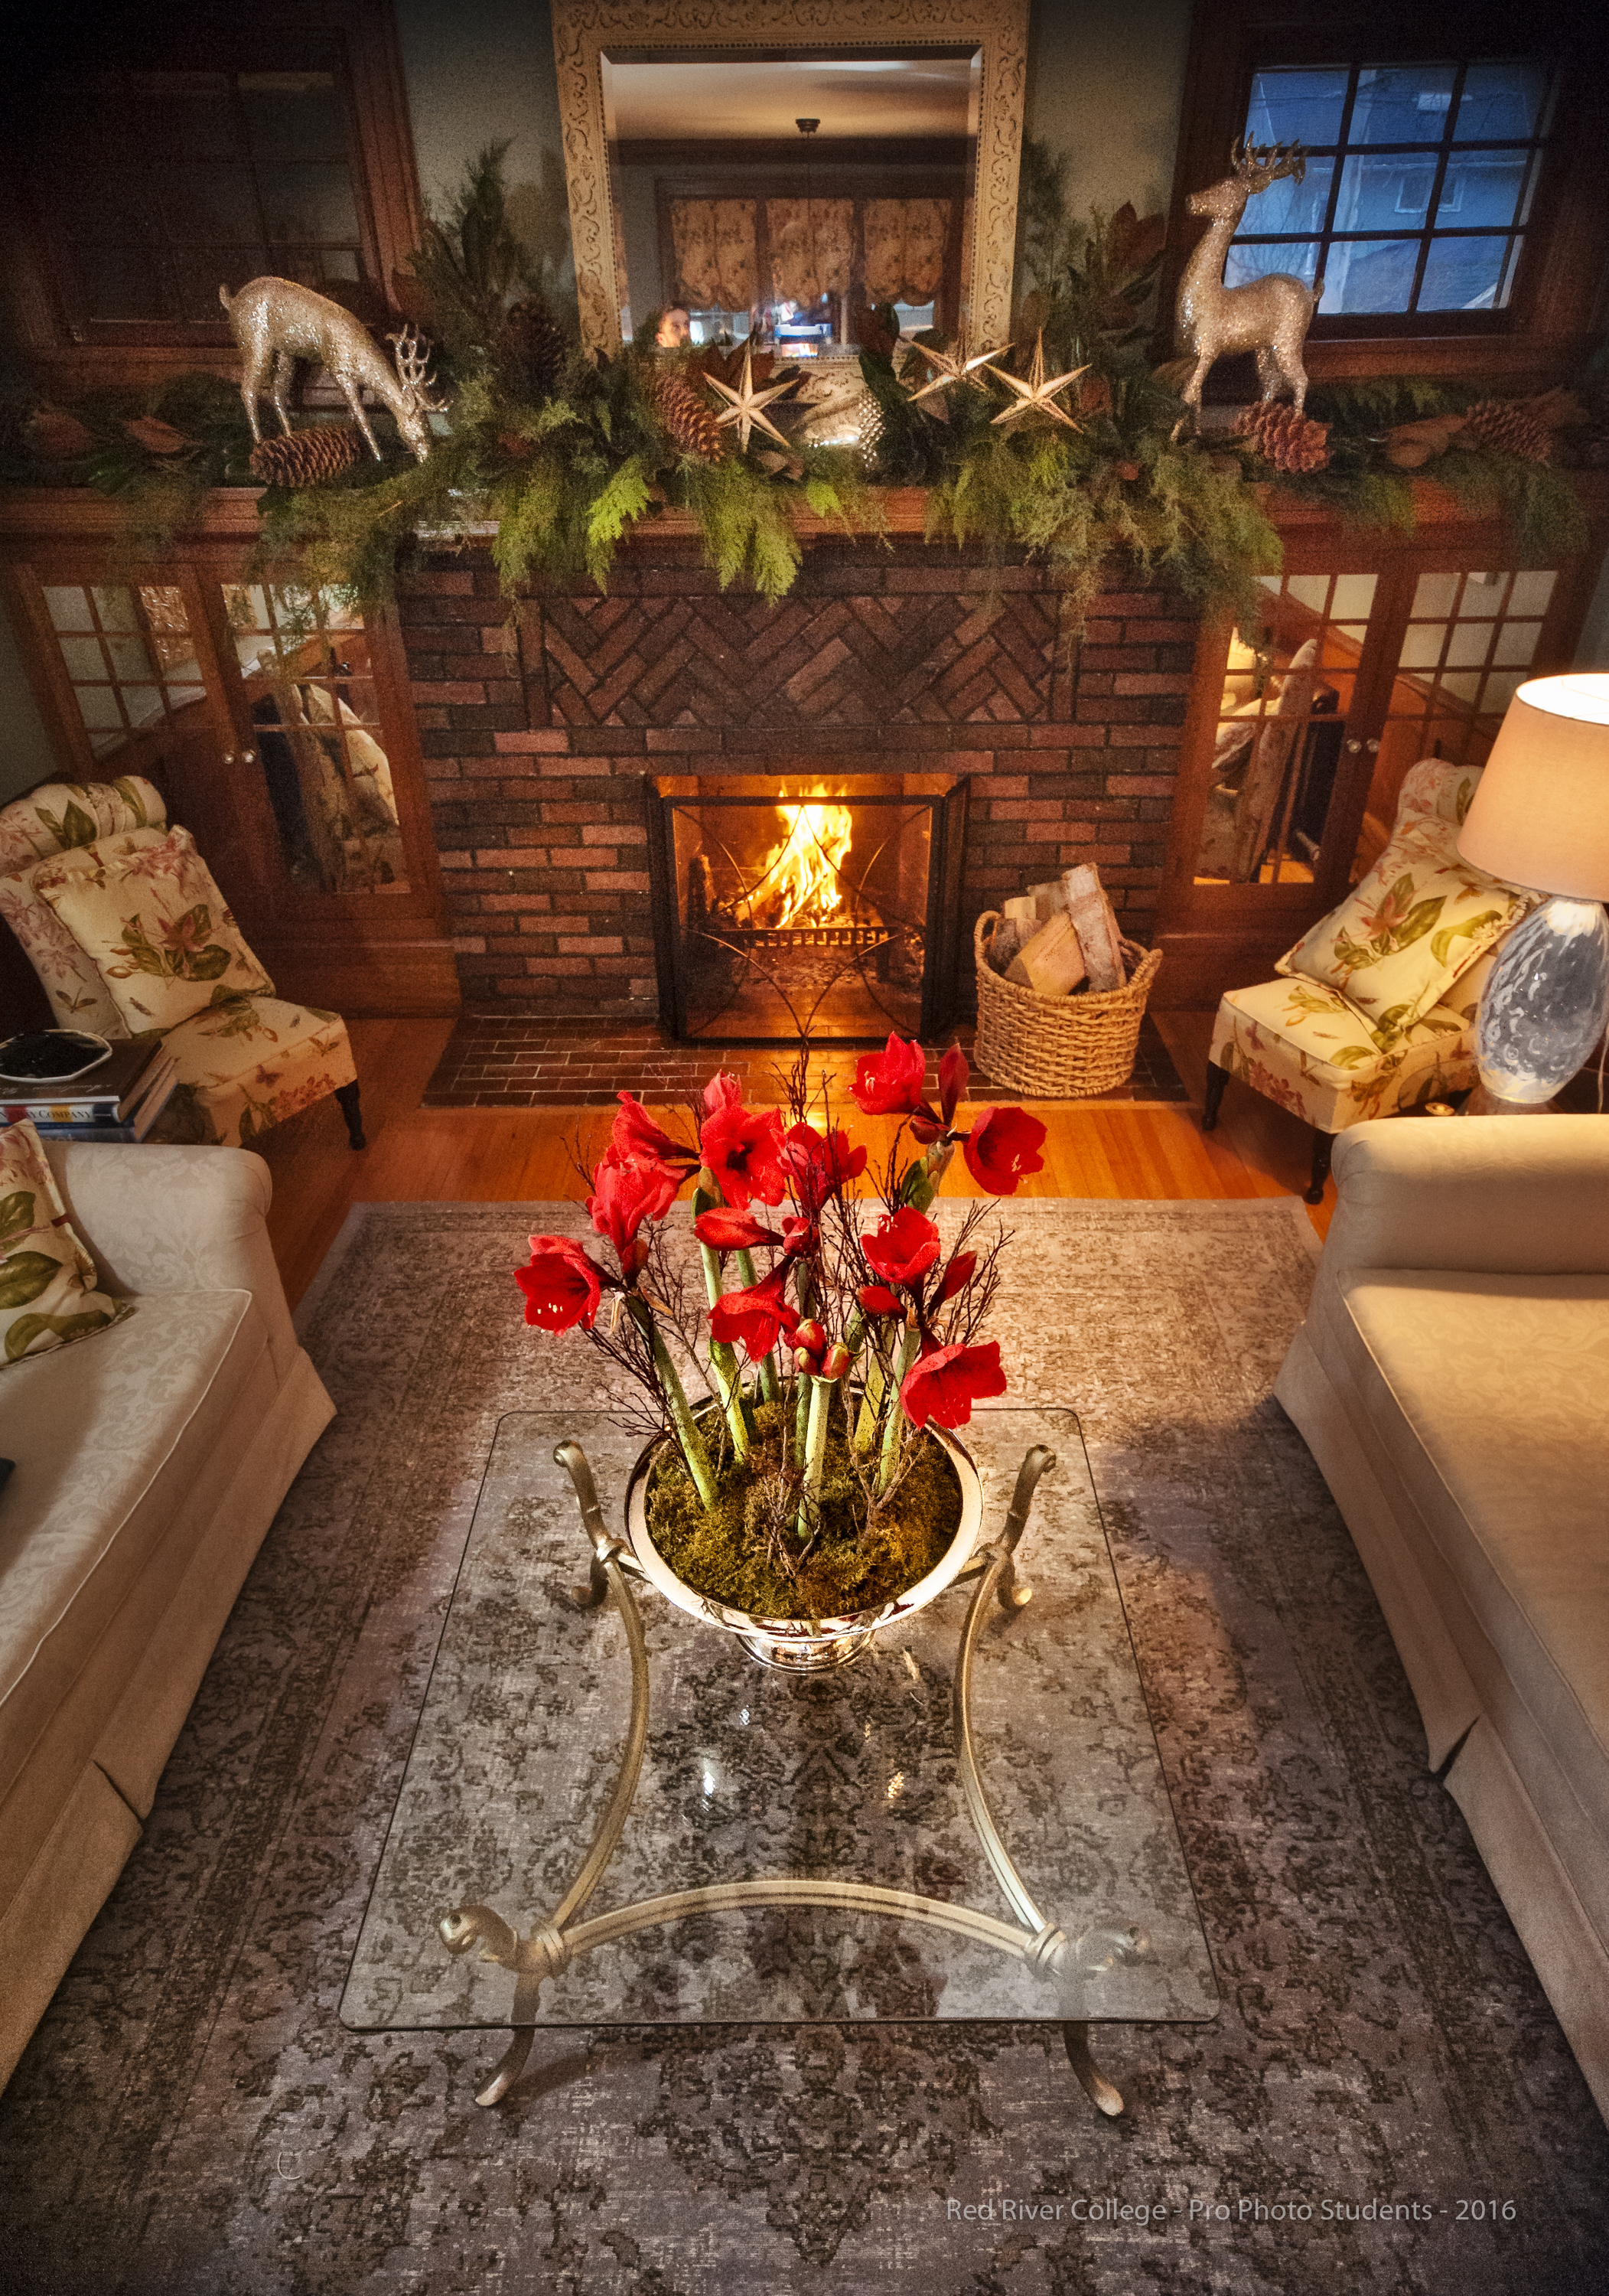
In 2016 I was hired by a local news paper writer to do a photoshoot for a Christmas Decor article in the Winnipeg Free Press. I was teaching photography at Red River College at that time and I decide to bring along two of my students Haley Pischke and Alex Izatt to gain some experience in real world projects. It turned into a long evening, much was learned including meeting tight deadlines, but we had some fun doing the project together.

The home was a century old home in the River Heights area and it was beautiful. The decorations were designed and performed by a local interior design merchant who created a very tasteful classic decor with lots of live botanicals. I recall some amazing aromas as we moved from room to room.

The students received some valuable experience and although the due credits did not appear on the published article they did receive all my fees for their work. My only regret was I wish they had their first published article with their names on it.

As a professional photographer I was so happy to share this experience with my students. I always think back to the days I started out and to have someone share their time early on would have been invaluable to my growth.

One of the details we discussed prior to the day of the shoot was to plan, visualize and coordinate what our shooting style would be and what it might look like. Being beginners I spoke about perspective and to come up with some unique looks based on that. We shot from on top of the tables, to high on a ladder, to reflections in a mirror. I showed them that the simplest of equipment can go a long way. We used a remote triggered speed light with a white plastic milk bottle diffuser and it performed admirably. This diffused flash filled enough of the darker areas but allowed the room lighting or candles to show their character.

It was a great experience, the writer was delighted with the results and the printed article looked amazing.

Photo Vignettes. Which is Best ?

I think it’s a bit misleading to make a claim which vignette is best but let me explain.

“Beauty is in the eye of the beholder” Gramma Kerr

On my Facebook page I thought it would be interesting to share one image with a variety of vignette treatments to see what people think. The responses and assessments that were shared was terrific and a couple of things became clear to me that I will delve into here.

Let us just look back on what was asked for people to asses. Below are the 4 images I shared complete with the descriptors as to the intent of each style of vignette. I was looking to see if with the understanding of the intent and its application to this image would sway people’s opinion.

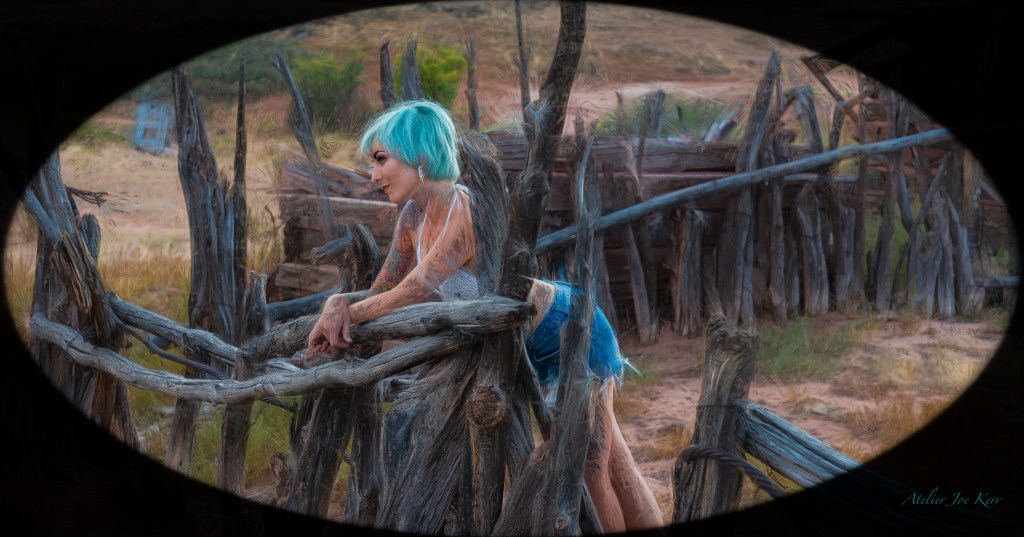
The image I used was taken on a Rodney Braun, Utah Tour, Aug 2018. You may recognize Elizabeth Webster the owner of Beyond Boundaries Academy she is a stunning model who knows how to project a feeling in her posses.  

“This was #1”
The intent here is a vintage matt appeal. When I was a young boy I remember seeing family photo of my grandparents and they always had this oval matt which resonates with me and I still find them appealing today.
“This was #2”
The vignette is a soft feathered beige. The intent is to quietly bring your eye to the centred subject. The light to darker contrast draws the eye to the subject in a more traditional way.
“This was #3”
This vignette is a very large gradient, there is a grain used on the version that mimics the style of the photo. The intent of a vignette like this is to create a dream like feeling.
“This was #4”
A uniform warm darkening which effectively takes the eye to the lightest area. This technique is quite common today and beautiful.

The four different styles shown here are a small sampling of what can be created with the infinite numbers of software programs available. These were created simply in LR.

So what is the best vignette style here is totally in the eye of the beholder. If you rate it by popularity #4 was by far the most popular. I anticipated that so in my minds eye it was my control image. What popularity has taught me over the years is simple. If you’re going to sell images you almost always need to follow the popular vote, don’t buck the trend. If you are perusing a fine art portfolio image, trust your heart and eye.

If your images talk to you and say it needs a soft dreamy context to help fulfil the desired result then its total your choice. This also may include a host of other possibilities like colours or textures.

The opportunities are boundless but be careful not to over step the need for a skilled assessment of your intent and how best you can enhance your image.

The choice is always yours don’t be swayed by others believe in your own instincts, it is the only way you can become artistically liberated.

Striving To Be Artistically Liberated.

Repose #1.jpg

“How long are you willing to wait before you dig deep into what’s creatively fulfilling ?”

As a photographer you need to study to instinctively understand, comprehend and execute the techniques of photography. But, the pictorial artists needs to evolve these rules, to be able to release themselves of the limiting confines of ridged techniques in order to be creatively free but with a sound foundation.

This sense of freedom to perform at an artistically free level is resting within most of us. It will only come forward if we truly want it. As human beings we habitually place limits on that freedom and restrain ourselves creatively falling back to what is safe for us and acceptable by our peers.

How then are we going to overcome a lifetime of limitations to suddenly become a wiser, stronger, more confident and ultimately a free thinking artists? Well, it’s not going to be sudden or easy. It’s going to be an evolutionary process that evolves through patience, learning, focus, determination and an understanding want of that liberation.

As you start this journey you may feel like you’re backing up, worrying if it is going to be acceptable, but accepting who you are, working through the learning curve you will find a persona or inner you coming together. For me this is when the hardware and software actually mean less and a tropic cascade of image evolution becomes your reality. You will find you are driven and genuinely motivated to fulfill this style that reflects you, one that is comfortable, intuitive but understood. You must trust it when it happens, let it flow through you and learn to get other peoples impressions out of the way so it can shine clearly.

Moving forward on your vision, your development of capture and processing techniques will become much stronger and more clear, actually feeling simple. With a strong mind set, you will no longer fear technical limitations and the ever changing treadmill of software regiments. Your experiences and knowledge will confirm your ability to perform at levels that will set you apart and free.

Given that reality, it’s now within your ability to minimize the effect of limitations and to allow yourself to evolve. Doing so, you must work on developing your own mind-set and psyche to perform. But, most importantly, you must develop and recognize what is your vision and define it within your given style. Believing in your own techniques releases the confidence to move past previous limitations, to continue explore any new found potentials.

Lastly dwelling on nagging critiques will fade away and be forgotten. What were once challenging obstacles will soon become a natural sustainable pace. Fears of acceptance will be replaced by an excited anticipation of exhibiting your latest exploration regardless of any consequence. Impending projects will no longer be a source of dread, but, become opportunities to rewrite your personal creative exploits.

Feel the joy and learn to fly.
Only then will you have the true freedom to create.

Its All About The Light

Its All About The Light…

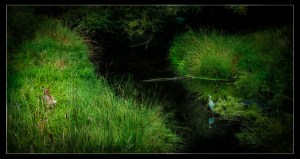
I’m recovering from heart surgery so I was doing some file surfing tonight passing time and came across this old image taken in Minnesota some five years ago. I’ve always enjoyed this sequence of this Great Blue Heron fishing this small stream. Tonight the creative light went on when I saw this specific image file so I grasped the moment and came up with this predawn interpretation.

I love early morning light and the mood that it creates, still waters with dark shadows with highlighted reflections. I can still hear the sounds of woodland creatures start to awaken, a deer is just upstream grazing in the tall grasses, song birds calling in the distance. The heron moves ever so slowly not making a ripple, stalking its prey beneath the mirrored waters surface. I sat ever so quiet on this walking bridge and watched him for some time, it was so peaceful and tranquil. Now that’s an incredible way to start a day.

This image was processed in Lightroom 5.6 with just a slight contrast adjustment, a vignette added by using the radial tool, contrast in the grasses using an inverted radial tool, and details added to the Heron by brush. A slight global sharpening was added at the end. The dark glow and frame was added in Perfect Effects 8.   

A comprehensive detailed overview of the precessing techniques used to produce this image is available at my new blog “The Academy Of Fine Art Photography

Heron Fishing

Heron Fishing


I told you there were deer in the deep grass.

Serendipitously I caught both the deer and heron in the same shot.

Serendipitously I caught both the deer and heron in the same shot.

Lightroom 5

LR5 was just released and for those that didn’t participate in the beta version this will bring you up to date with whats new. Those of you that have used the beta I will talk about what I’ve learned and done with the new features over the past couple of months.

Let me begin by stating the not so obvious. I work in LR every day and it didn’t take me long to realize that it was just faster. Start up, file uploads & openings and brush strokes are tell tail signs of an engine re-freshening. Cross platform file sharing is much faster and much more compatible with more third party applications. If you send a file over to PS for adjustment they are updated in LR immediately.

Lets get into the meat and potatoes of whats new. The are five key areas that have been identified as improvements for LR5 and these are:

Advanced Healing Brush
Upright
Radial Gradient
Smart Previews
Video Slide Show

There is a great number of other improvements that I will briefly talk about at the end.

Advanced Healing Brush

To those of you that took the LR 4 workshop series this past winter the much talked about healing brush is here. I told you it was coming. 🙂

The brush is fairly intuitive in fact it operates much like the spot healing tool of the past. LR5 has also made improvements to the quality of the engine that performs the corrections. You have the same two modes of selection, cloning and healing. Cloning will copy the source area as its selected and healing will create a patch that blends similar colour and contrast from the source. They both do a very good job but there are a couple of details I’d like to share. Edges of an image can be tricky. What I’ve learned is to clone in this area, healing can cause a blurring effect. Once you select that area to be replaced move your target away from the immediate location to avoid any obvious pattern repeat.

There is additional new tool  at the bottom of the image box and that is the Visualization Spots. Click this box and it will change the image to a hybrid B&W image that will reveal all the hidden dust spots. By fine tuning the slider they will pop these blemishes making it easy to correct. This new brush and tool set is worth the upgrade price alone. There are some very cool short cuts but I’ll go into those in another tutorial.

Upright

This is one of the most advanced horizontal and vertical correction tools out there. Under lens correction select the basic tab, here you will find all the settings for this new feature. Simple horizons like a water scene or a prairie horizon are flawless but it will even correct very complex architectural images.

Horizontal Correction: First select “Enable Profile Correction” to activate it, at the same time click remove “Chromatic Aberration” I’ve discussed this before just do it, then click level and it works wonders.

Vertical Correction: Vertical is the same procedure except hit “Vertical” and it does a good job at creating a perfect vertical rendering, but, if the perspective is not quite right you can still work the image under the manual tab as you see fit. Hit manual and at the bottom of the list you will find a new slider called Aspect. Move the slider left or right to fine-tune the image to your requirements. Do it in that order if you manually correct first it doesn’t work well.

3D Correction: Go back to basic and the last setting to try is “Full” this is a complete 3D correction on the image. Architectural images are the prime candidates for this procedure.  Again from here you can always go to the manual tab after and fine tune it to your liking.

If you have a set of images like a sequence for an HDR you can synchronize and process a set exactly the same so they match up. A very nice feature. One last tip when possible use a RAW file, LR5 uses the metadata like lens type and focal length to correct the image and it will do a better job with a RAW.

This is the untouched RAW file upload
This is the untouched RAW file upload. Shot with a 10-20mm lens there are lots of corrections need here.
Upright adjustment completed, small inverted radial adjustments with tint, brushed tinted highlights, a final global sharpening
Upright adjustment completed, small inverted radial adjustments with tint, brushed tinted highlights, a final global sharpening, a large dark & softening vignette with the radial filter.

Radial Filter

At first I wasn’t that keen on this one but it has really grown on me. The immediate thought is to create a vignette or focal point by highlighting or darkening, sharpening or blurring its great even colour highlights, contrast spot light, the list is endless. Remember that you have all the other adjustments sliders that can be applied with it, so get creative. Don’t forget there is a invert mask button that flips the settings. Now start working some combinations and the results are quite amazing and fun. Remember you are not restrict to be within the image boundary, also stacking does not degrade the image. There are a few short cut keys and special feature keys to this tool as well. I will be posting a specific tutorial on this feature with image samples soon.

Smart Preview

How many times have you wanted to work on an image with out your external hard drive with you, all you get is the dreaded cannot locate so you can’t work on the image. Create a smart preview and you can work off line on any image in your file. In Library mode just under the histogram is a small box, select the images you want to create a copy of and click,  LR5 will create a smart preview for you. LR saves these new files as as a lossy DNG file which is a compressed file of 70% – 50% so it won’t take much drive space. Remember because its a compressed file when you do certain adjustments like sharpening (off line) they may not render correctly on screen, but as soon as you reconnect to the hard drive with the original file, LR5 will update the full file correctly. This is a fabulous convenience addition.

Video Slide Show

If you create slide shows LR5 now allows you to create sides show presentations that incorporate movie clips. You just inserts like a image and it plays automatically. This is a nice feature to enrich you audience in your presentation.

There are a number of other improvements that are incorporated into version 5 that are worth mentioning. Some of the filter algorithms have been improved so be amazed as you explore. The noise reduction filters are now excellent. I shoot with a vintage Nikon D200 which is notorious for low light noise, its scary to consider going over ISO 400. I just competed a stage production shoot at ISO 1100 and my images are very usable. Highlight and shadow recovery sliders will amaze you. B&W conversion can be precisely mixed with 8 colour channels that can make or break a conversion. The enhanced 64-bit cross-platform pipeline speeds up image tasking whether your a Mac or PC user especially moving from one software package to another. LR5 print capabilities are superior and it has now replaced a costly rip program for my professional printing needs.

Conclusion

In conclusion I will suggest if you are using LR3 and enjoy it, come out of the dark ages to see what LR5 can do for you now, its magical. If you are a RL4 user and have found its become your go to image processing software then the advanced healing brush is worth the upgrade alone. If your a photographer and a PhotoShop devotee and don’t want to subscribe to Adobe cloud, check out this powerful processing package and all the online articles and tutorials on LR. That support alone should convince you to get on board. Its 1/10 the price and you’ll use more than 10% of the software program because its designed for photography. Adobe has now made it clear that PS (which has become a cloud suit subscription) is clearly become a graphic designers product. Lightroom was created for photographers and will likely remain a stand alone package.

Lightroom is priced at $ 79 for an upgrade, well worth the investment in your images and even the $ 149  for the full version is a tremendous buy for the photographer. I highly recommend it.
Insights to Joe Kerr and his photography.

Thank you for stopping by my name is Joe Kerr or Joker as most of my friends and family call me. I’ve been involved in photography for most of my short life of 62 years. Its just in the past decade that my photography transitioned from a hobby to a full time preoccupation.  I’m not going to post here my VC you can check my Link-in page for that.

This site was initiated to share some of my experiences that I’m so privileged to see on an daily bases at Pixels here in Winnipeg. The photographers and people that I’ve meet on a day to day and the stories I’ve heard are astounding. Some of their images have been equally inspiring. I’ll also plan to share some of my insights into processing and printing which has consumed most of my life over the past 10 years.

I hope you’ll find this insightful, fun and maybe even learn something along the way.

Thanks for stopping by, lets begin…

Joker

A study of compositions.