The Art
of
Black & White Conversions
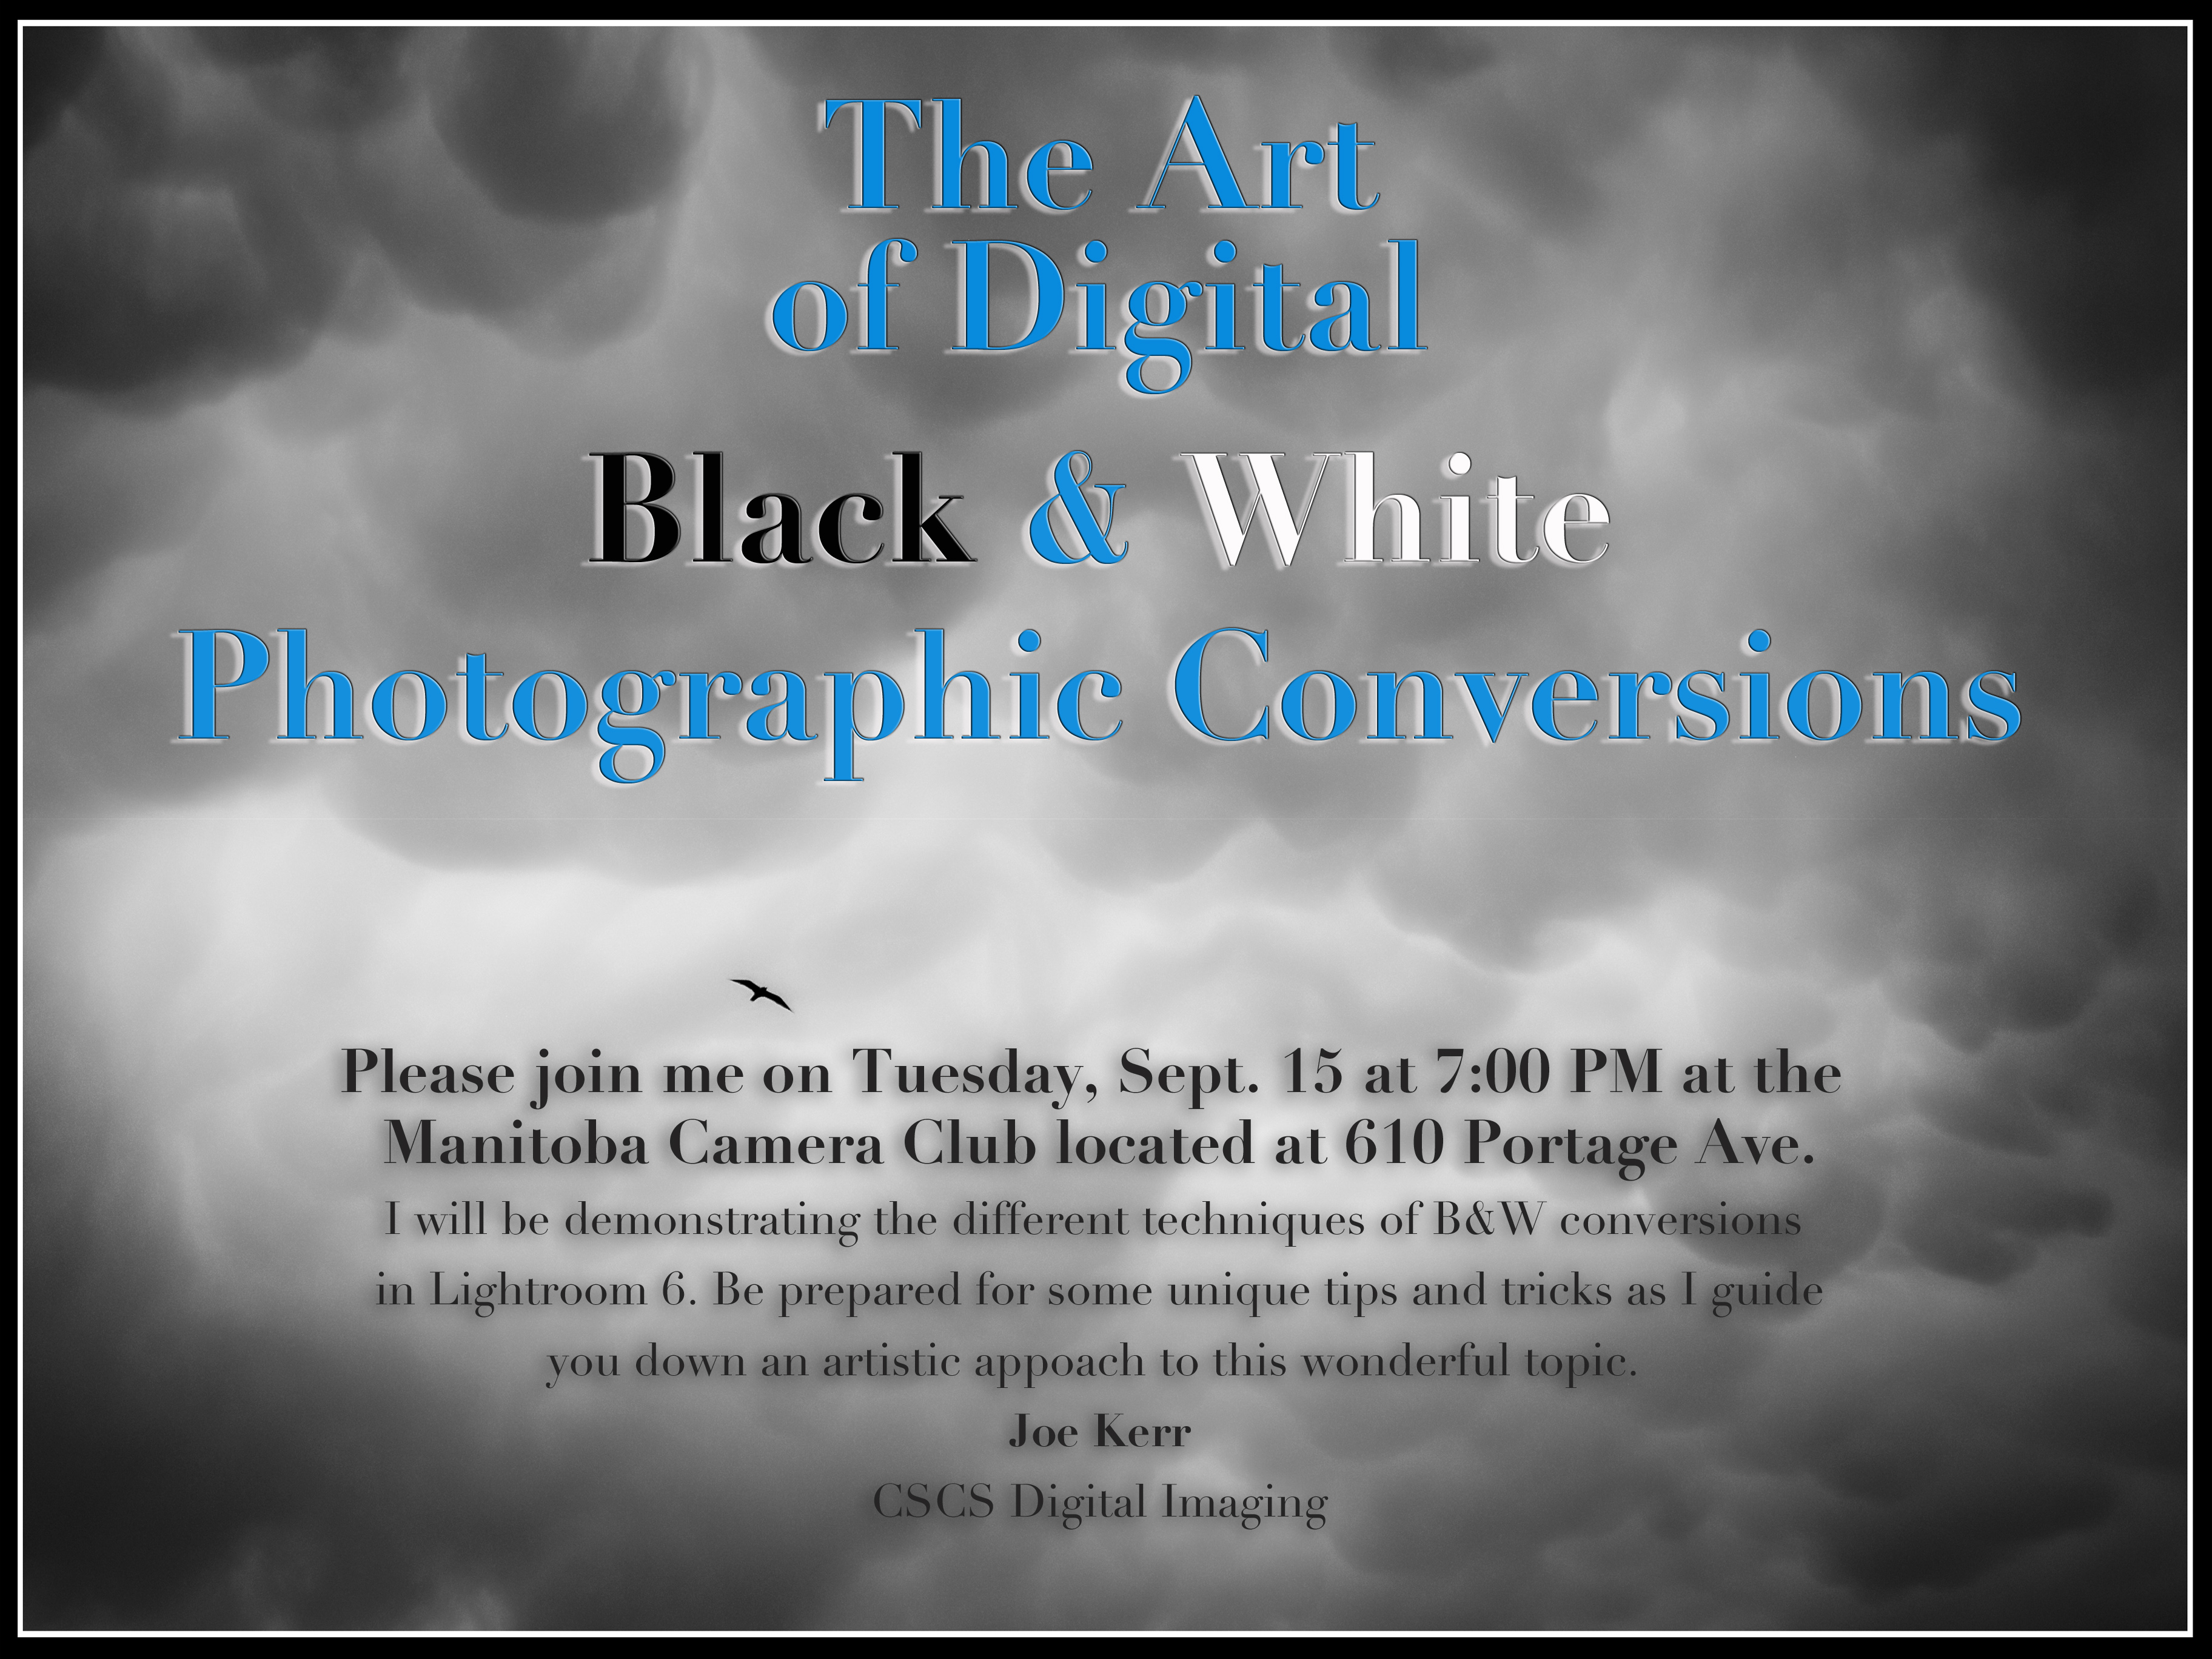
On Tues. Sept 15, 2015 at the Manitoba Camera Club presentation I was invited to do a presentation on B&W conversions with the intent of showing some of the artistic capabilities of Lightroom. The audience was asked to bring image files that I would process live. We had a lot of fun but unfortunately I ran out of time so I promised I would post them at a later date, well here they are.
Let me preface this document by saying that all the images are the copyright of the individuals who kindly submitted them for this particular talk and demo. I want to thank those that shared their files for this purpose of the demonstration and I hope that I did them justice on the conversions. So lets begin, the images appear in no particular order.
The Actor
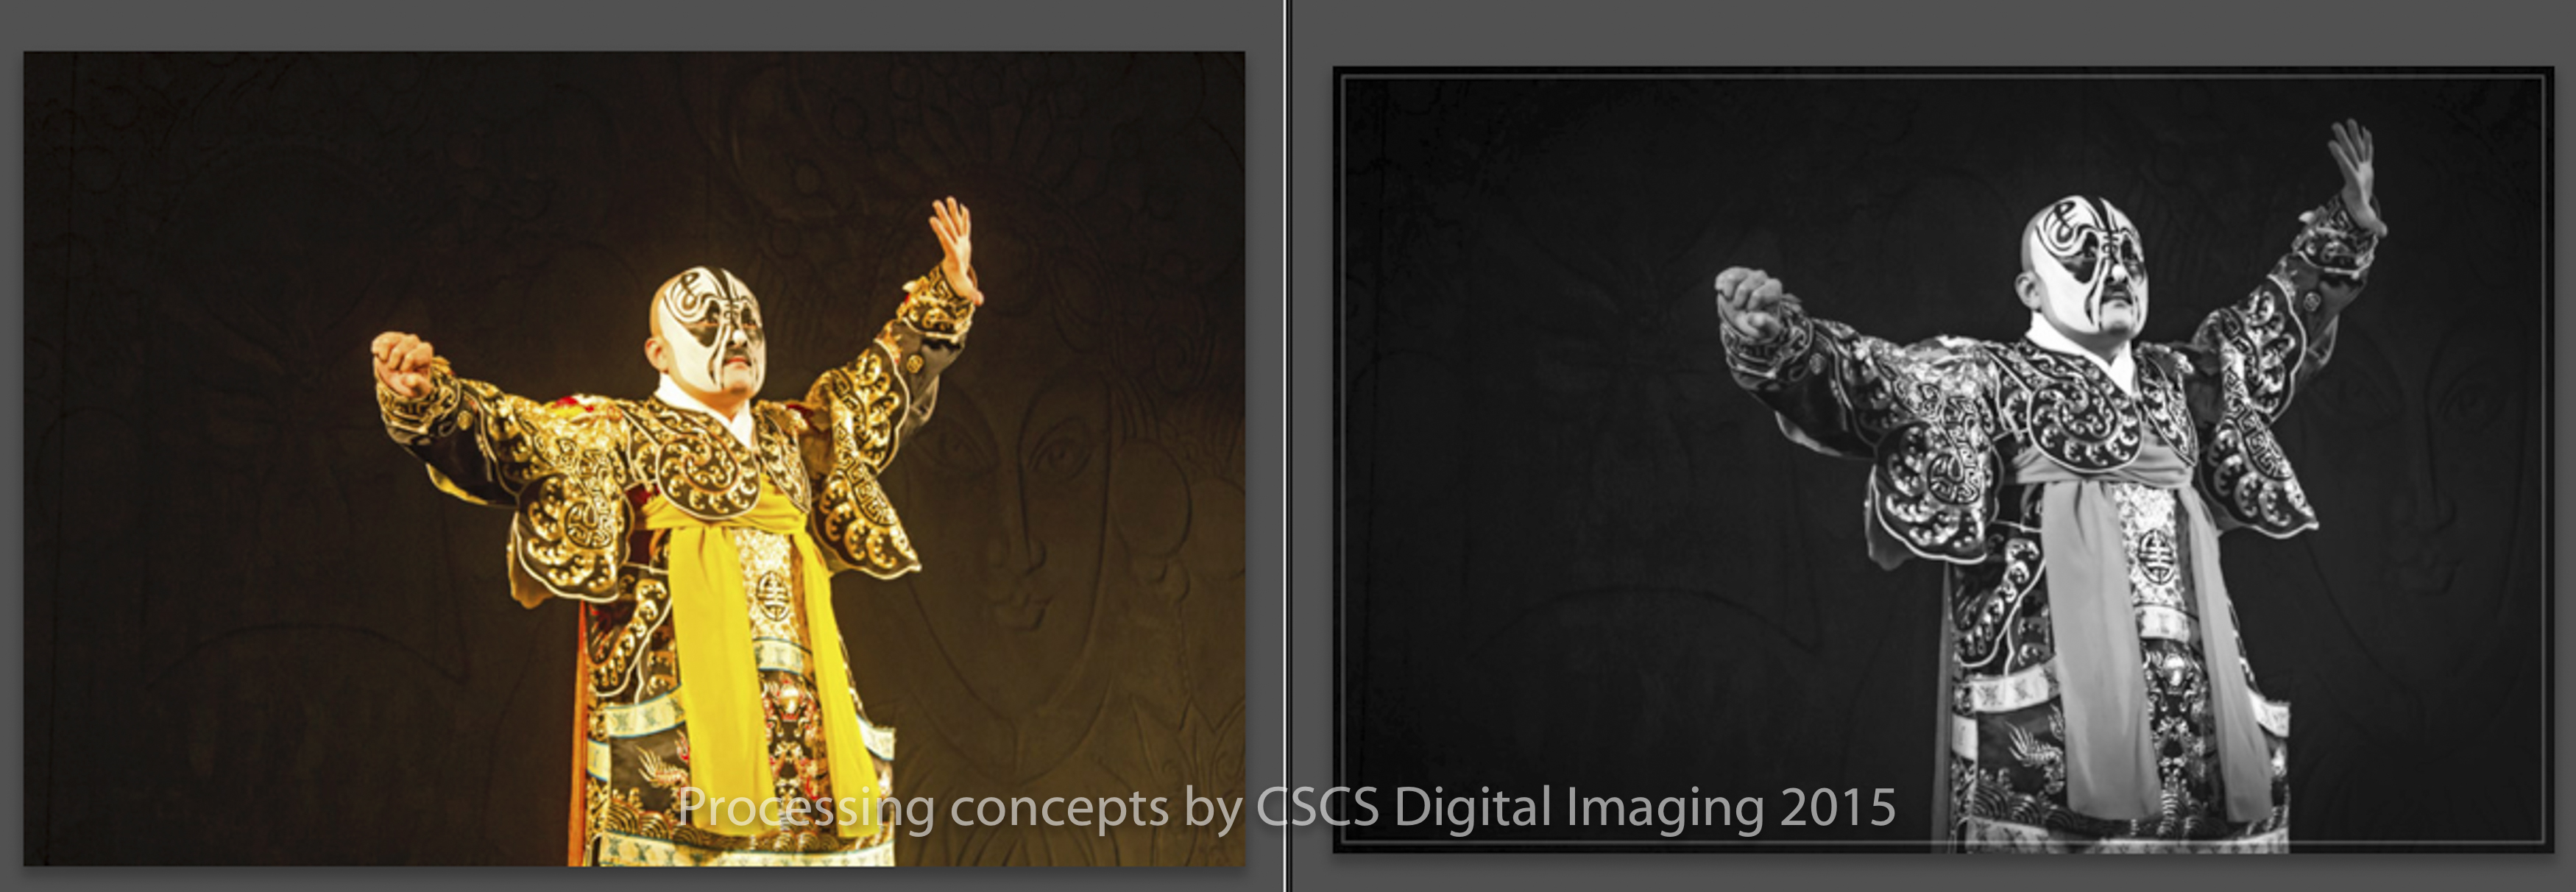 This is a nicely exposed stage shot of an Asian character. There is a strong colour cast from stage lighting so its important to start with colour correcting the image to obtain the correct grey scale tones. Once completed, using the “HSL module”, each colour was desaturated. This technique allows for a luminance adjustment of each colour in the scene. In the “Basic module” a minor exposure and shadows adjustment completed this conversion. A border was added in OnOne FX.
Street Dancer
 This was a challenging image because of the complex nature of the capture. Quite a busy street scene didn’t allow for a simple B&W conversion so it was produced as a hybrid to help isolate the subject in an interesting way. Utilizing the radial tool in LR6 set to 100% desaturation was the starting point. In LR6 the new brush selector within the radial tool was chosen and set at 100% desaturation erase all the remaining colour. The dancer, now the only colour, stands out against an other wise busy background. A lightening of her and a slight saturation and its done. Border was added in FX.
Environmental Portrait
 A nice urban portrait but the subject is a bit lost and not the true focal point. Starting with a crop to remove some of the bright area that catches the eye, in addition it make the image more cinematic. Using the HSL and removing all colour with the sliders allows minor adjustments of all the grey tones. Then added an elongated horizontal radial adjustment of exposure, – highlight and clarity. A second vertical radial adjustment with the same sliders of varying settings completed the look. A vignette was added and a frame in OnOne FX.
Sunrise Fog
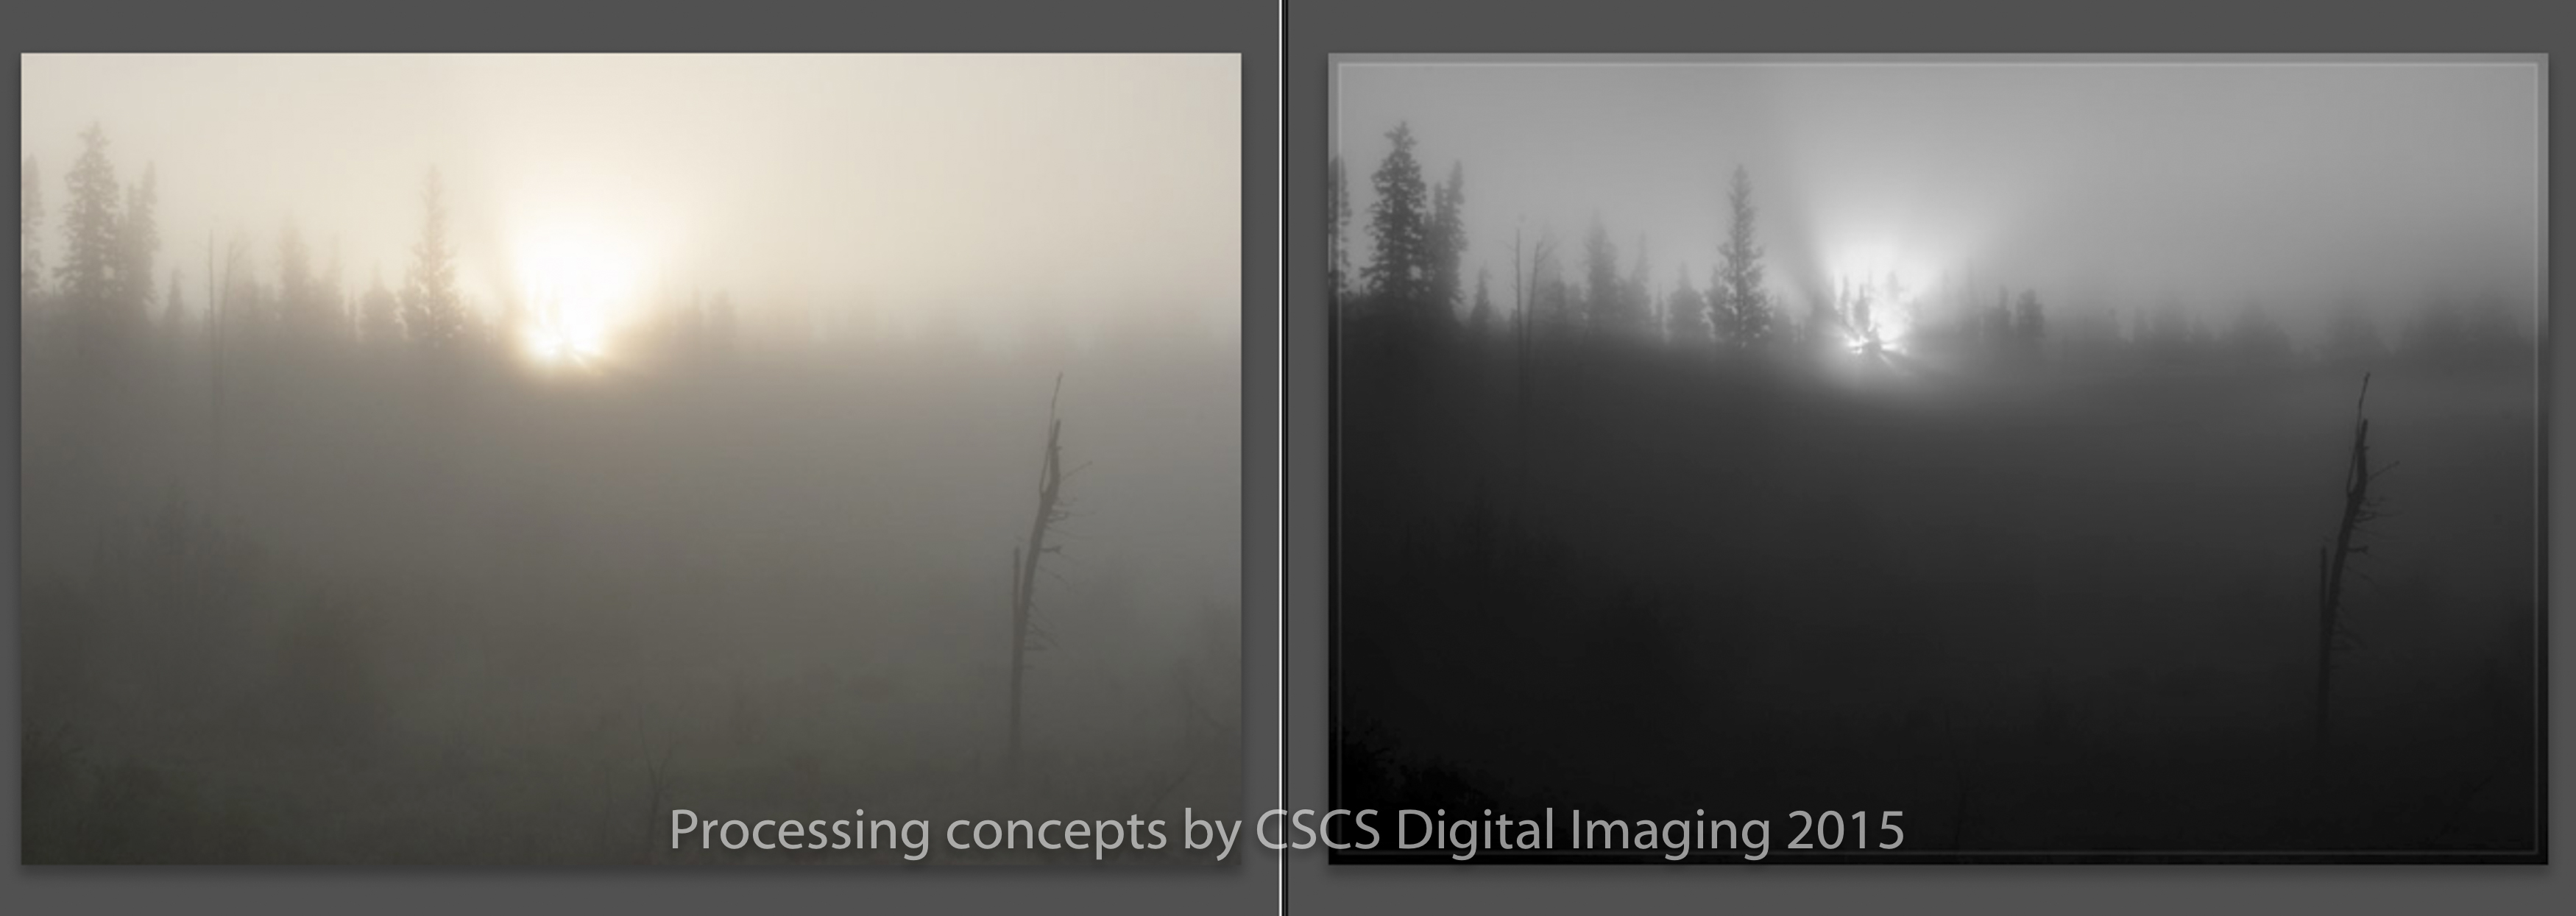 A challenging fog image. Start with the HSL desaturation conversion to B&W. A gradient tool with a strong clarity selected was dragged down from the top and it revealed details at the brightest point. Switched to a radial tool with a strong clarity setting revealing as much detail as possible with out creating unwanted banding effect of the gradient. Two more radial adjustments were set on each side adding more treeline details. Lastly a gradient tool, set with clarity, dragged from the bottom up to expose the dark details in the for ground. Fine details were added with a brush tool, dodging and burning the stick in the foreground. Frame added in OnOne FX.
High Key Portrait


Studio portrait converted with a moderate high key look. Global HSL desaturation colour conversion, a radial tool adjustment with clarity and slight +exposure showed a nice opportunity to go high key. The final has a pushed white and exposure adjustment with some added contrast to retain the details.
Fishing Boat
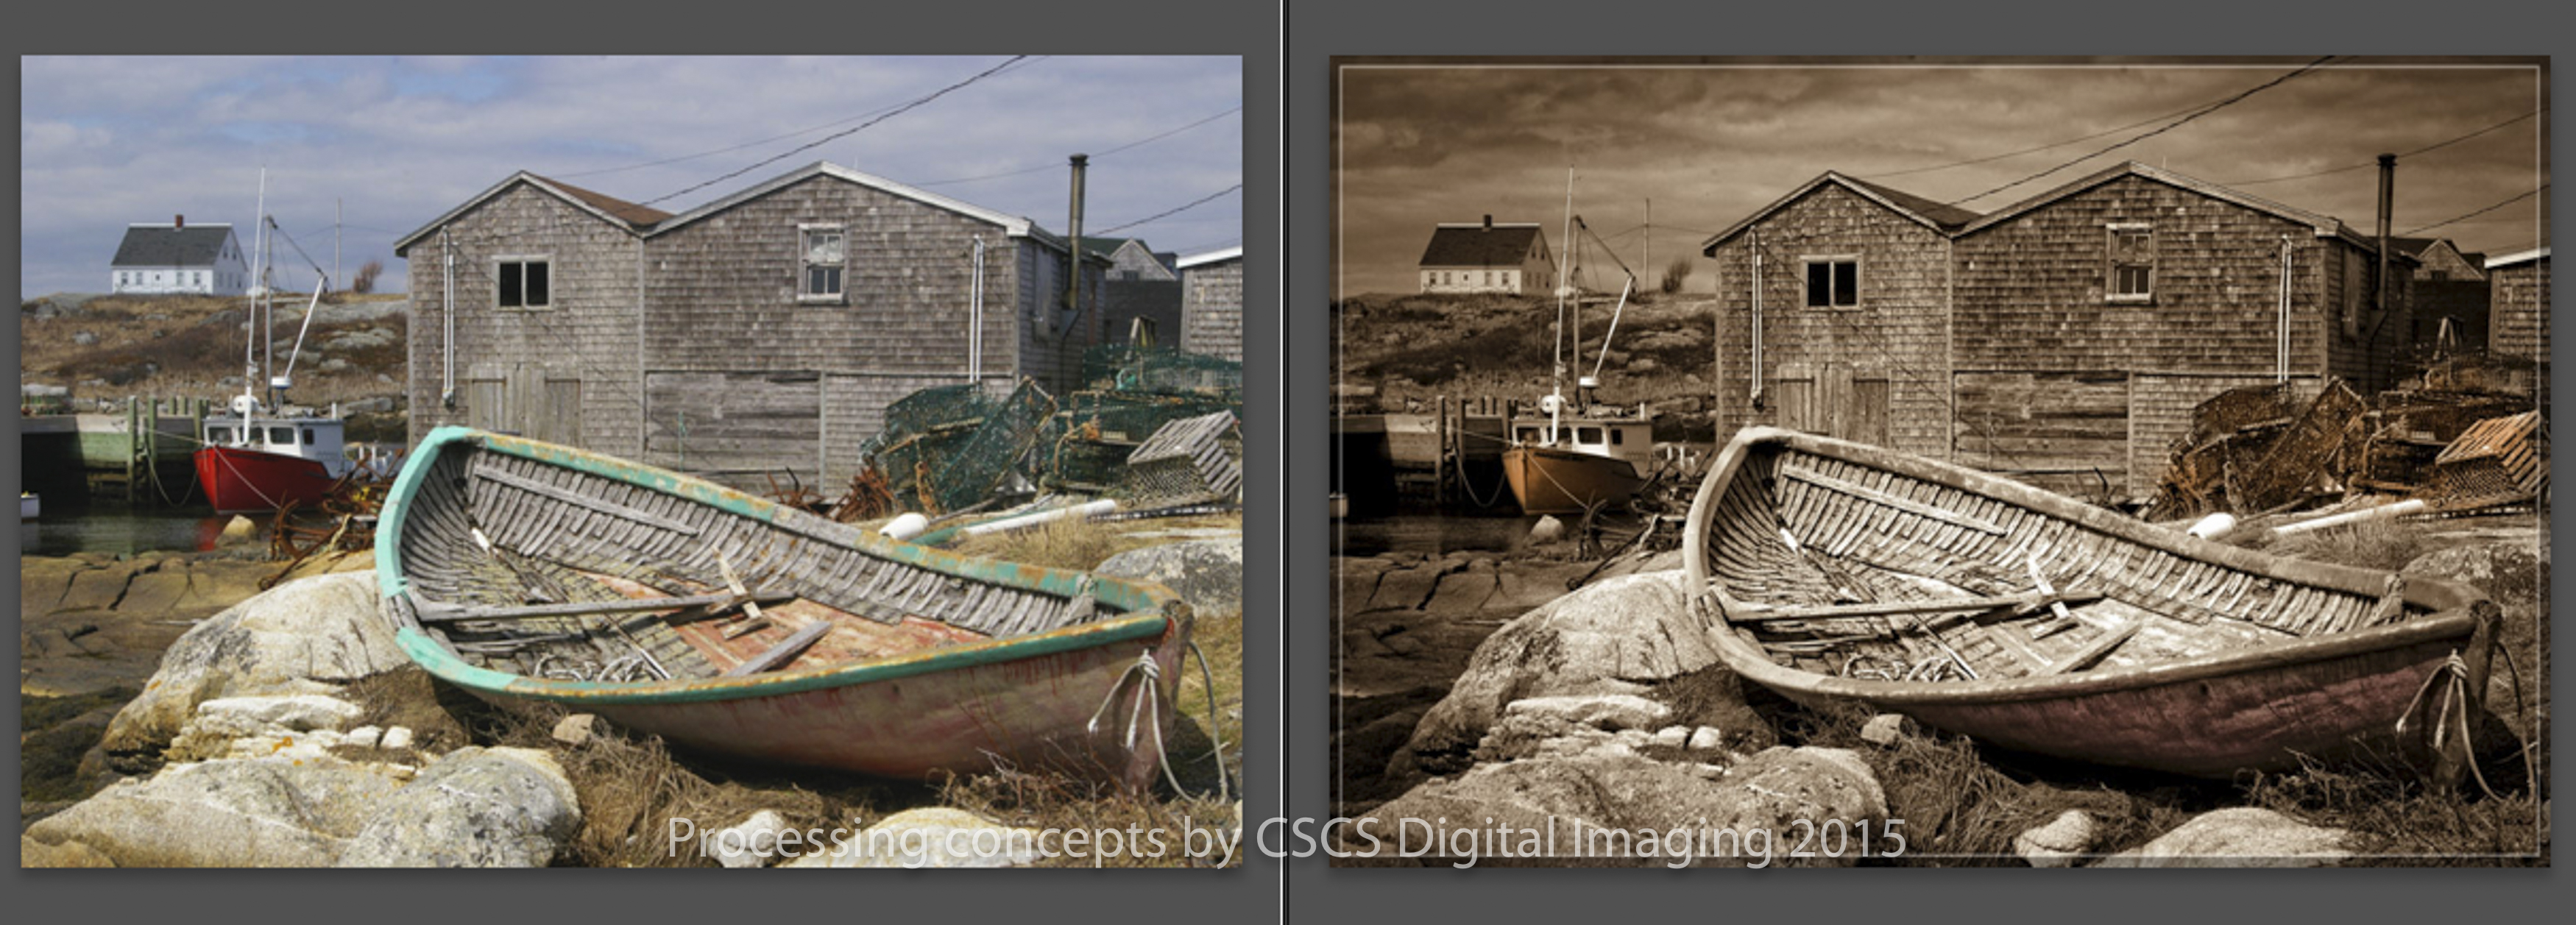 This beautiful fishing scene cried out for a sepia monochrome conversion. The HSL desaturation technique was used as a baseline. Dodge and burning was used to bring out some of the details and the brightening of the boat in the foreground to give it more prominence. In LR6 presents there is a sepia that works very well. A deepening of the colour was added and using a brush some defined pastel colouring was added with a brush tool. Within the brush tool select temperature and adjust sliders to obtain the tone your looking for, select flow and density high to see the effect, you can adjust it back once you see the correct colour your looking for. Vignette and a frame were added at the end.
Soft Portrait
 Another beautiful studio portrait this time made into a warmed soft conversion. HSL desaturation conversion with luminance adjustments to highlight key facial structure. Radial tool with slight exposure and dropping of the highlights a push on the shadows and sorted by a negative clarity. Select the brush within the radial tool and erase this effect on the eyes mouth and hairline to bring back the contrast as previously created. Framed in OnOne FX.
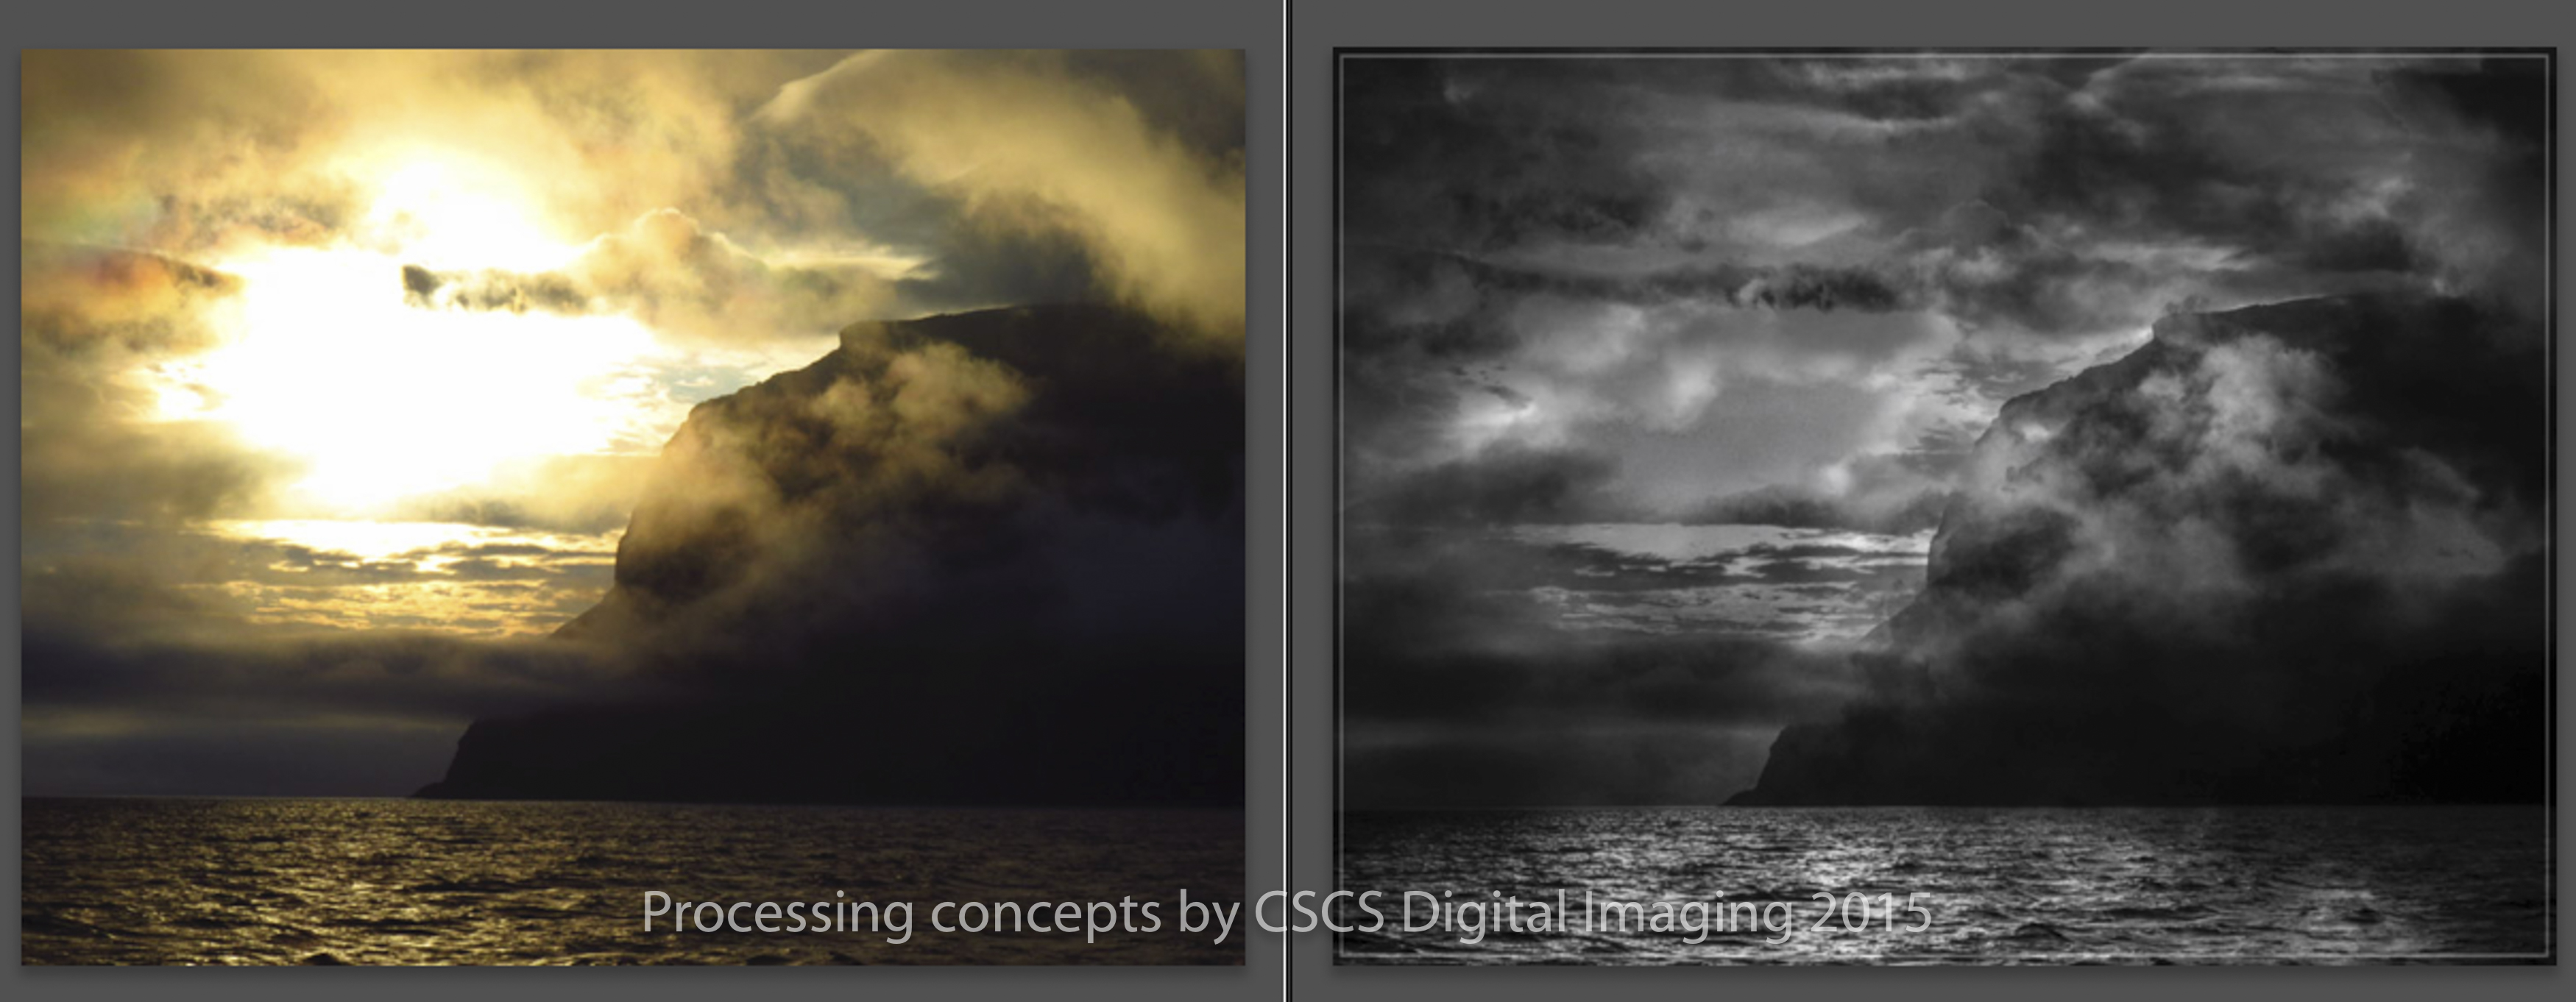
Steep Rock Shoreline
 A nice shoreline scene with an overcast nondescript sky. When one sees a shoreline of water and rocky cliff we conjure up a storm or a dramatic sunset, well in this case a storm prevailed. HSL conversion allow some amazing detail to be revealed in the waters and cliff in the foreground, the sky however remained nondescript. Clarity added more detail and some dodge and burning pretty much completed the majority of the foreground. The sky needed further help and that was accomplished in OnOne FX. A trick I use is to add multiple layers of sky set at different opacities and scale to make it more believable. I also like to invert the dominant sky and use that to create some highlights in the water. Brought back into LR and a slight dodge and burn and that completed this image.
Vintage Aircraft
 Another image that cried out to be a monochromatic sepia image. In this case the HSL conversion technique really helped to find details in this image. Really play with the luminance sliders to find out which once work best for the given image, remembering the colours of the original image are key. Lastly a soft white glow was added to the window with the radial tool and the chair was erased from that glow.
Glowing Sunrise
 A soft glow of an early morning light with a detailed silhouette of trees and their reflection. Does this defy the basic definition of B&W being one part black and one part white, well, yes it does. HSL adjustment helps to define this automatically. There is a strong black that is obvious but its the subtle grey tones that become just as obvious. This is a great example to use for the sharpening technique with the masking tool. When sharpening for fine detail use a small radius, meaning a smaller pixel cluster, add detail to the amount of your liking but here is the real key. You don’t need or want to sharpen the clouds, sky or refection in this image so use the Masking slider. Press option in Mac and at the same time slide the controller, only the white highlighted areas are being sharpened, nun of the black is being effected. On this image it was set at 100 so only the tree edges were sharpened and nothing else, perfect. No white exists and when the greys were adjusted there was a shore line detail that came to light that was not seen in the original image.
The Storm
 In all due respect to the maker of this image this is one that you don’t want to spend much time on because you know it takes to long. Well here we go. HSL is my starting point in B&W workflow. Try and find any detail in the blown out area -100 in highlights, white clipping -40, try clarity and contrast. It all still leaves this white abyss with no detail. Next is to clone some cloud into the space, not everywhere, just where there could be a strong cloud. Then take the image to a second software package, in this case OnOne FX, and layer in a cloud layer or two. Its the only solution and is left to a whole world of interpretation.
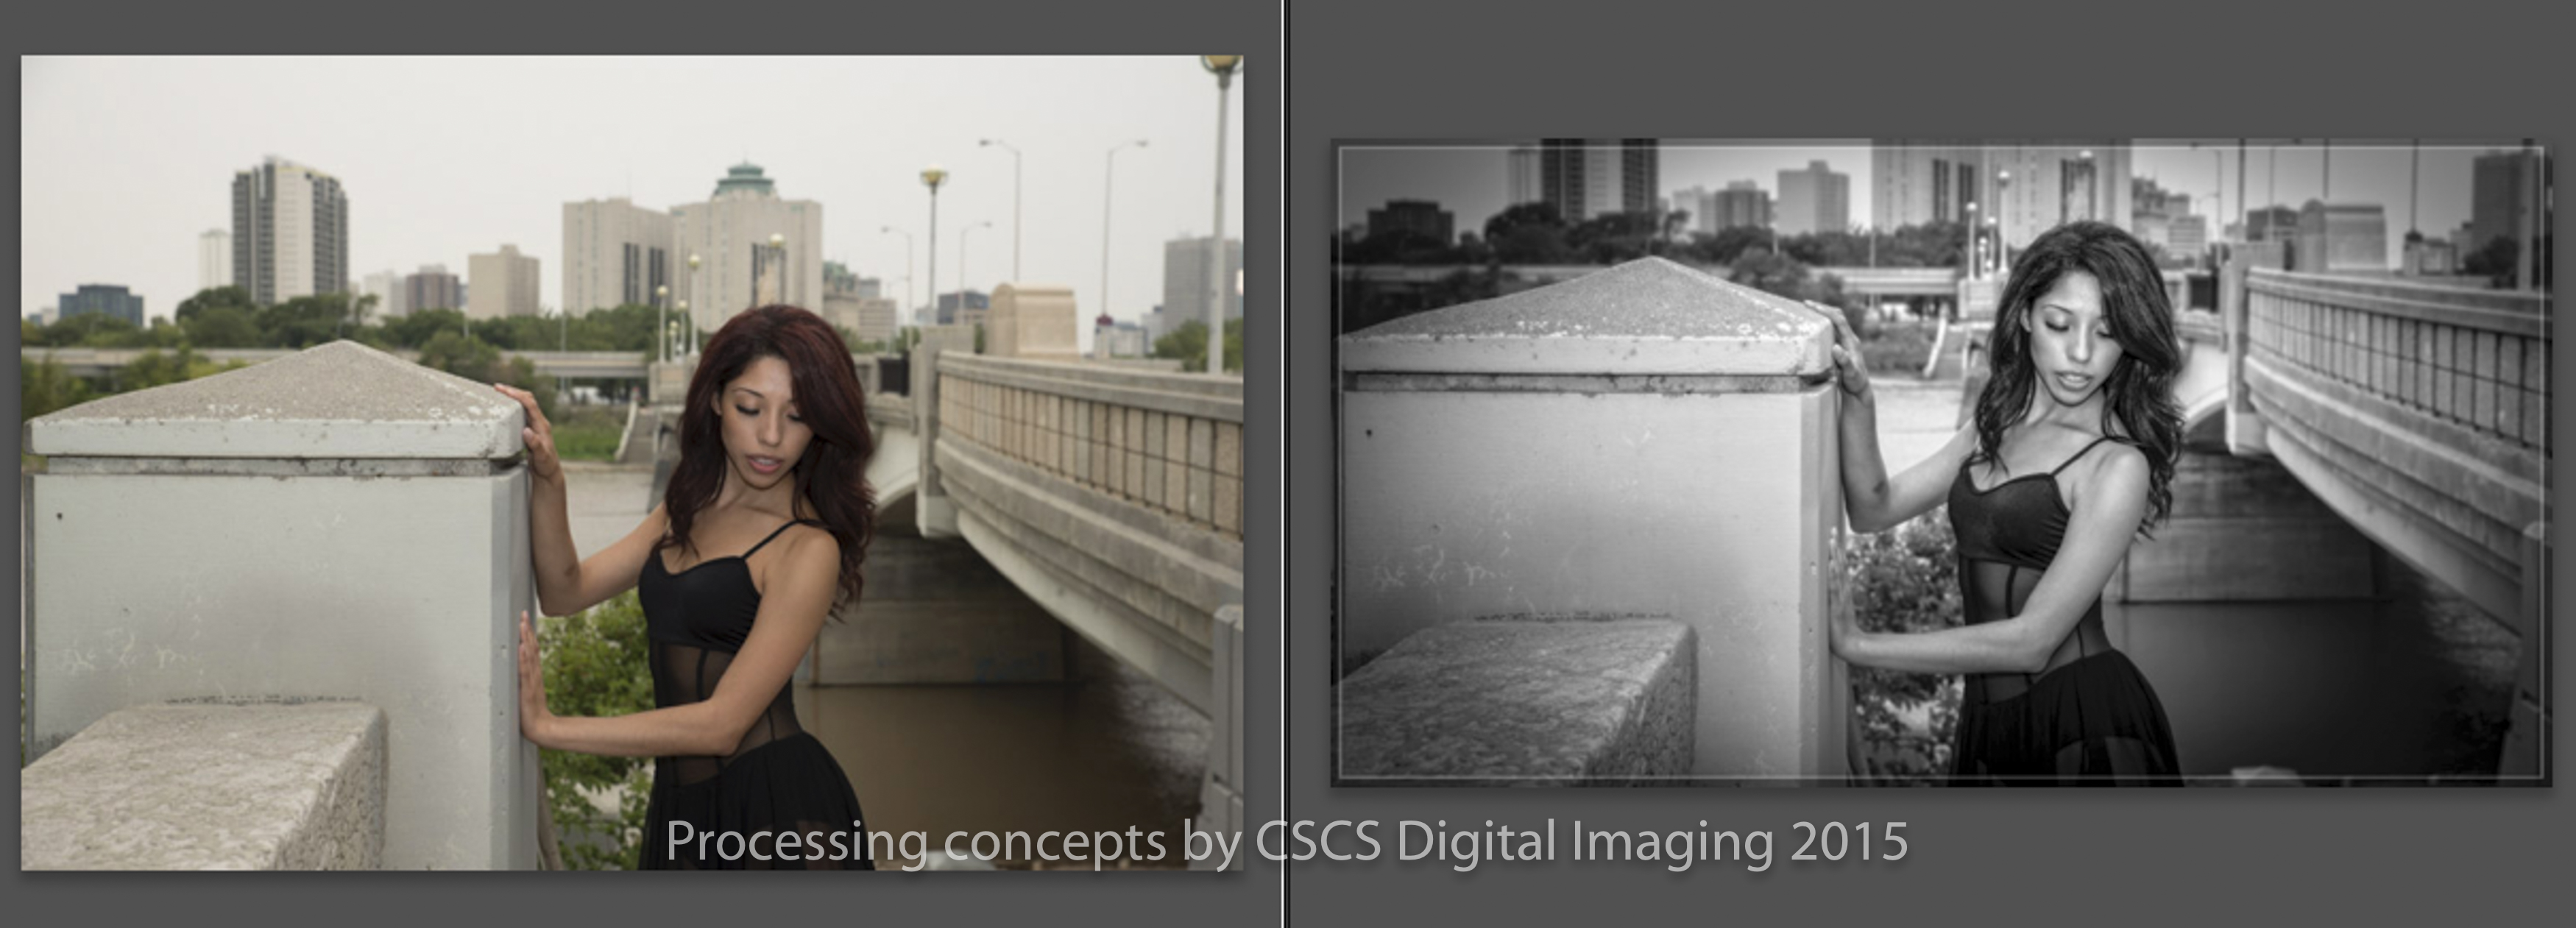
The Bridge
 This was sent to me as a B&W image so I had a chance to play. I did a minor crop to add a more linear feel to this image. Took it into OnOne FX and added a texture, frame. I returned back to LR and took the brush with a blue temperature and colourized the bridge, it was intended to be a bit sloppy as an urban grunge.
Vintage Farmstead

I saved the best for last, well in my books anyway. This is a the B&W conversion using HSL with hand colouring two or three pastel colours. A high key conversion is the base. The colours are added with the brush tool and in effect, select a temperature colour you like, add some clarity and brush over the area you want coloured. A last adjustment of exposure to find that right high key look.
Conclusions.
Introduction to artistic B&W conversions.
• study the image well before you start.
• what is the content
• what is the mood
• what are the compositions strong points
A good understanding of the image goes a long way in creating an artistic rendering.
The different ways to convert RGB images to B&W in LR6.
1 – “Basic” – use the B&W tab for an automatic conversion.
The RGB channel percentages should theoretically add up to 100% (i.e. 50% Red + 40% Green + 10% Blue = 100%). More than 100% means lighter images and less than 100% means darker images, so it’s really up to you.
The default option is 100% Red, 0% Green, 0% Blue, but 30% Red, 60% Green, 10% Blue is a good starting point.
2 – “HSL” – desaturate all the colours individually. By using the luminance colour sliders you can adjust the grey scale of every individual colour zones.
4 – Radial Tool drop down – desaturation set at -100.
5 – Brush Tool drop down- desaturation set at -100.
6 – Gradient Tool drop down – desaturation set at -100.
7 – B&W Presets in LR6 are many, each having a variety of interpretations.
There are a lot more ways to do this in LR6 use your imagination and have fun.
Lastly Remember: If you’ve spent a lot of time working with a certain image, take a break for a while and then use a fresh set of eyes to look at it again. Over concentration can be easy to do, if you’ve looked at it for too long taking a break will often help you identify what needs to be done.
B&W conversions should be a lot fun so enjoy yourself.