
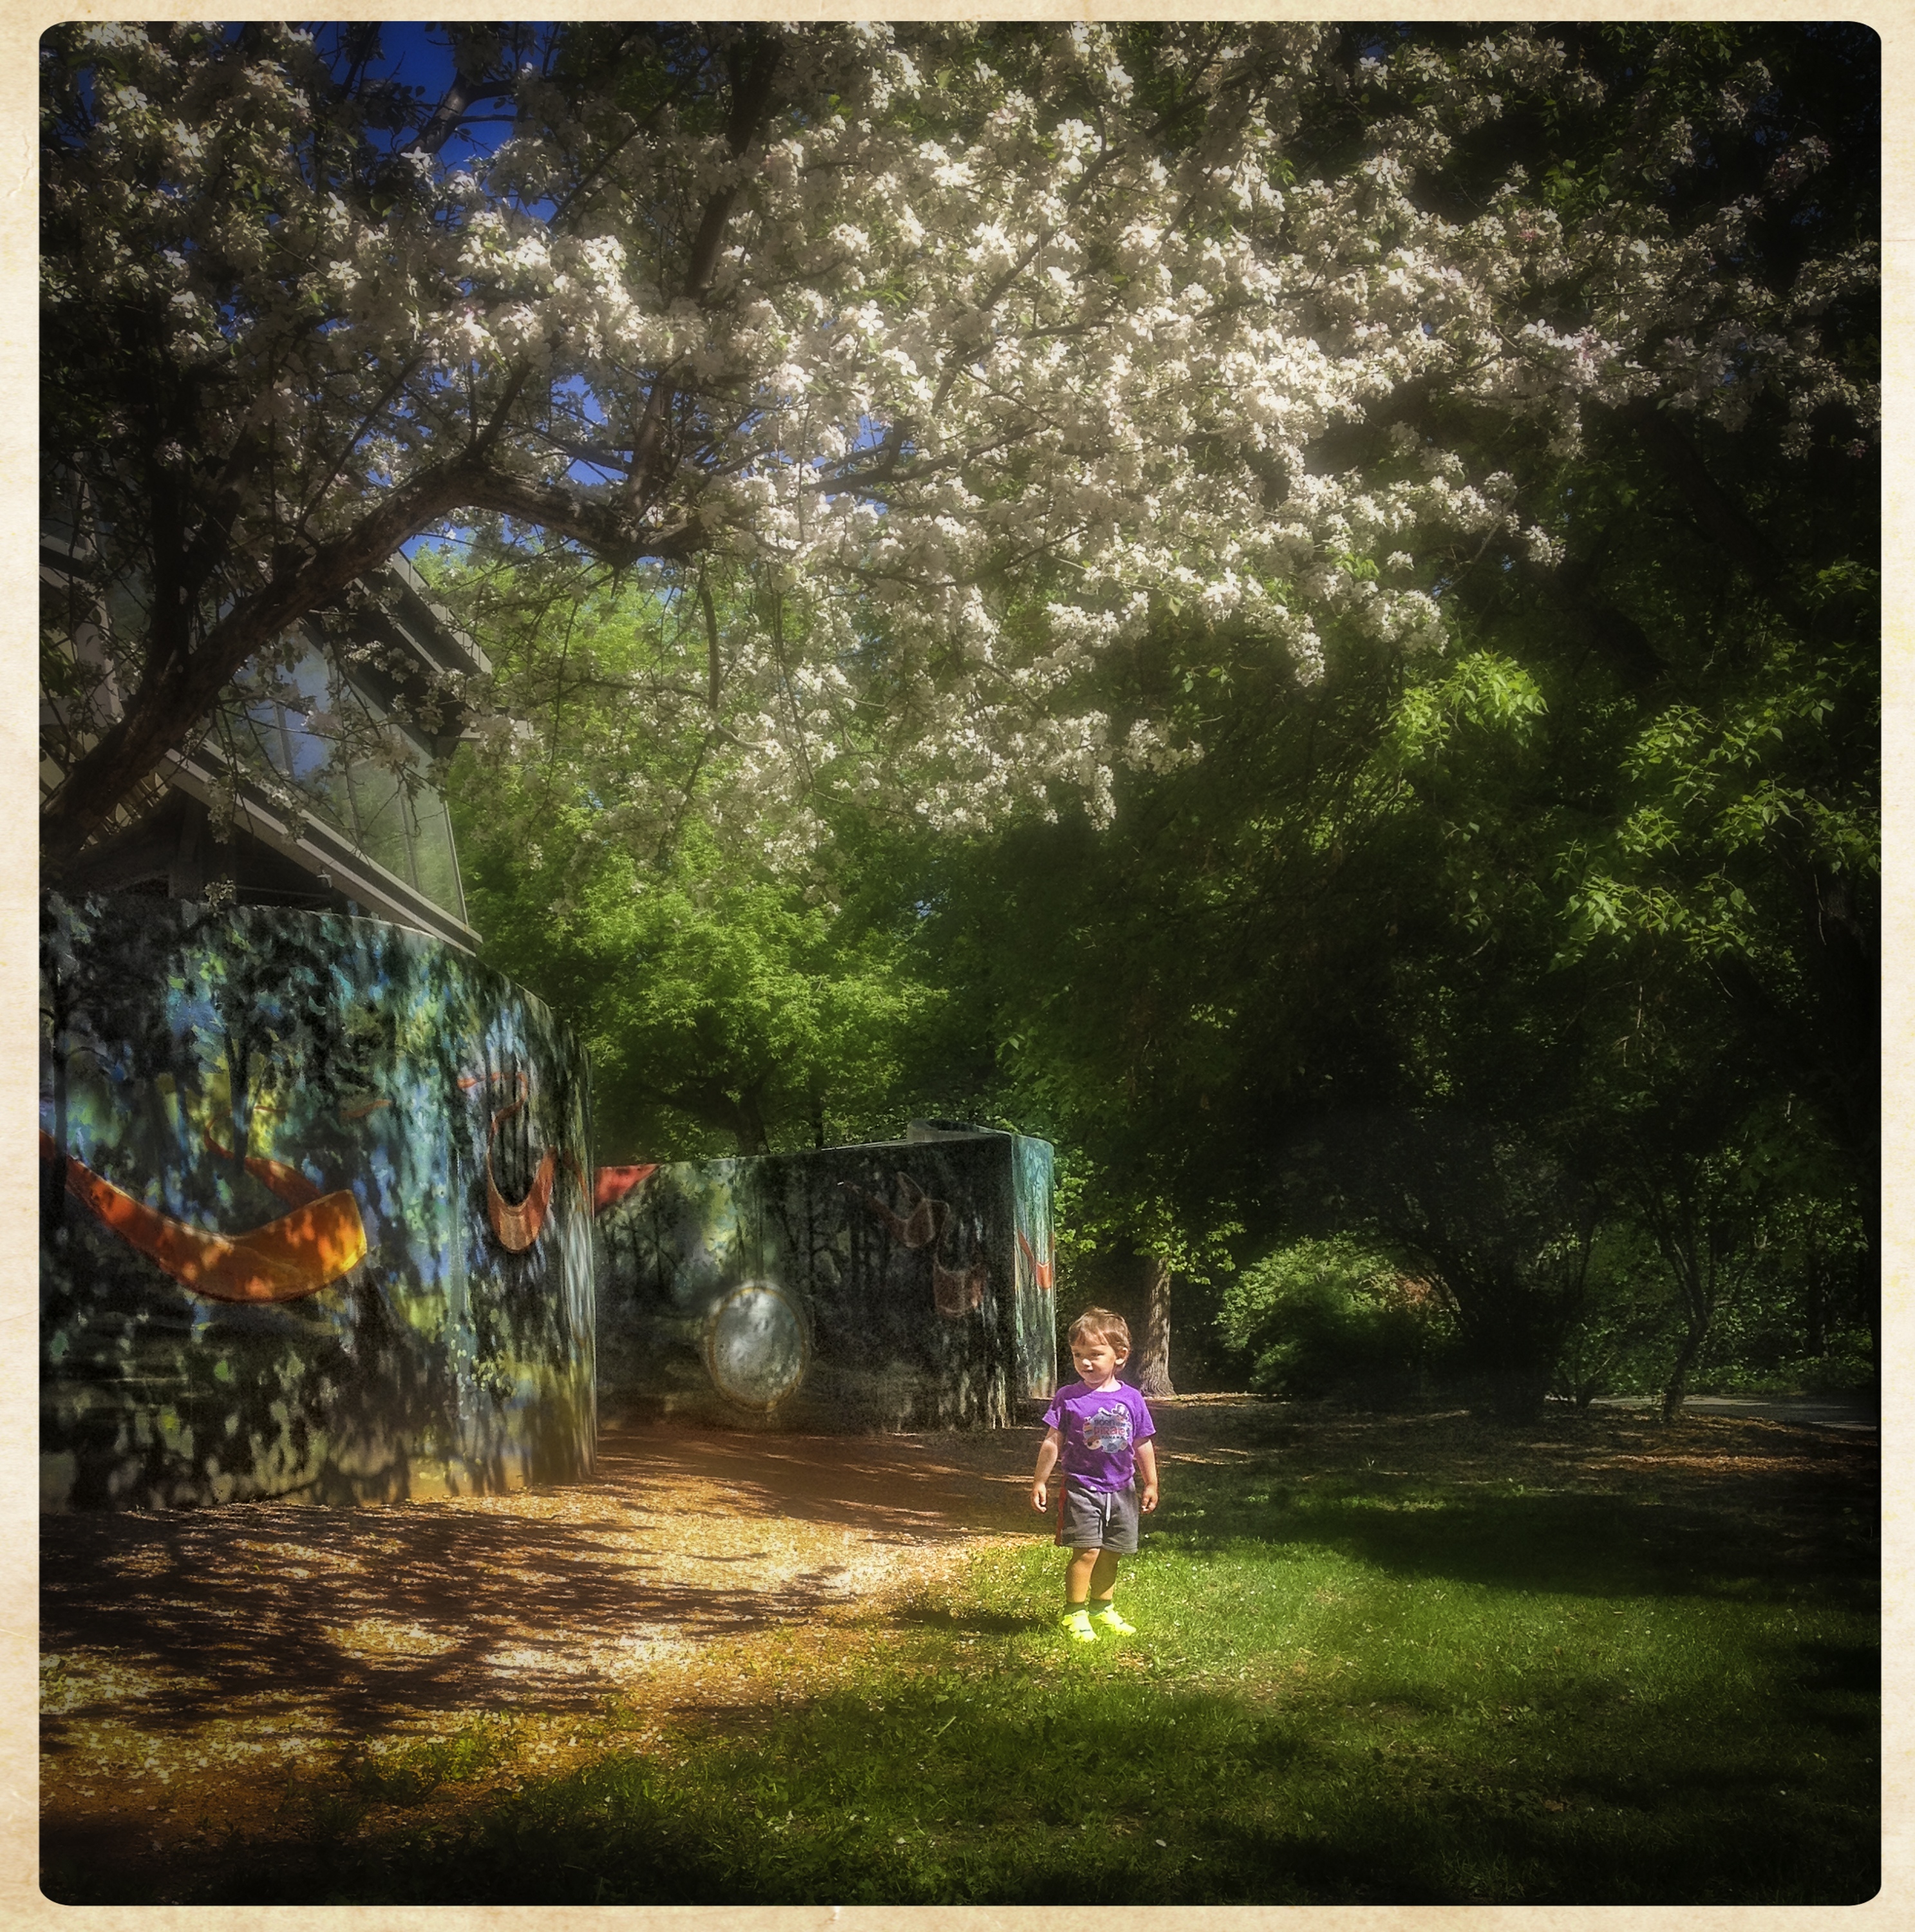
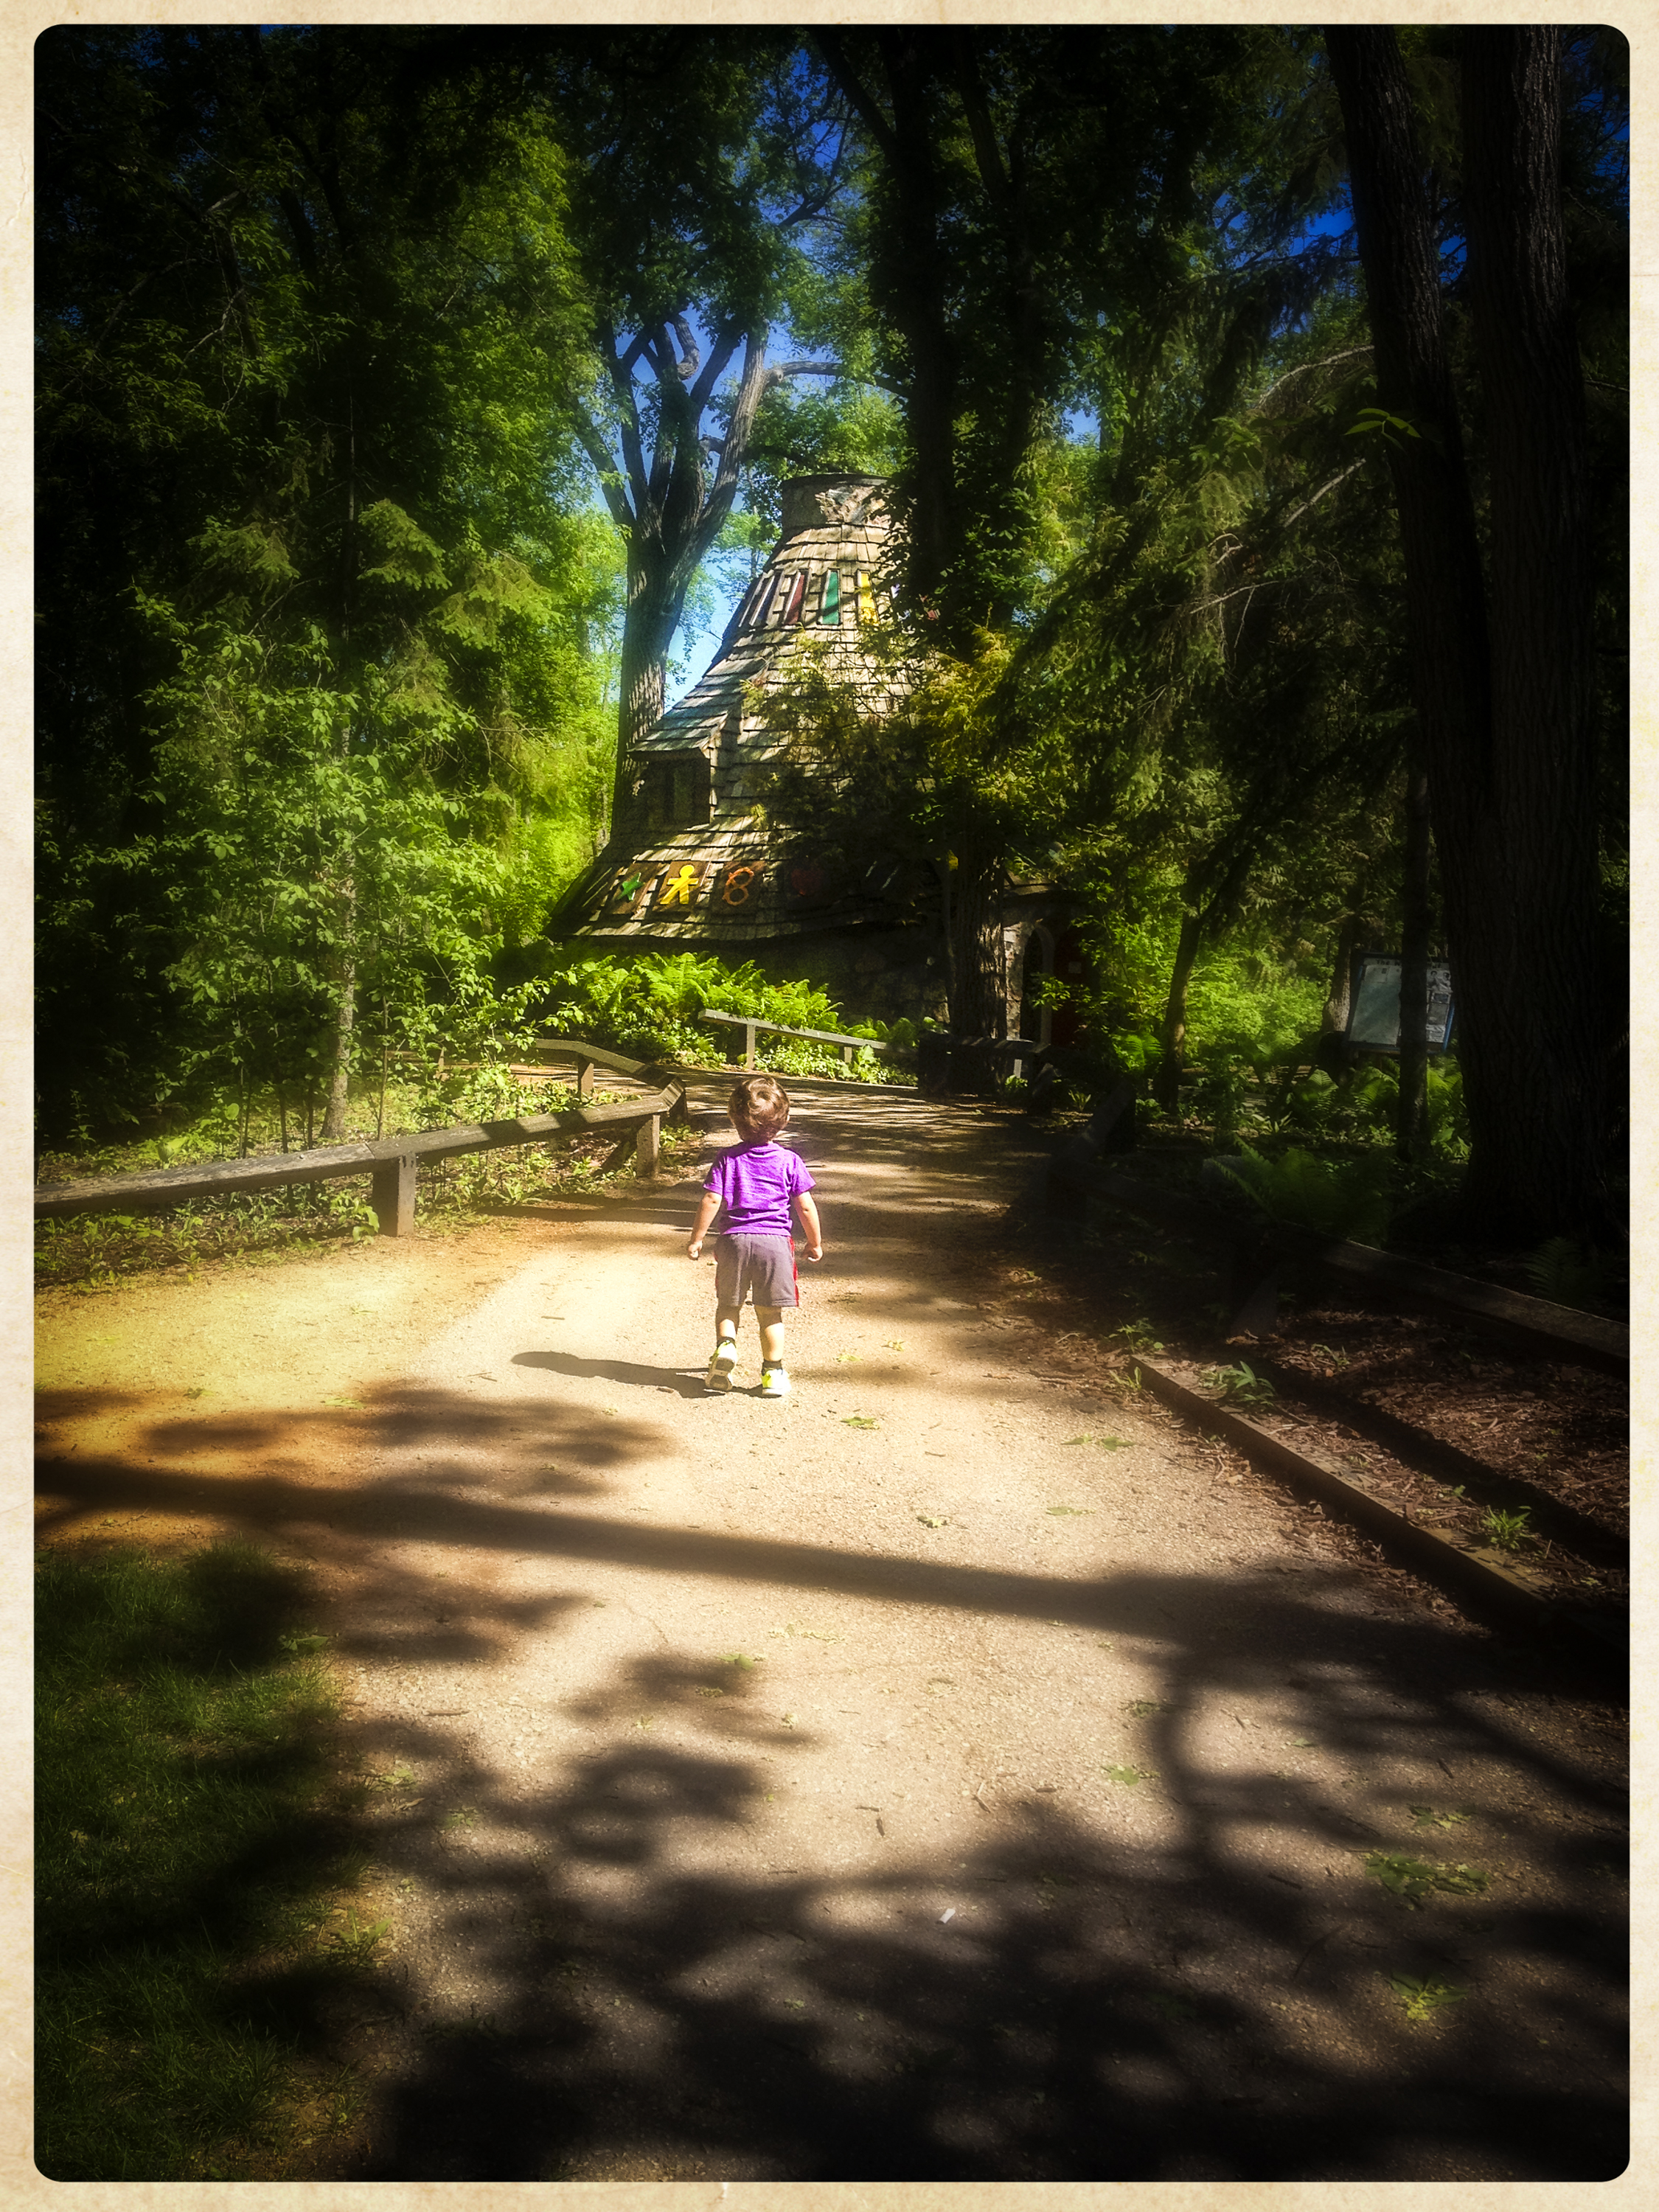
Liam and his Papa Joe were explored this enchanted forest of apple blossoms and wild ferns when they came upon a magical cottage by a creek. Its conical roof and gingerbread shingles and the scent of freshly baked cookies captured their interest. Papa Joe felt compelled to explore inside but Liam was leery and would not enter the open large red door. It was Liam’s instincts that allowed them to escape the diabolical wizardry of the inhabitant. They learned later that two young children named Hansel & Gretal had gone missing and that a woodsman saved them from certain perils of that hauntingly beautiful cottage.
Creating a mood that enhances the story of your image.
Creating focus in an obscured setting.
OK, so what is this all about. Well its about using your imagination and creating a processing formula that transforms your images into what you may have imagined. In this case a enchanted forest and a mystical cottage became the theme and the motivation for this processing technique.
The Capture
Armed with only a cell phone at the time I gathered some images and loaded them into Lightroom 5. A small capturing detail when you have a small subject, in this case a toddler, get down to their level it helps bring the viewer into their world, these were shot from my knees. Shot in full sunlight was an asset, the contrast helped create the mood in post production.
Starting The Processing
Here is the process I used to transform these into the finished images you see here using Lightroom 5. I started with some basic global contrast adjustments but from that point on its all brush and radial adjustment. The apple blossoms were a key and they needed to have a certain brightness knowing that a glow would be added later. The graphic wall paintings tone was deepened and the ground around Liam brightened. The detail in the path in the forest to his right was brightened but not too much.
Technique
These intermediate processes were created by using a radial tool adjustment with a final touch up using a brush. The radial tool settings were different for each of the four zones selected.
Zone #1 – The apple blossoms had a slight contrast and clarity adjustment which required a negative highlight to bring back the whites a touch.
Zone #2 – The painted wall has a slight positive exposure setting, a dropping of the highlight then a touch of clarity to bring up detail and 28% saturation to deepen the colours.
Zone #3 – Liam had small vertical ellipse with similar setting to zone 2 but I dropped the highlights to a negative 31.
Zone #4 – The distant path on the right needed to be brought forward so a small horizontal elliptical was selected. The settings used were a decent amount of exposure 1 1/2 stops, highlights 18, shadows 29 and clarity 10.
A Touch Beyond
At this stage I moved the image to Perfect FX8 and added a dark glow, erasing around Liam with a 60% brush and added a boarder. Minor details but its all about the details isn’t it. This is where the high contrast of midday plays its part.
Final Touches
The file was returned to LR5 and final touches were done with a brush tool. When using the brush tool look at the bottom box of the brush adjustments. There is an A, B and erase brush selection. This comes in handy when your doing some transitions of sharpness, glow or anything that warrants a smoothing of the effect that a simple feather won’t perform. Select “A” brush and create the brush adjustments your looking for then set it up the flow and density at 100% with 50% feather so it will effect your selection quickly. Keeping the same brush settings set the “B” and reduce density and flow to 50% with 50% feather. Now you can blend the effect by switching quickly between the two. If you need to correct, select erase and correct the area. This is how I performed the final selective sharpening of Liam in the woods walking toward the witches hut. Only he and the hut are sharp the area nearest is at 50% the rest of the image has a soft glow. The shot with Liam under the apple tree Liam is sharp and the path leading to the right is sharp, the balance is a glowing image. There are approximately 50-60 brush adjustments to each image. I’ve been asked if these images were HDR, no, these are single image files taken on my iPhone’s regular camera, no special effects used.
Learn how these techniques and more can help you create a more stunning image.
If you are interested in learning more about Lightroom 5 and how this program combined with these and other techniques can effect your images read on. I’m looking for 3-4 students to teach so I can fine tune my program that will be offered at RRCC this fall. You will receive personal one on one instruction on your images from start to finish and a completed print at the end. This program will also be the base of a new book which will become part of the package. If your interested contact me at Kerrmarketing@mac.com and I will give you more details.
