LR5 was just released and for those that didn’t participate in the beta version this will bring you up to date with whats new. Those of you that have used the beta I will talk about what I’ve learned and done with the new features over the past couple of months.
Let me begin by stating the not so obvious. I work in LR every day and it didn’t take me long to realize that it was just faster. Start up, file uploads & openings and brush strokes are tell tail signs of an engine re-freshening. Cross platform file sharing is much faster and much more compatible with more third party applications. If you send a file over to PS for adjustment they are updated in LR immediately.
Lets get into the meat and potatoes of whats new. The are five key areas that have been identified as improvements for LR5 and these are:
Advanced Healing Brush
Upright
Radial Gradient
Smart Previews
Video Slide Show
There is a great number of other improvements that I will briefly talk about at the end.
Advanced Healing Brush
To those of you that took the LR 4 workshop series this past winter the much talked about healing brush is here. I told you it was coming. 🙂
The brush is fairly intuitive in fact it operates much like the spot healing tool of the past. LR5 has also made improvements to the quality of the engine that performs the corrections. You have the same two modes of selection, cloning and healing. Cloning will copy the source area as its selected and healing will create a patch that blends similar colour and contrast from the source. They both do a very good job but there are a couple of details I’d like to share. Edges of an image can be tricky. What I’ve learned is to clone in this area, healing can cause a blurring effect. Once you select that area to be replaced move your target away from the immediate location to avoid any obvious pattern repeat.
There is additional new tool at the bottom of the image box and that is the Visualization Spots. Click this box and it will change the image to a hybrid B&W image that will reveal all the hidden dust spots. By fine tuning the slider they will pop these blemishes making it easy to correct. This new brush and tool set is worth the upgrade price alone. There are some very cool short cuts but I’ll go into those in another tutorial.
Upright
This is one of the most advanced horizontal and vertical correction tools out there. Under lens correction select the basic tab, here you will find all the settings for this new feature. Simple horizons like a water scene or a prairie horizon are flawless but it will even correct very complex architectural images.
Horizontal Correction: First select “Enable Profile Correction” to activate it, at the same time click remove “Chromatic Aberration” I’ve discussed this before just do it, then click level and it works wonders.
Vertical Correction: Vertical is the same procedure except hit “Vertical” and it does a good job at creating a perfect vertical rendering, but, if the perspective is not quite right you can still work the image under the manual tab as you see fit. Hit manual and at the bottom of the list you will find a new slider called Aspect. Move the slider left or right to fine-tune the image to your requirements. Do it in that order if you manually correct first it doesn’t work well.
3D Correction: Go back to basic and the last setting to try is “Full” this is a complete 3D correction on the image. Architectural images are the prime candidates for this procedure. Again from here you can always go to the manual tab after and fine tune it to your liking.
If you have a set of images like a sequence for an HDR you can synchronize and process a set exactly the same so they match up. A very nice feature. One last tip when possible use a RAW file, LR5 uses the metadata like lens type and focal length to correct the image and it will do a better job with a RAW.
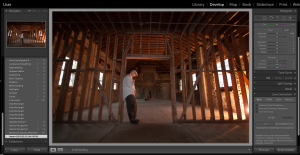
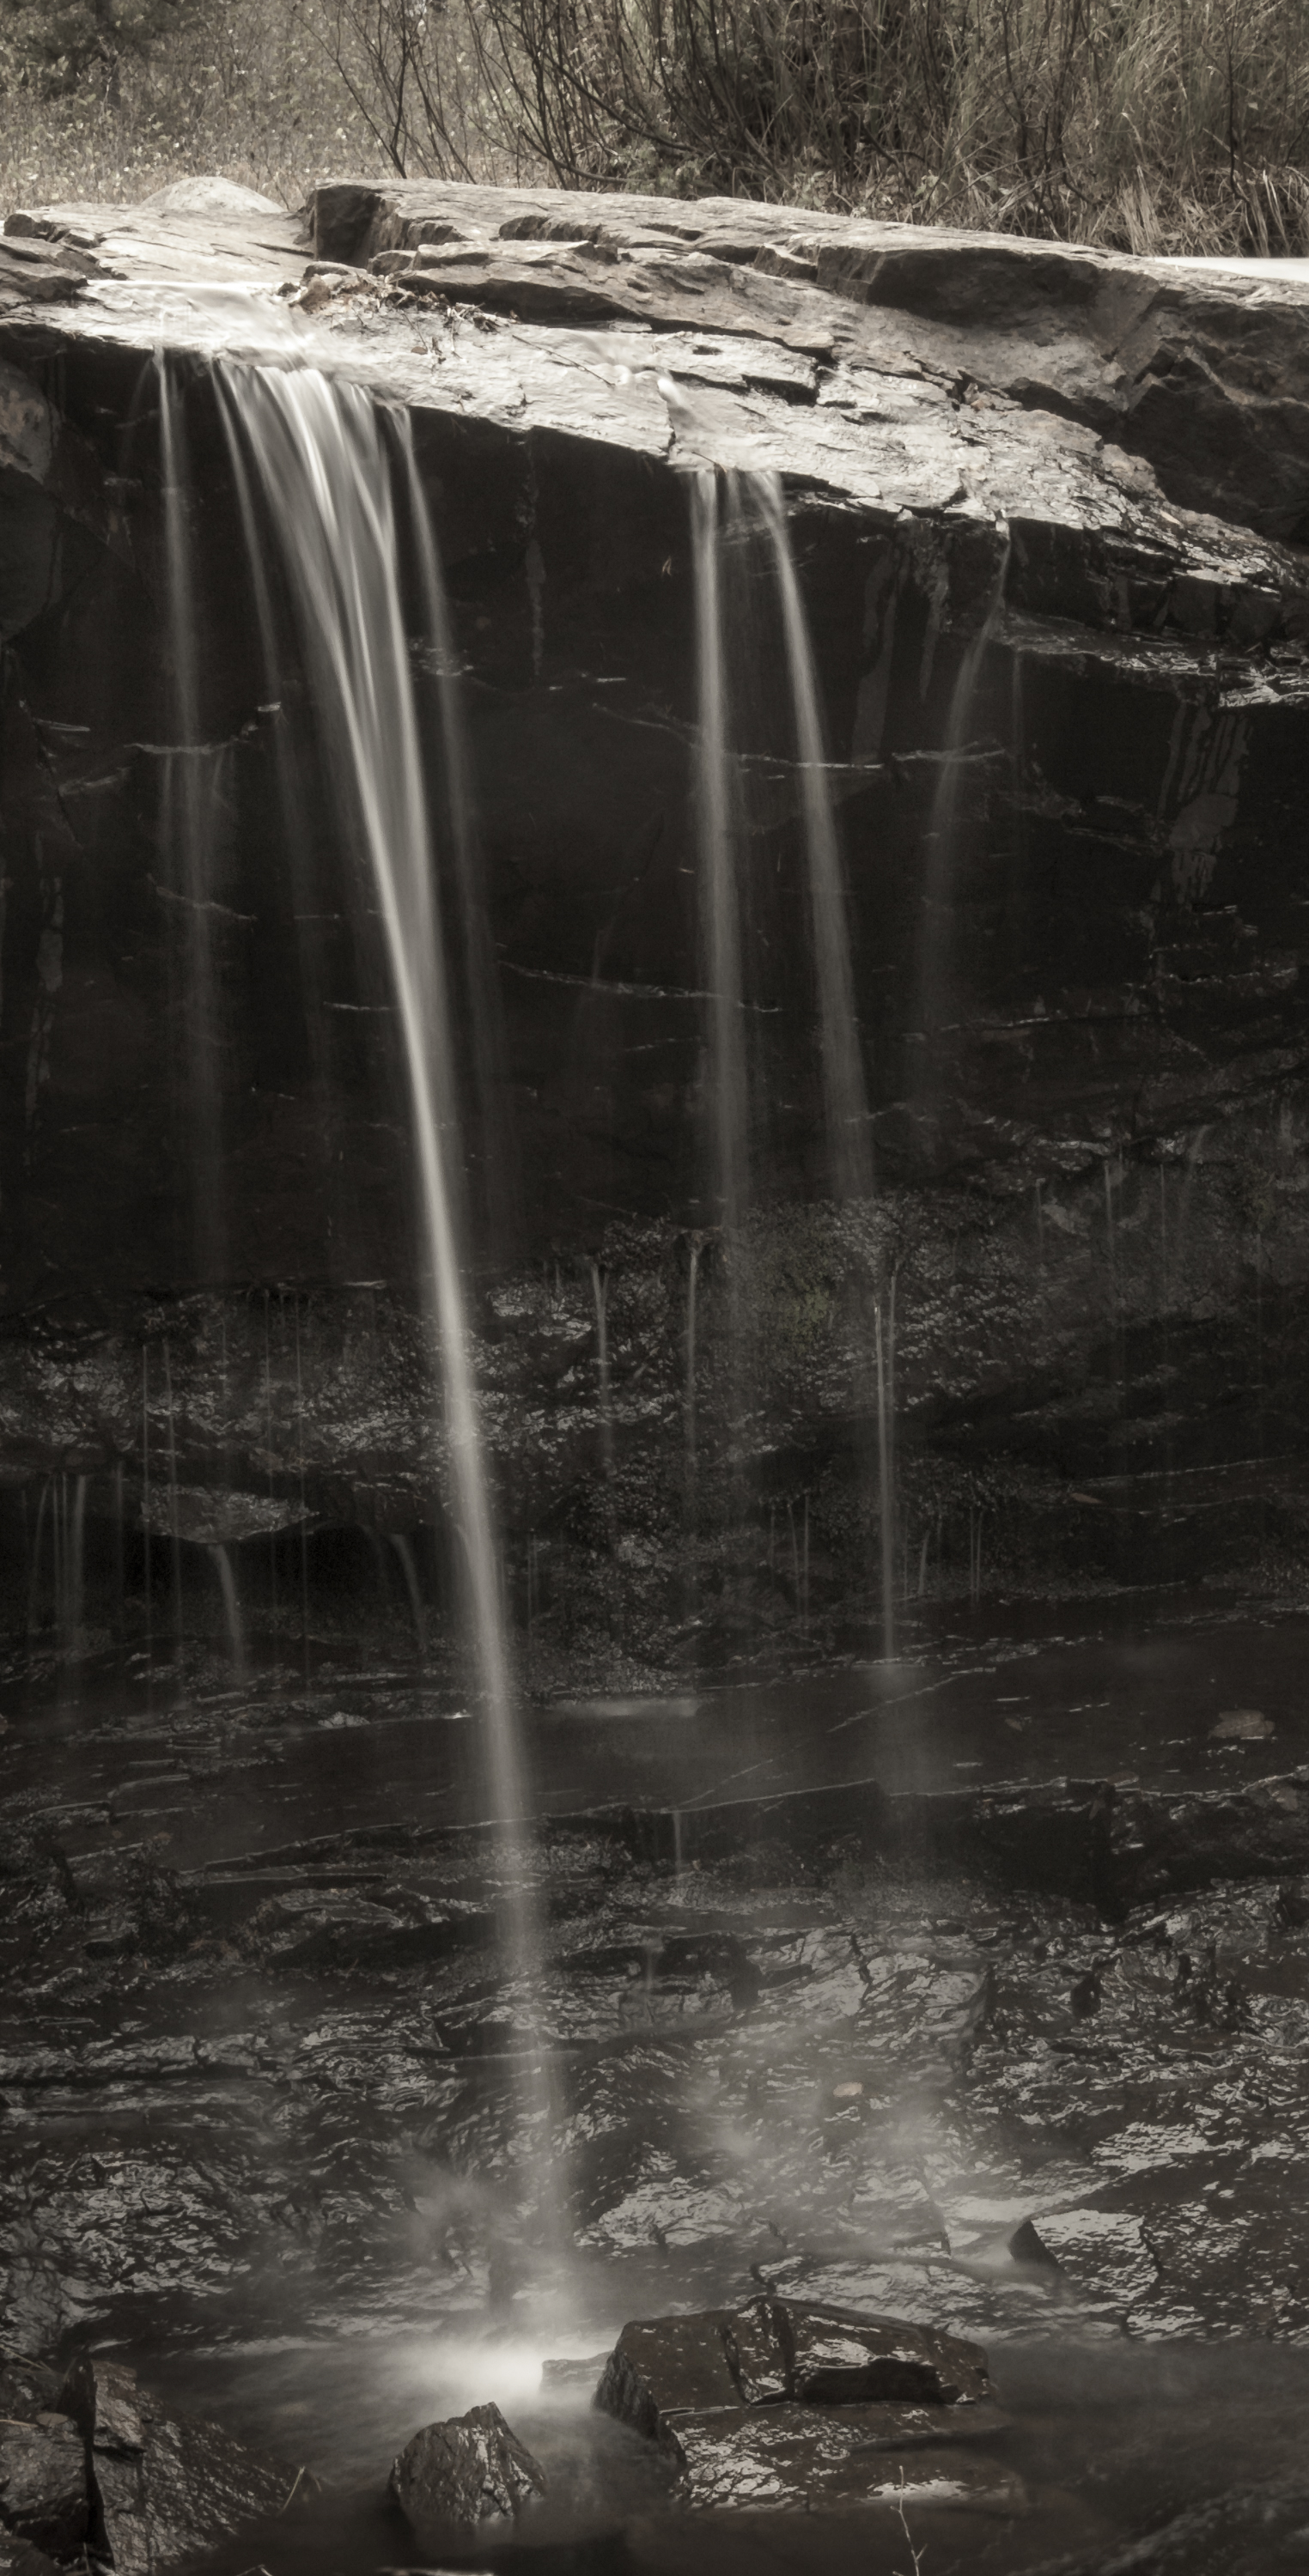
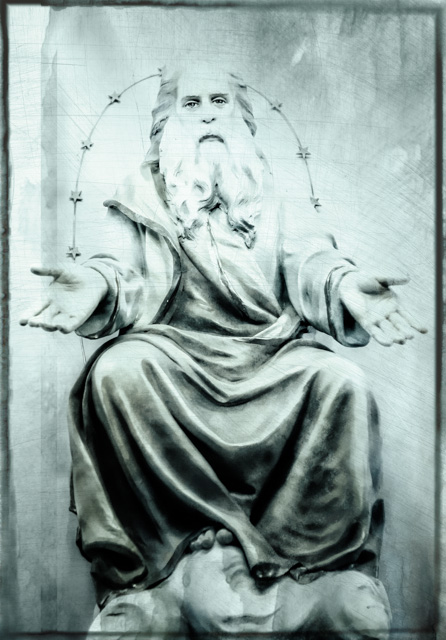
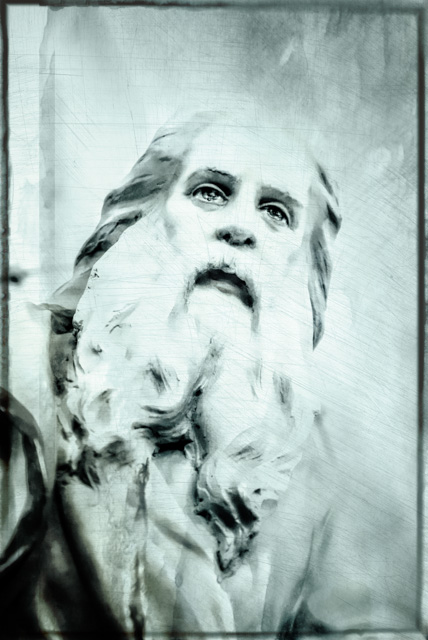
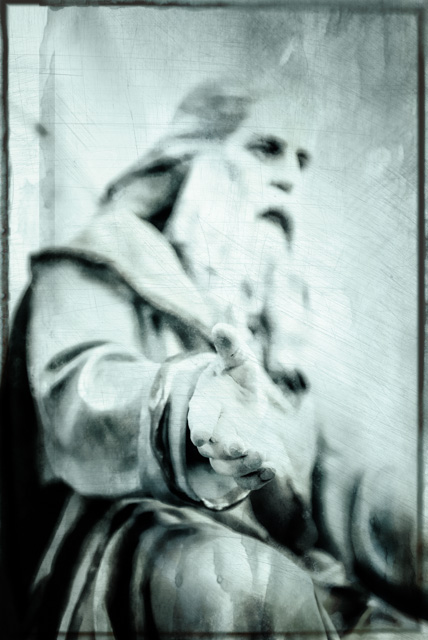
- This is the untouched RAW file upload. Shot with a 10-20mm lens there are lots of corrections need here.

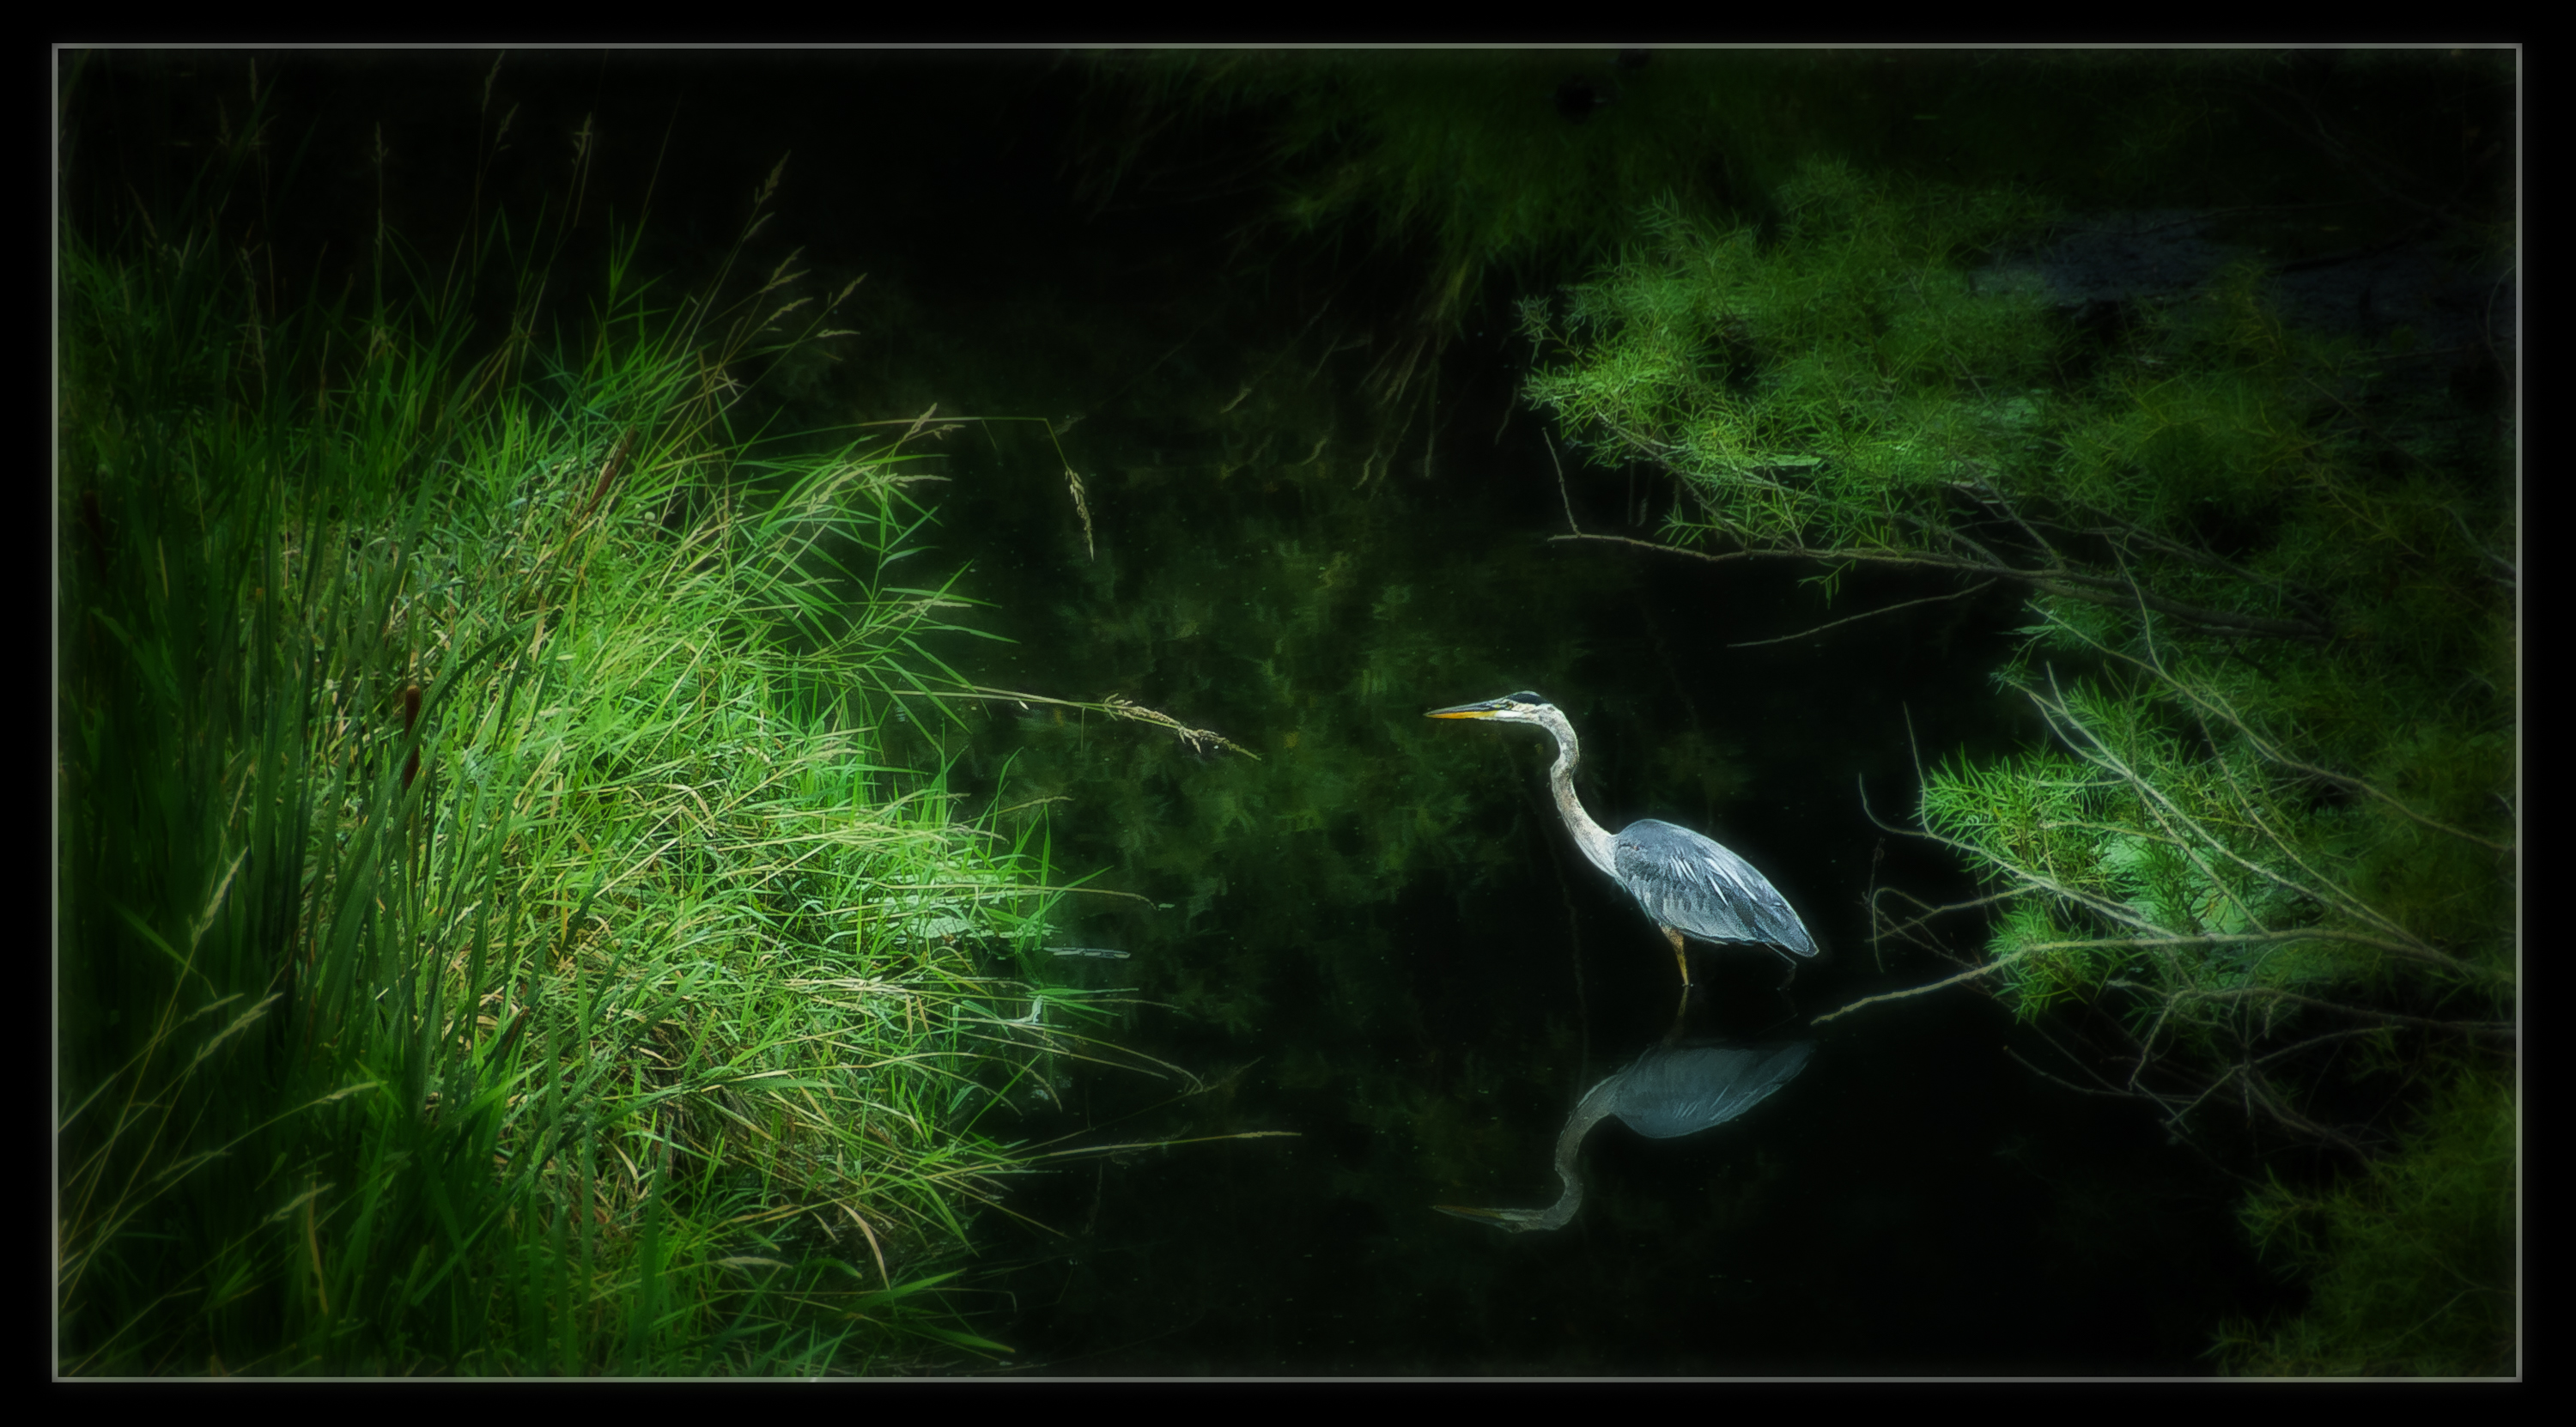
- Upright adjustment completed, small inverted radial adjustments with tint, brushed tinted highlights, a final global sharpening, a large dark & softening vignette with the radial filter.
Radial Filter
At first I wasn’t that keen on this one but it has really grown on me. The immediate thought is to create a vignette or focal point by highlighting or darkening, sharpening or blurring its great even colour highlights, contrast spot light, the list is endless. Remember that you have all the other adjustments sliders that can be applied with it, so get creative. Don’t forget there is a invert mask button that flips the settings. Now start working some combinations and the results are quite amazing and fun. Remember you are not restrict to be within the image boundary, also stacking does not degrade the image. There are a few short cut keys and special feature keys to this tool as well. I will be posting a specific tutorial on this feature with image samples soon.
Smart Preview
How many times have you wanted to work on an image with out your external hard drive with you, all you get is the dreaded cannot locate so you can’t work on the image. Create a smart preview and you can work off line on any image in your file. In Library mode just under the histogram is a small box, select the images you want to create a copy of and click, LR5 will create a smart preview for you. LR saves these new files as as a lossy DNG file which is a compressed file of 70% – 50% so it won’t take much drive space. Remember because its a compressed file when you do certain adjustments like sharpening (off line) they may not render correctly on screen, but as soon as you reconnect to the hard drive with the original file, LR5 will update the full file correctly. This is a fabulous convenience addition.
Video Slide Show
If you create slide shows LR5 now allows you to create sides show presentations that incorporate movie clips. You just inserts like a image and it plays automatically. This is a nice feature to enrich you audience in your presentation.
There are a number of other improvements that are incorporated into version 5 that are worth mentioning. Some of the filter algorithms have been improved so be amazed as you explore. The noise reduction filters are now excellent. I shoot with a vintage Nikon D200 which is notorious for low light noise, its scary to consider going over ISO 400. I just competed a stage production shoot at ISO 1100 and my images are very usable. Highlight and shadow recovery sliders will amaze you. B&W conversion can be precisely mixed with 8 colour channels that can make or break a conversion. The enhanced 64-bit cross-platform pipeline speeds up image tasking whether your a Mac or PC user especially moving from one software package to another. LR5 print capabilities are superior and it has now replaced a costly rip program for my professional printing needs.
Conclusion
In conclusion I will suggest if you are using LR3 and enjoy it, come out of the dark ages to see what LR5 can do for you now, its magical. If you are a RL4 user and have found its become your go to image processing software then the advanced healing brush is worth the upgrade alone. If your a photographer and a PhotoShop devotee and don’t want to subscribe to Adobe cloud, check out this powerful processing package and all the online articles and tutorials on LR. That support alone should convince you to get on board. Its 1/10 the price and you’ll use more than 10% of the software program because its designed for photography. Adobe has now made it clear that PS (which has become a cloud suit subscription) is clearly become a graphic designers product. Lightroom was created for photographers and will likely remain a stand alone package.
Lightroom is priced at $ 79 for an upgrade, well worth the investment in your images and even the $ 149 for the full version is a tremendous buy for the photographer. I highly recommend it.